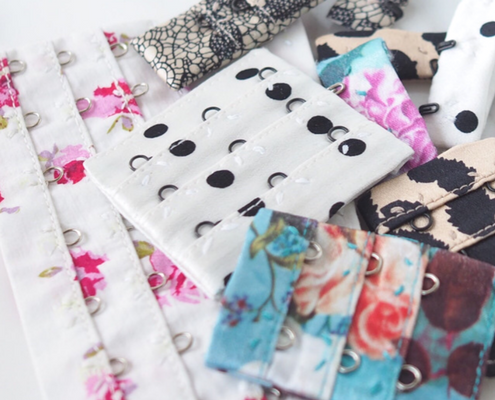
The Leverett sewing pattern presents all sorts of possibilities for customizing your bras with a unique hook and eye closure. While making a hook and eye closure by hand takes a bit of work (a.k.a. hand sewing!), I have some tips and tricks to make it easier.
1. Choose the Right Fabric
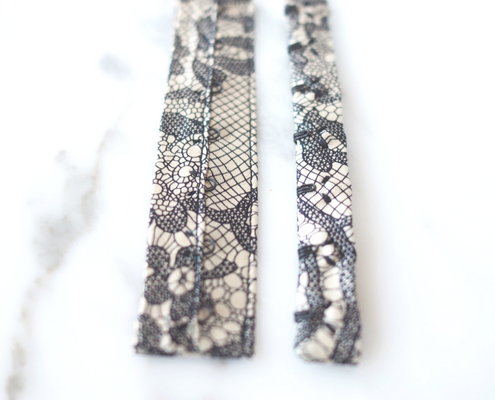
Successful sewing projects start with the right fabric choice and the Leverett is no exception. I recommend a stable, low to no movement fabric. I also find that fabric prints make it easier to get a nice looking result, especially if hand sewing is not your thing!
If your fabric is on the thin side, be sure to use a fusible interfacing to provide body and stability. You can read my post on how to manipulate fabric for a tutorial.

2. Match the Thread
Your thread should match your selected fabric as closely as possible for it to blend in. If you are making a 1×3 closure you can even hide the eye stitching in the fabric fold so it will not show through to the right side of the closure. However, I don’t recommend this technique for any of the other sizes since stitching the eyes through all the layers really helps keep everything secure when the garment is on the body.

3. Decrease the Depth
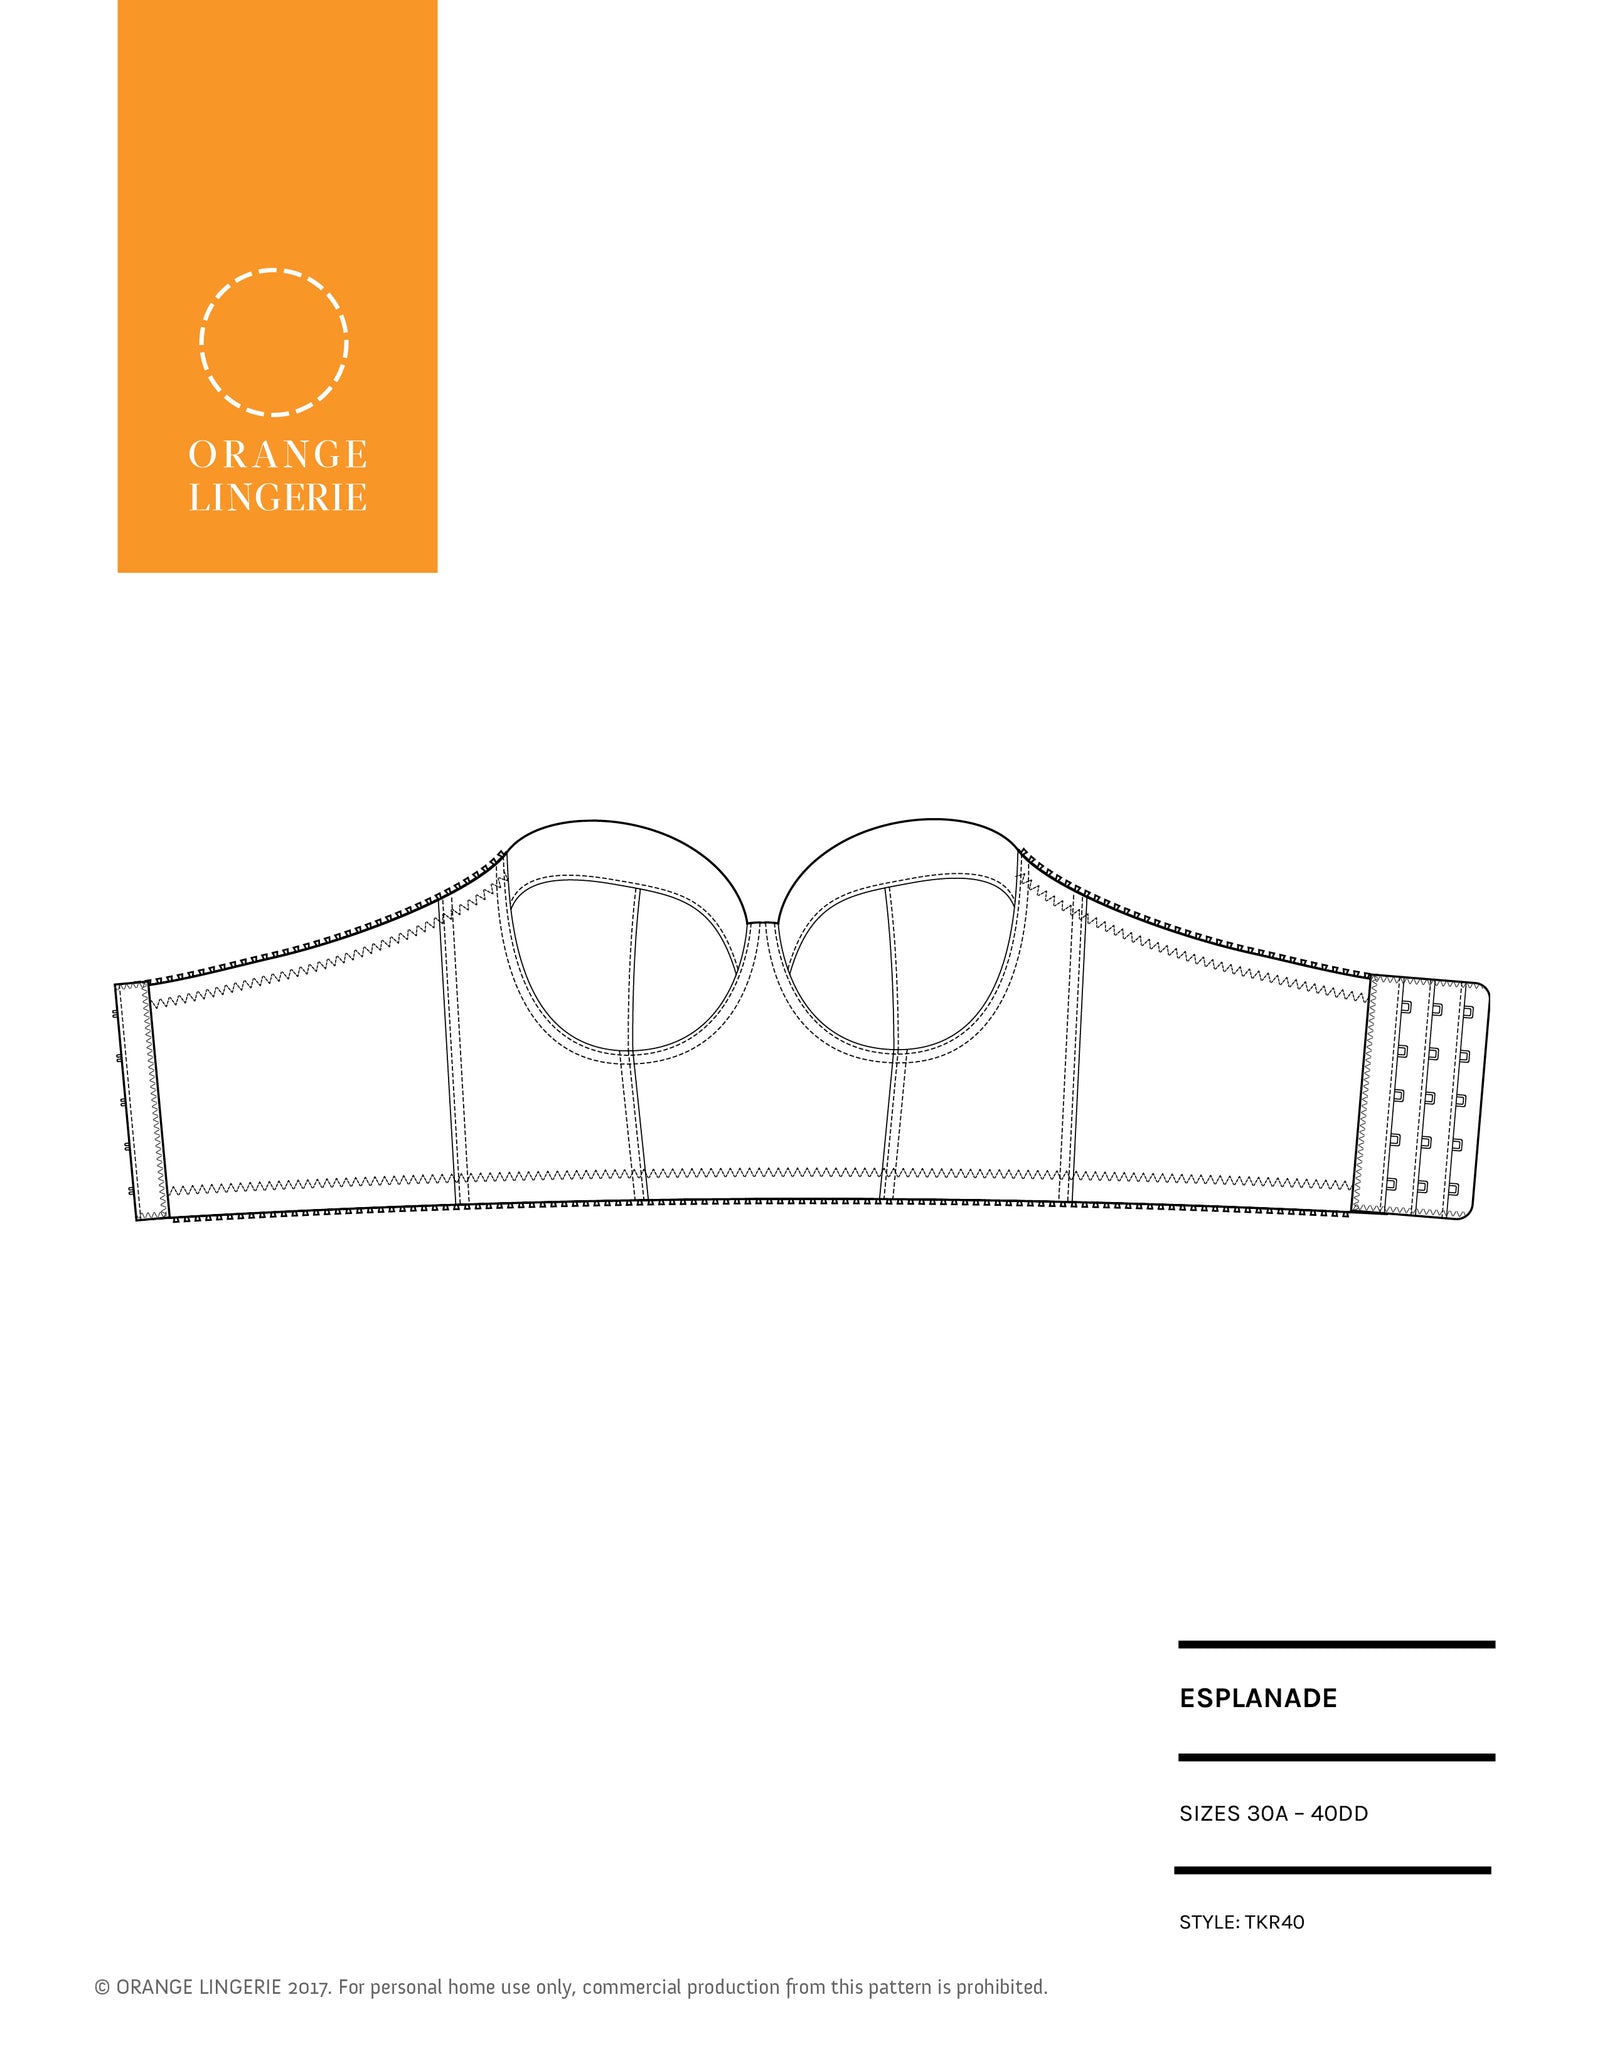
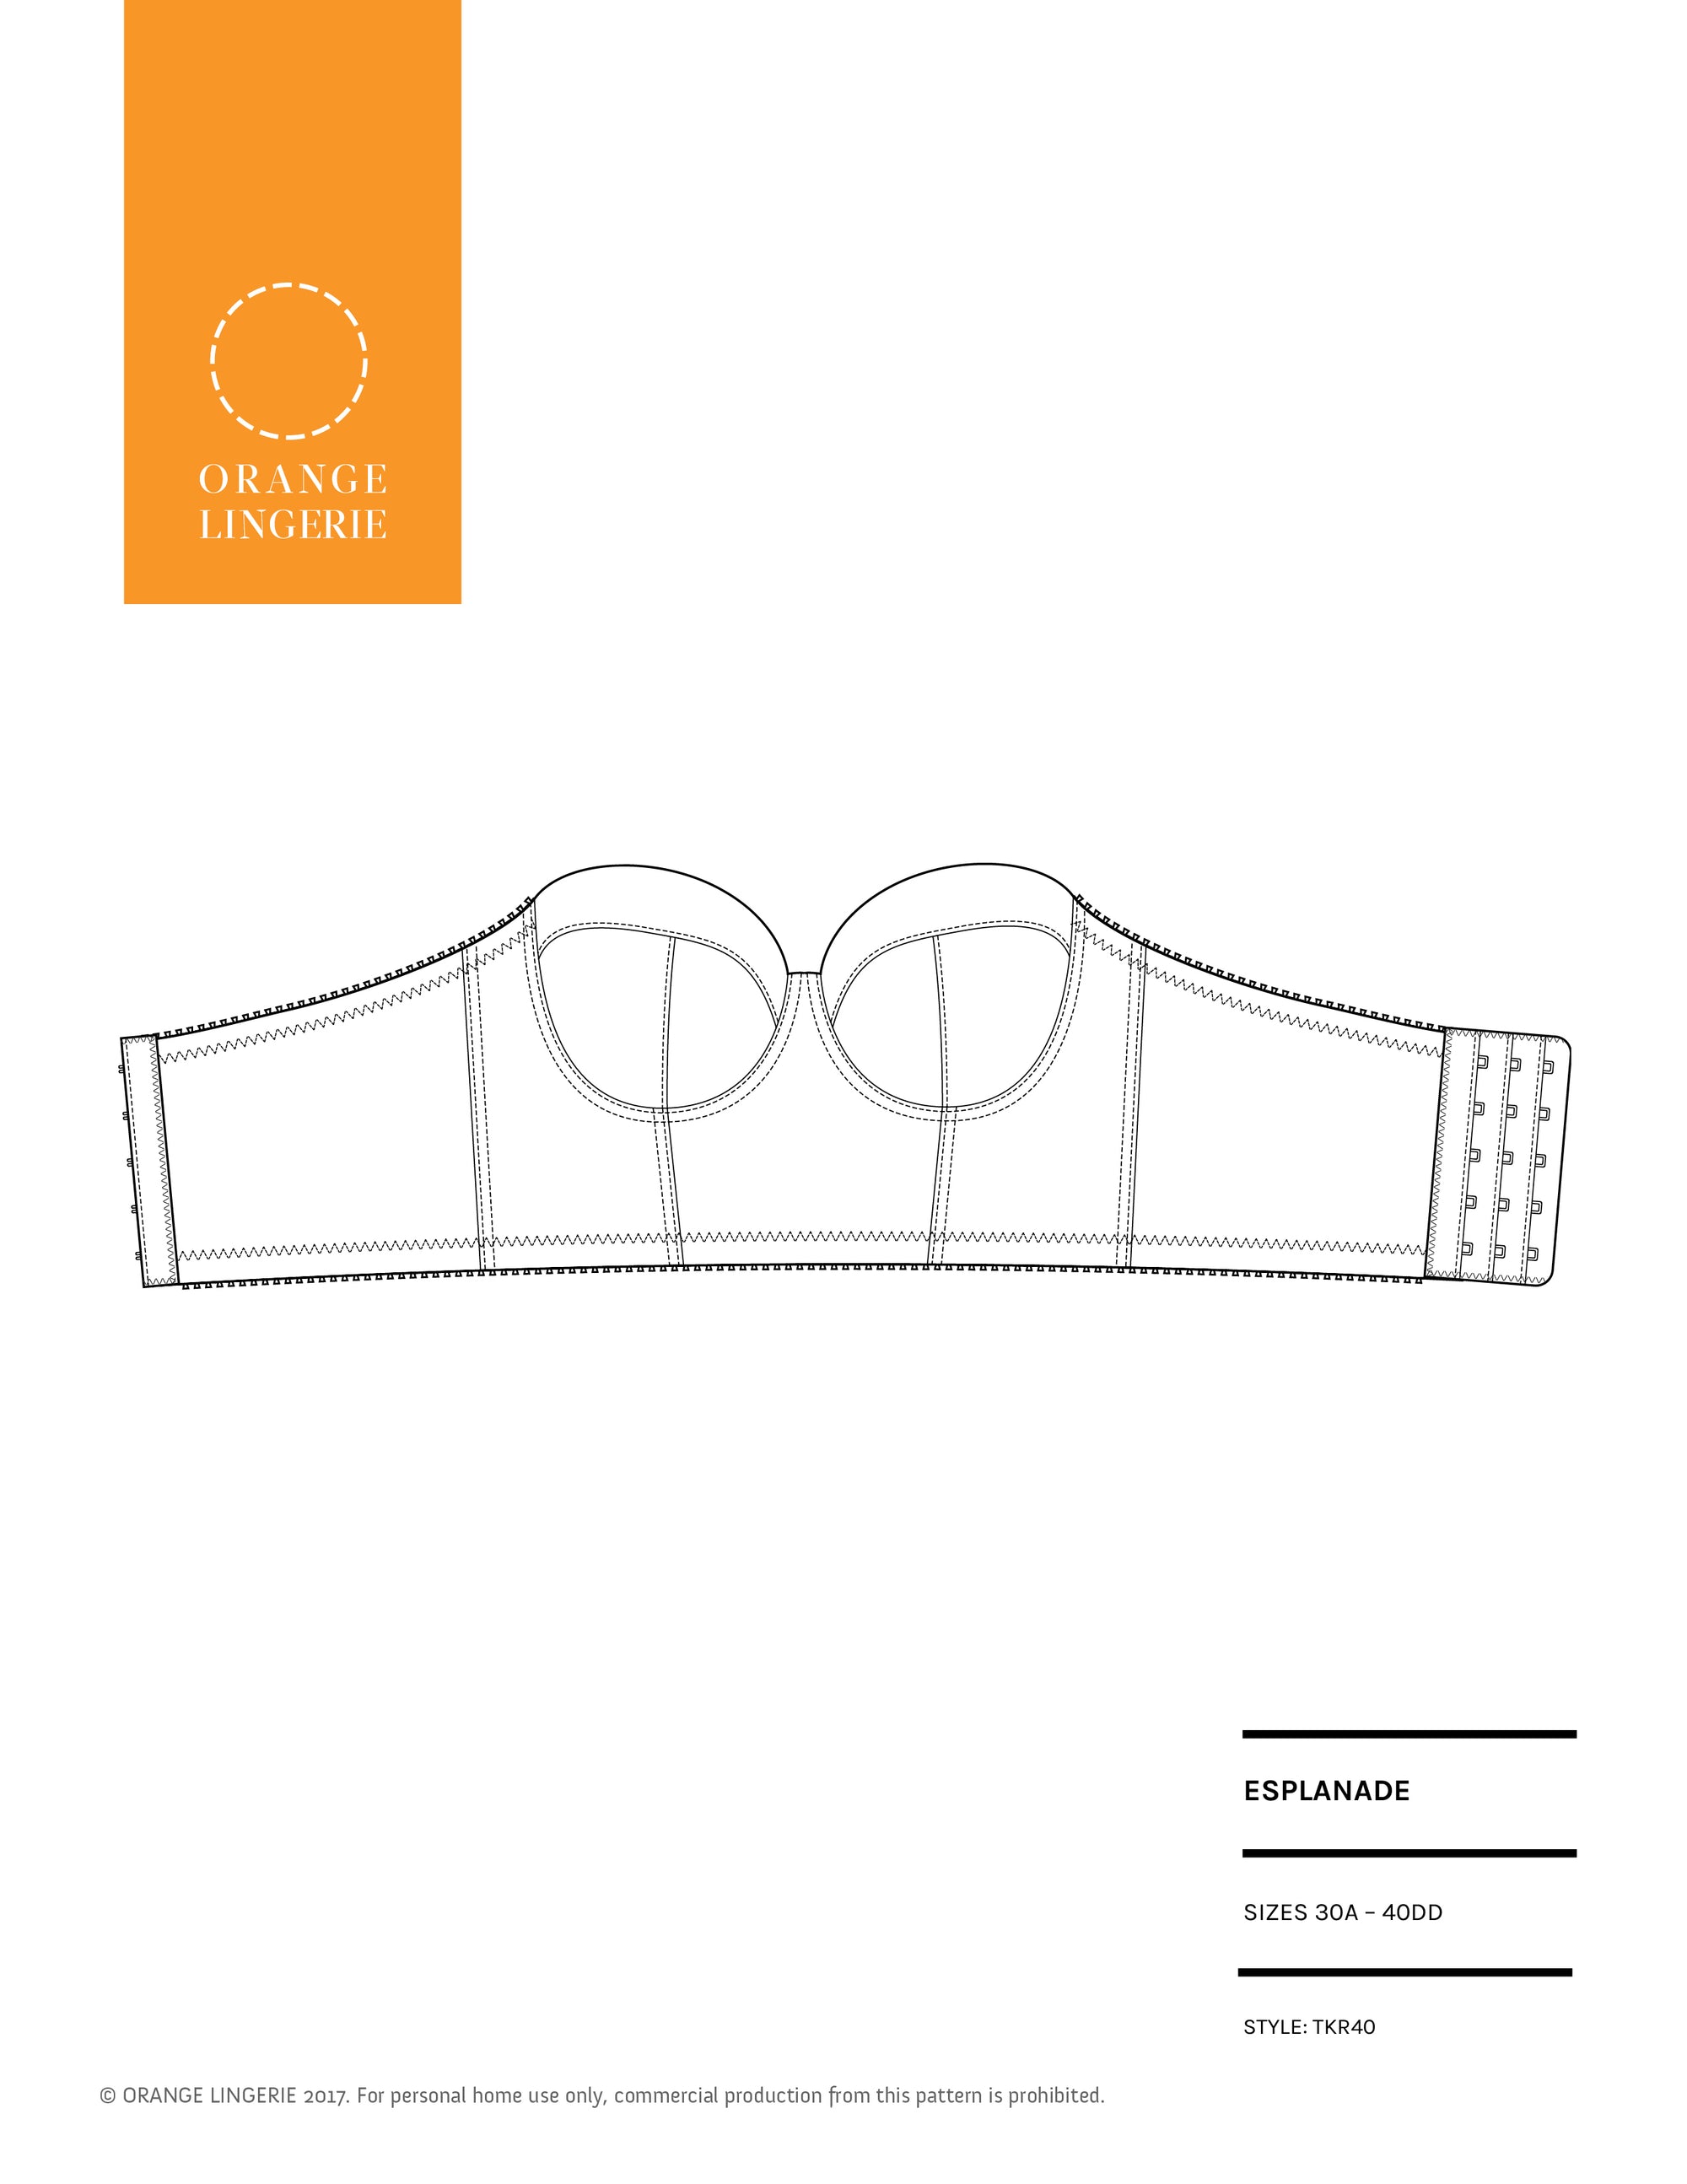
To decrease the amount of hand sewing, you can decrease the depth of the closure so instead of having 3 rows of eyes, reduce it to 2 rows or even 1 row. Just be aware that if you do this you are limiting your ability to adjust the bra as the elastic stretches out with age. Luckily, I have so many Esplanade bras and I know exactly how the band fits with my favorite power net that I can now get away with a single row of eyes!
If you do opt for a closure with fewer than 3 rows of eyes, be sure to add the amount that you decreased to the band pattern pieces! If you want to see how to increase a bra band you can read this tutorial.
- If you decrease from 3 rows to 2 rows: Add ¼” to the band pattern piece.
- If you decrease from 3 rows to 1 row: Add ½” to the band pattern piece.
4. Mark the Fabric
There a lot of markings on the Leverett pattern to help you get the all the hooks and eyes lined up. To get the markings onto the fabric I use a 1/16” hole punch to punch out all the dots on the pattern pieces. Then I can use my water soluble marker or chalk to easily transfer the markings onto the fabric.

One final note on hand made closures! I find it easiest to hook up bras with a Leverett closure in front and then swivel the bra around into its correct position. Unlike ready-made closures, I have not mastered hooking these up behind my back!
Happy bra making everyone!