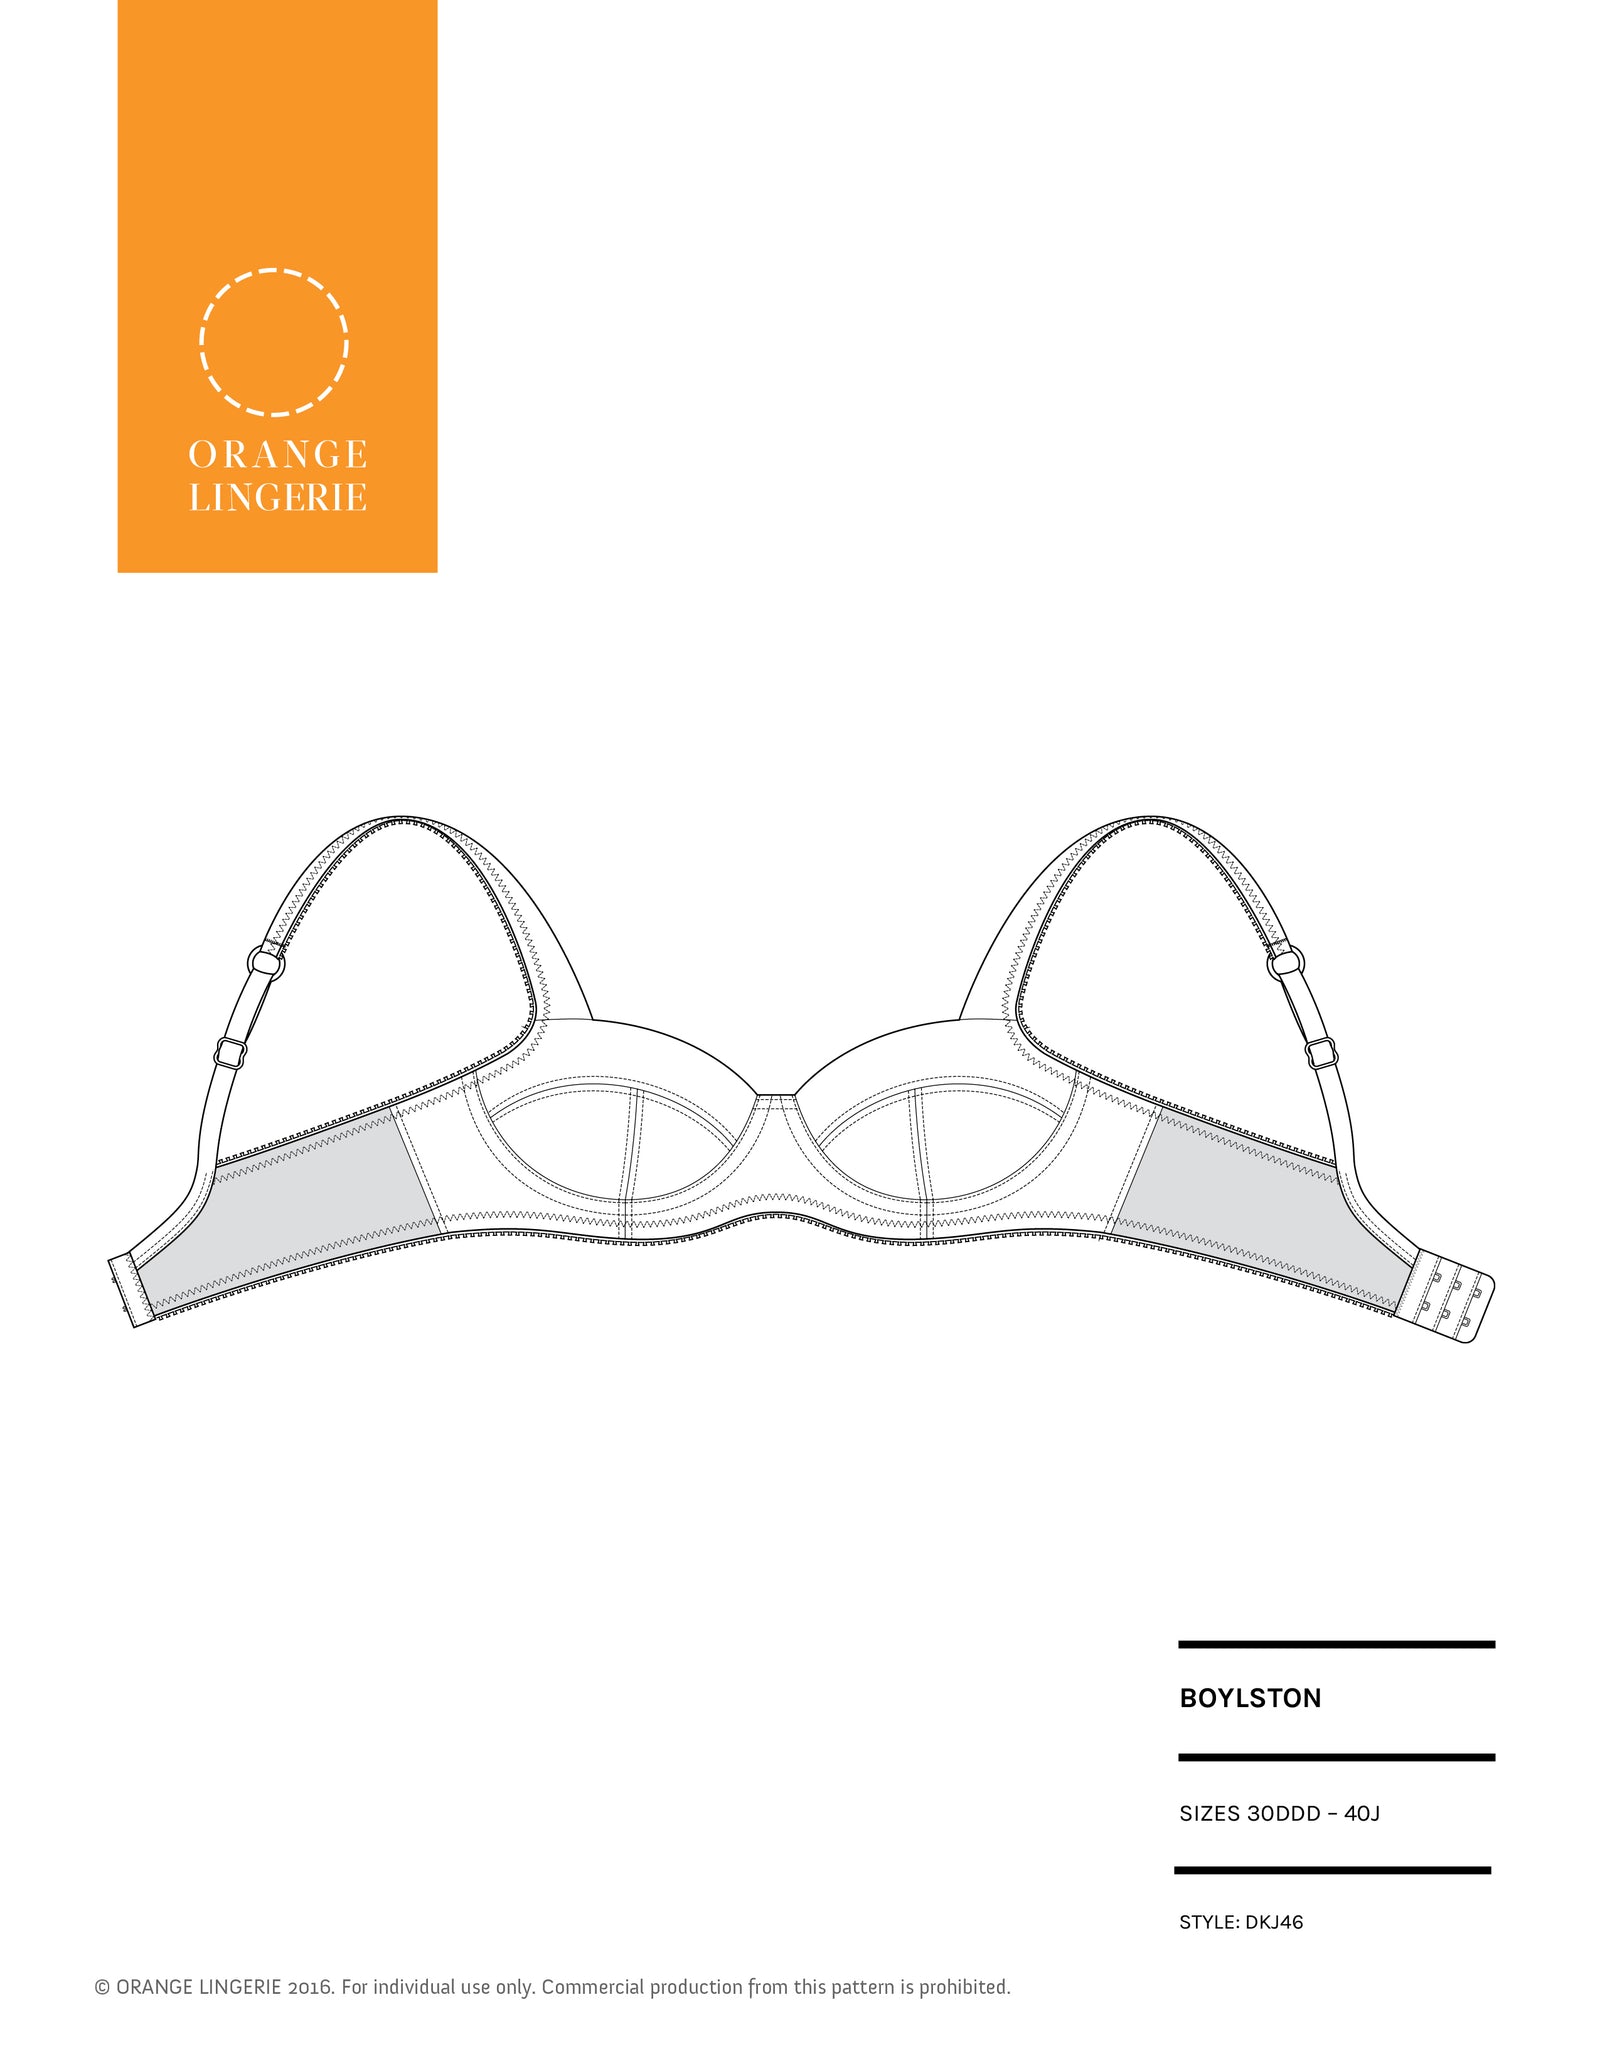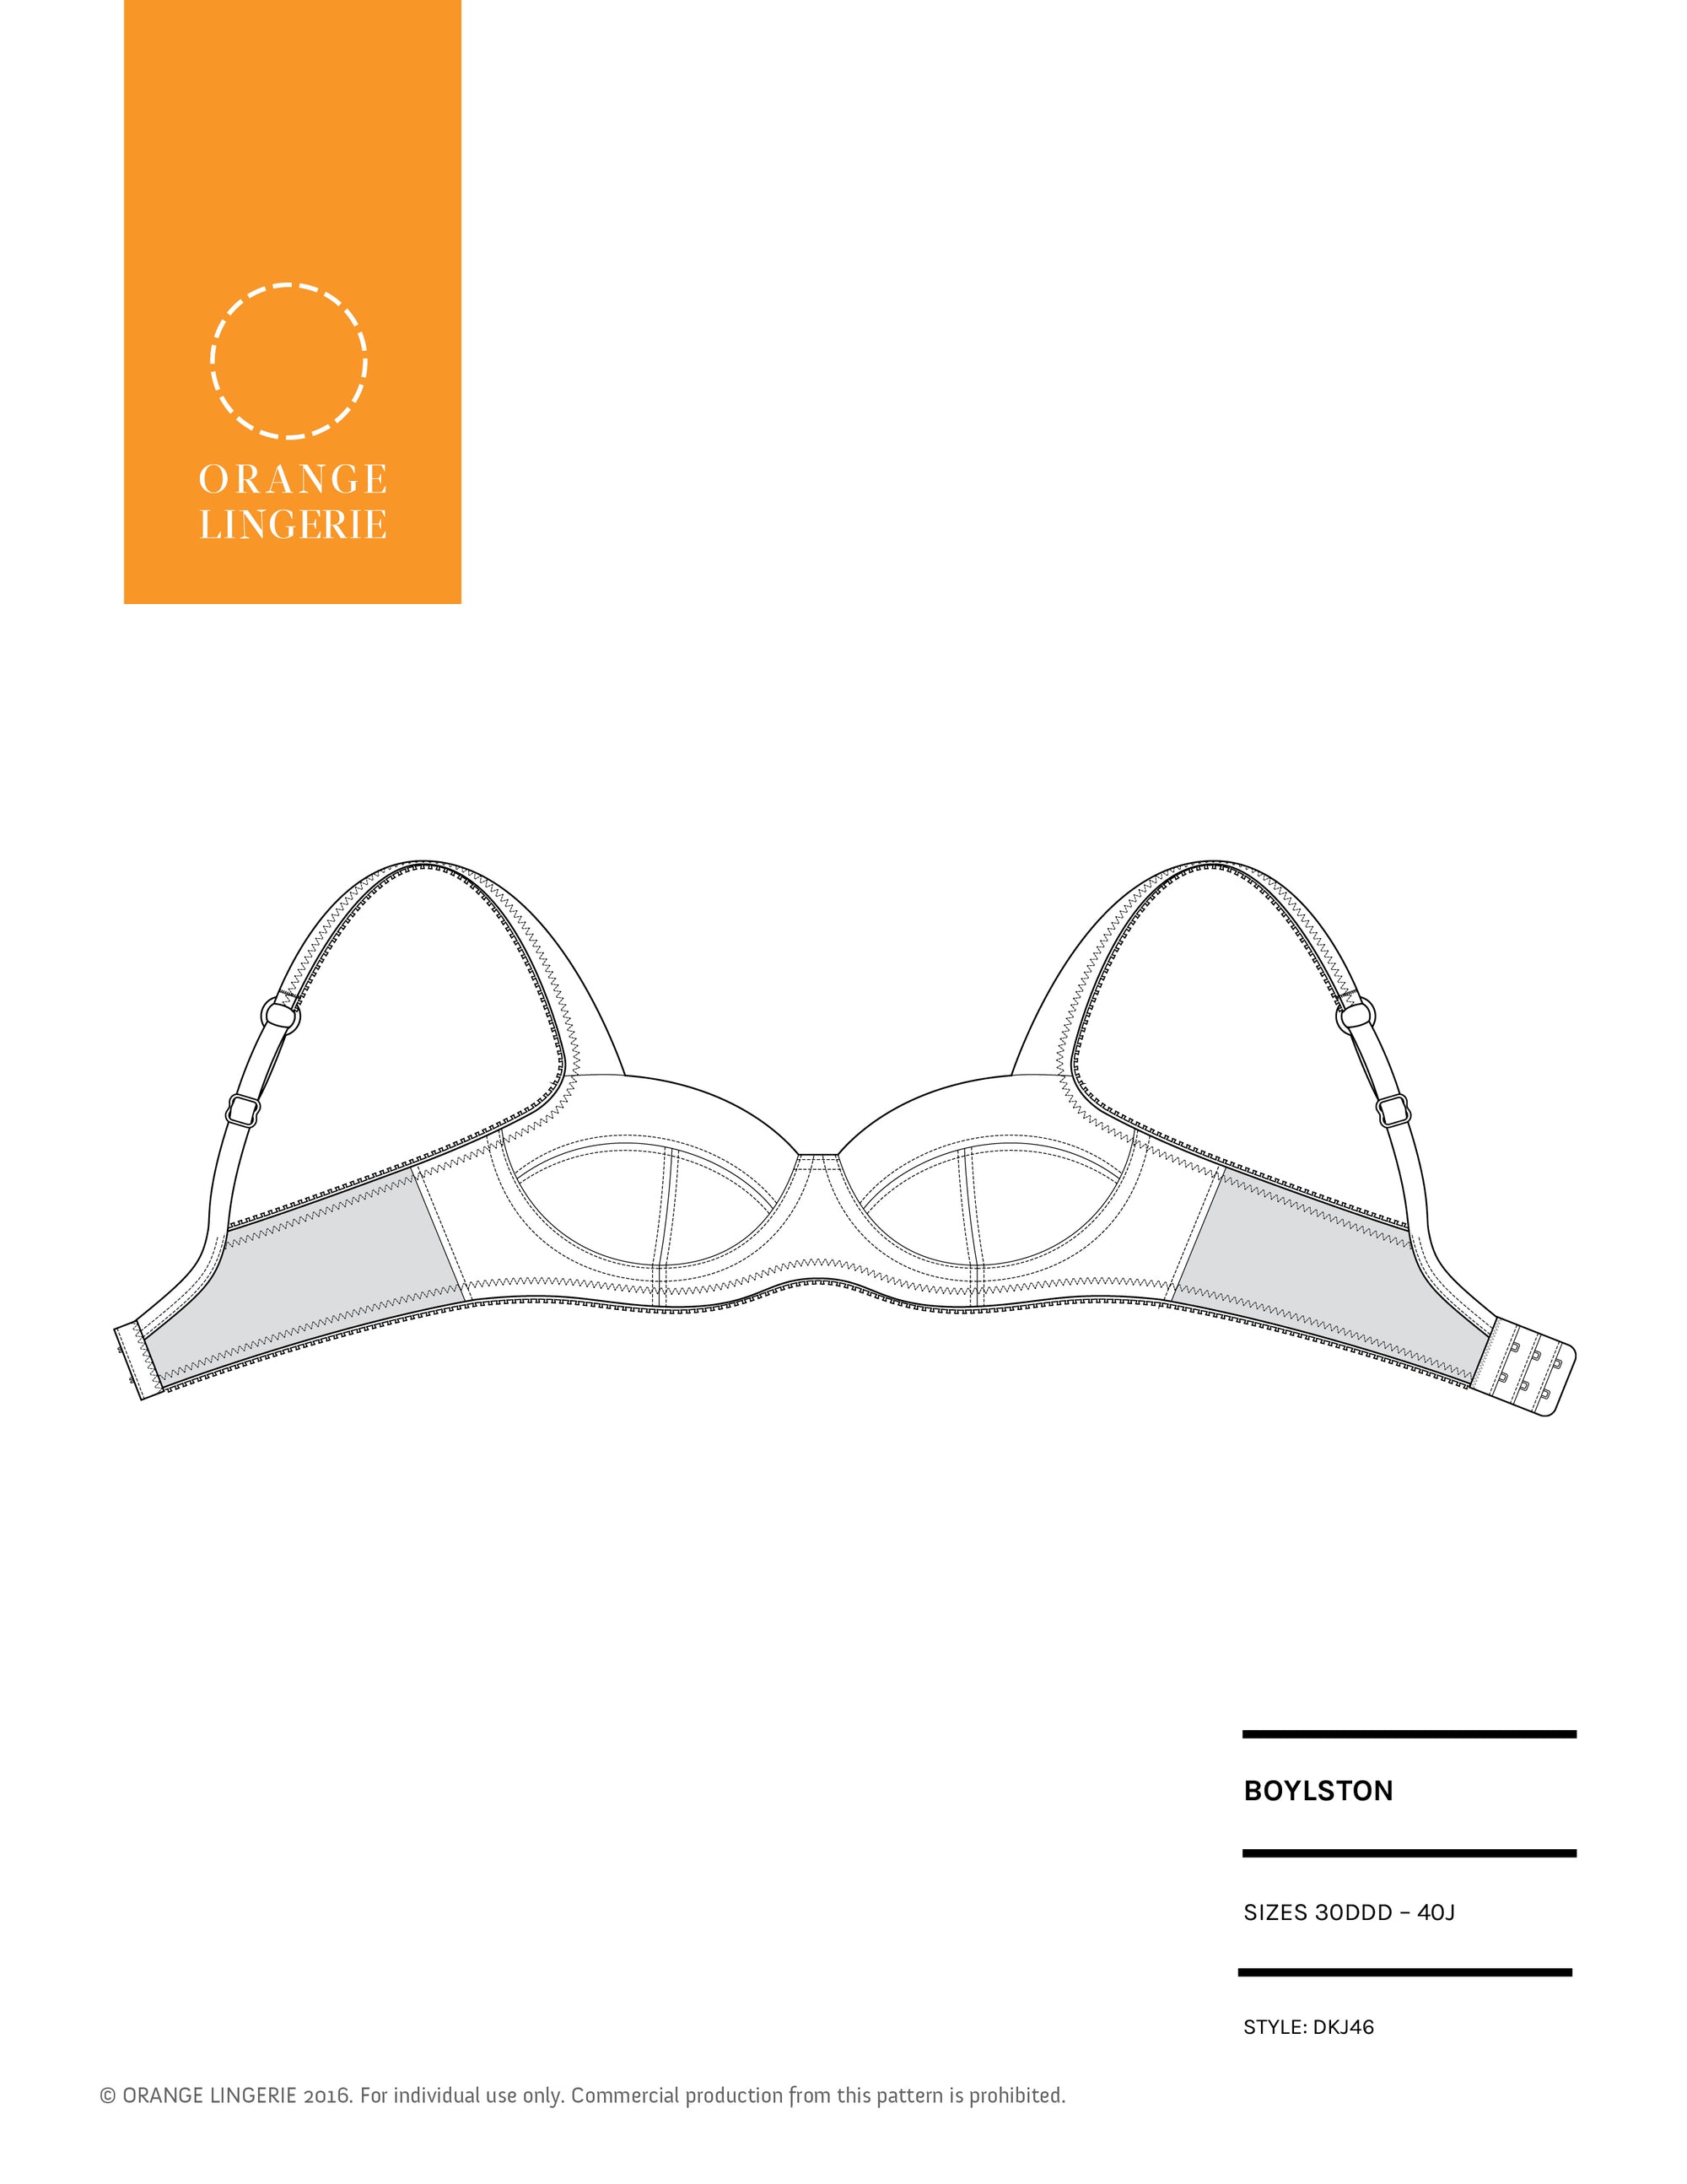
When I posted the tutorial “How to Move Straps for a Better Fitting Bra” I used the Boylston bra sewing pattern for my example. Afterwards I was asked for the same tutorial for the Marlborough bra sewing pattern. Well, ask and you shall receive!
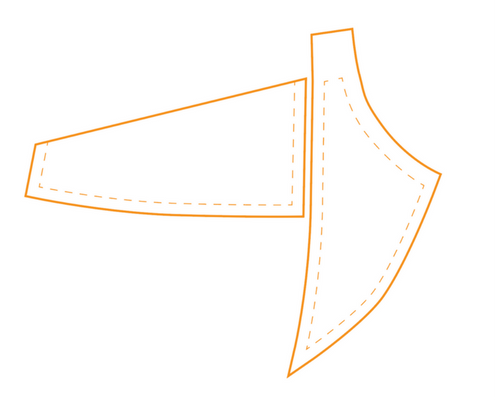
While it is slightly more complicated to move the straps on the Marlborough bra, the same principles apply. To better see the change let’s first align the pieces that comprise the upper cup area at their seam lines.

Looking at the above you can see that to move the straps that attach to the top of the power bar we will need to do the following:
- Redraw the power bar seam line where it joins to the upper cup.
- Redraw the outer edge of the power bar.
- Redraw the upper cup to power bar seam line.
- All while not changing the lower cup to power bar seam line to maintain needed cup volume.
First let’s look at moving the straps in:
- Start by marking where you want to move the straps. I am using ½” for this example which may be a bit exaggerated, but I want to clearly show what the change looks like


- Redraw the power bar to upper cup seam line so the inner edge of the strap starts at the new, marked point. Remember all pattern alterations are from the seam lines!

- Redraw the remainder of the power bar using the existing power bar dimensions as a guide and draw in the new cutting lines. Remember the finished power bar should be close to ½” (¾” D to J cups) across the top where the strap ring is attached. Also remember to maintain the allowance for the trim at the underarm (⅜” for A to C cups and ½” for D to J cups).


Now, let’s look at how to move the straps out. (Though I must say that I have never heard of anyone moving the straps out on this pattern!)
- Start by marking where you want to move the straps. I am using ¼” for this example.

- Redraw the power bar to upper cup seam line so the inner edge of the strap starts at the new, marked point. Be sure to maintain a smooth line the length of the power bar.

- Redraw the remainder of the power bar using the existing power bar dimensions as a guide and draw in the new cutting lines. Remember the finished power bar should be close to ½” (¾” D to J cups) across the top where the strap ring is attached. Also remember to maintain the allowance for the trim at the underarm (⅜” for A to C cups and ½” for D to J cups).


The process for moving the band positioning on the back of the bra remains the same. You can get a refresher on how to do that here.
Did you know that you should not alter the bra straps until the band and frame fit you properly? If you want to learn more about pattern alterations for bra fitting you can get my book where I take you through my systematic fitting process and the most common bra sewing pattern fitting adjustments!