If you read my post “The Fastest Way to Find Your Bra Pattern Size” then you know how to quickly find what size bra to sew up. I also mentioned in that post that the most accurate way to test the fit of a bra pattern is to make a toile (also known as a muslin) of the entire bra.
The toile technique described in this post is what I used for fitting my custom clients. This technique allowed me to test multiple iterations and fitting adjustments without sewing an entire bra each time and I found it an essential part of creating custom fit bras.
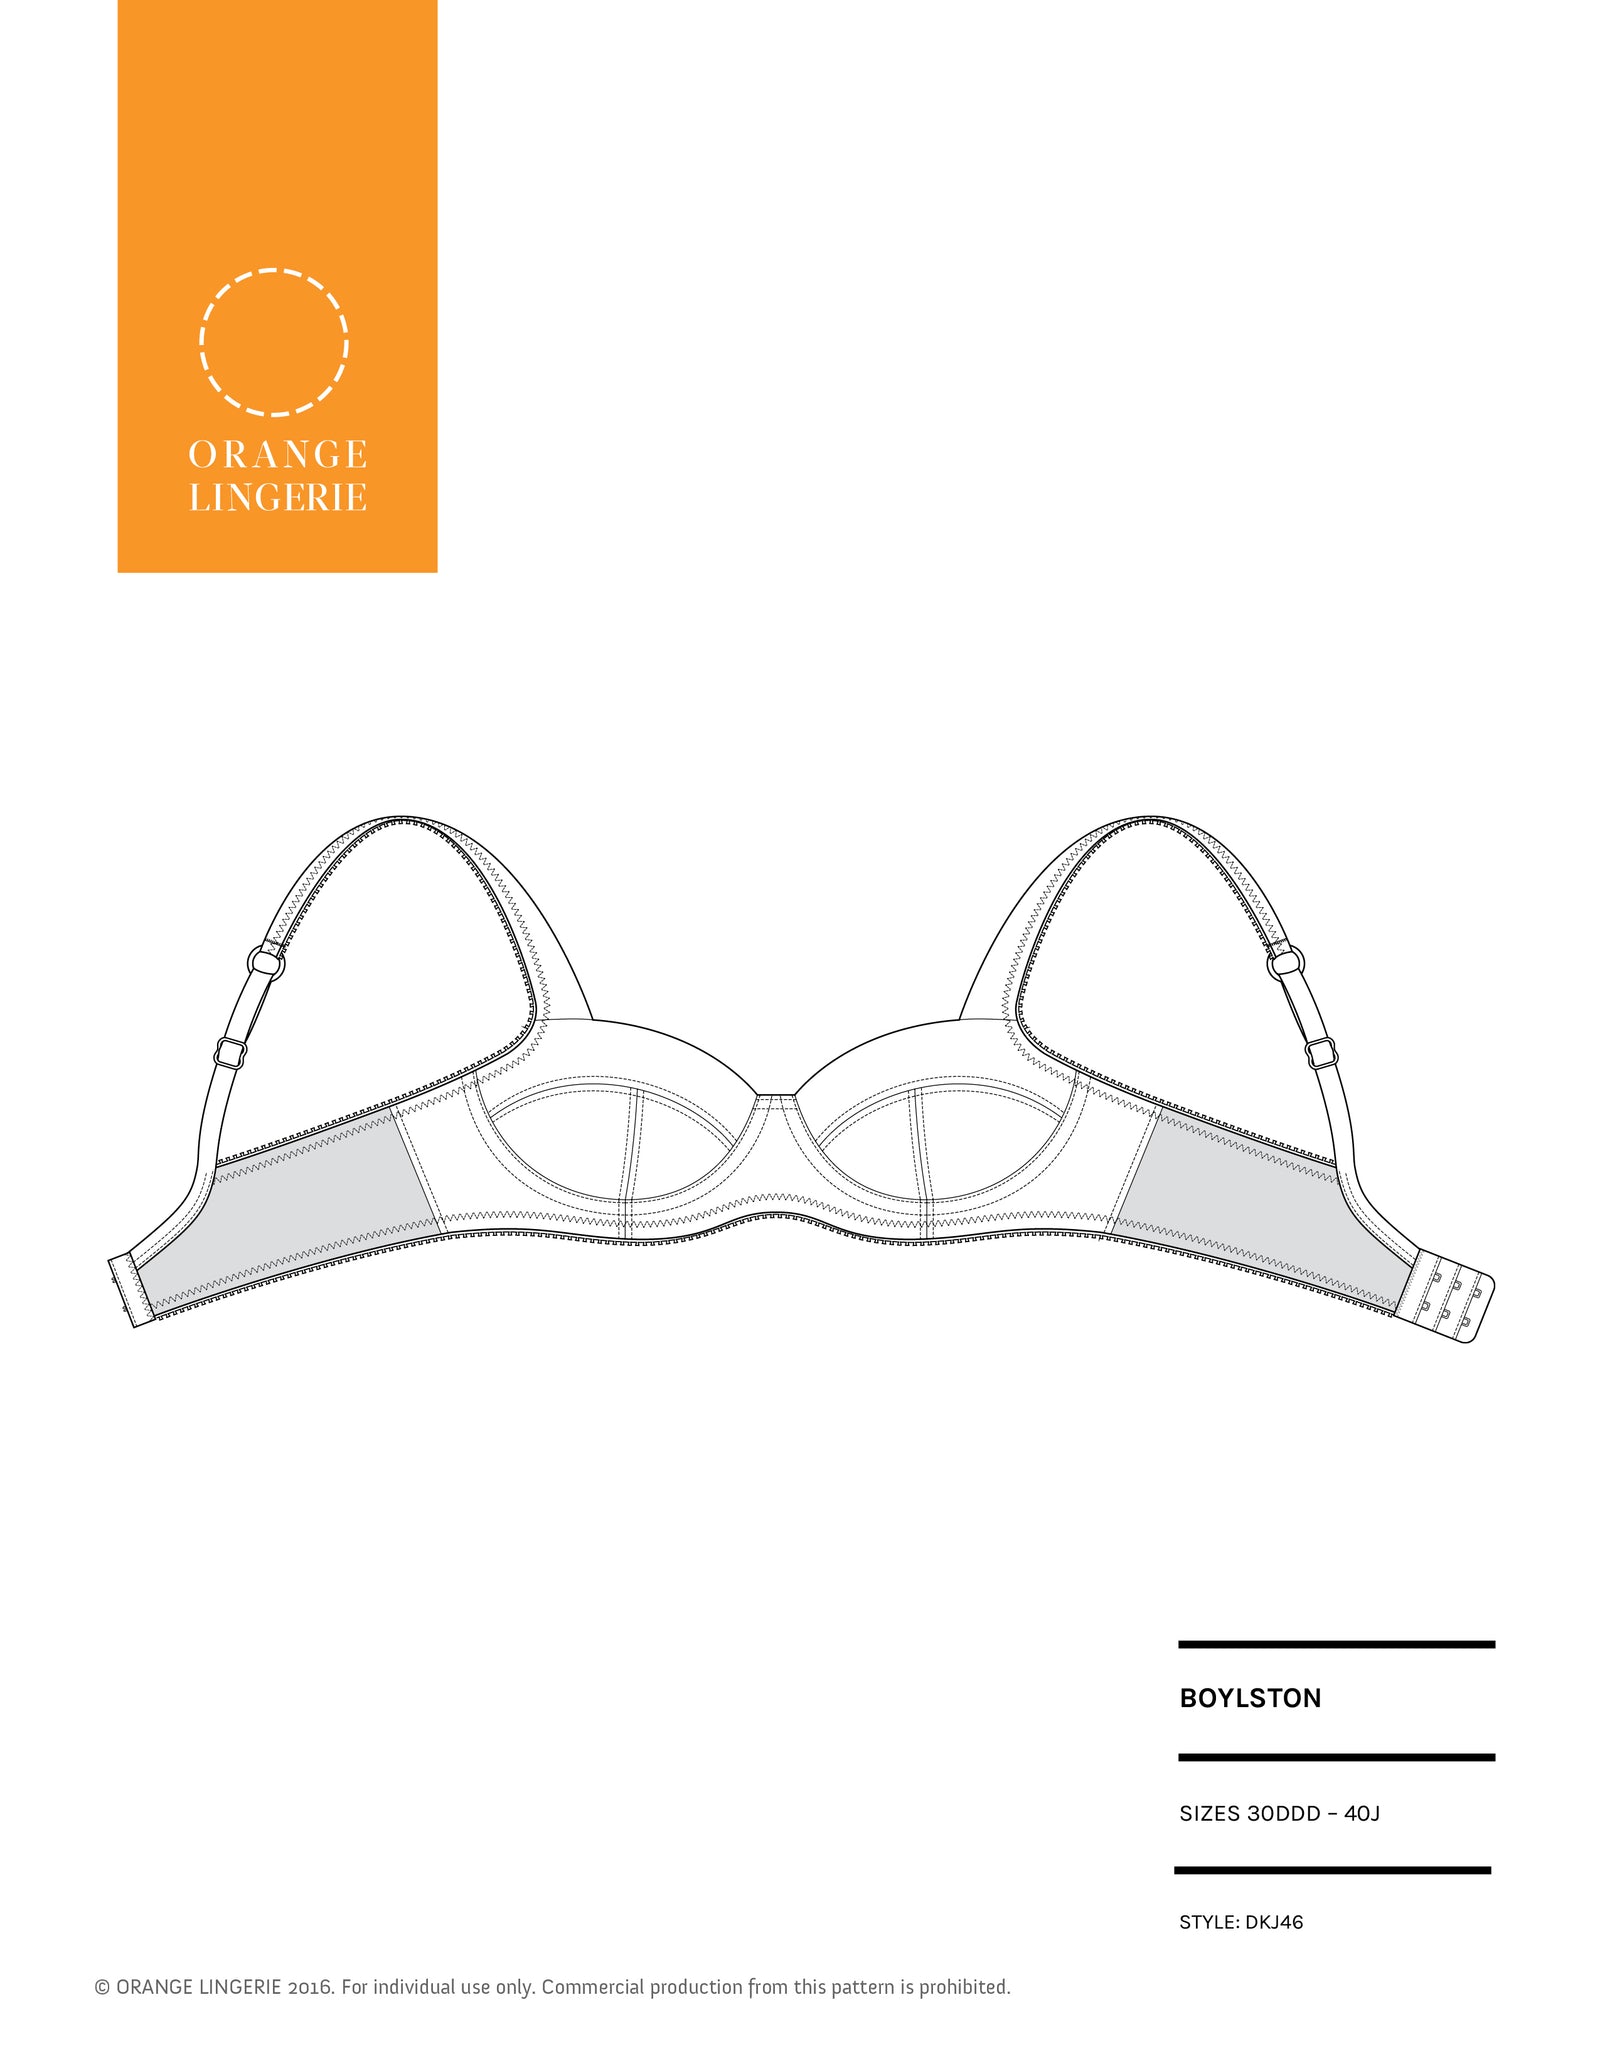
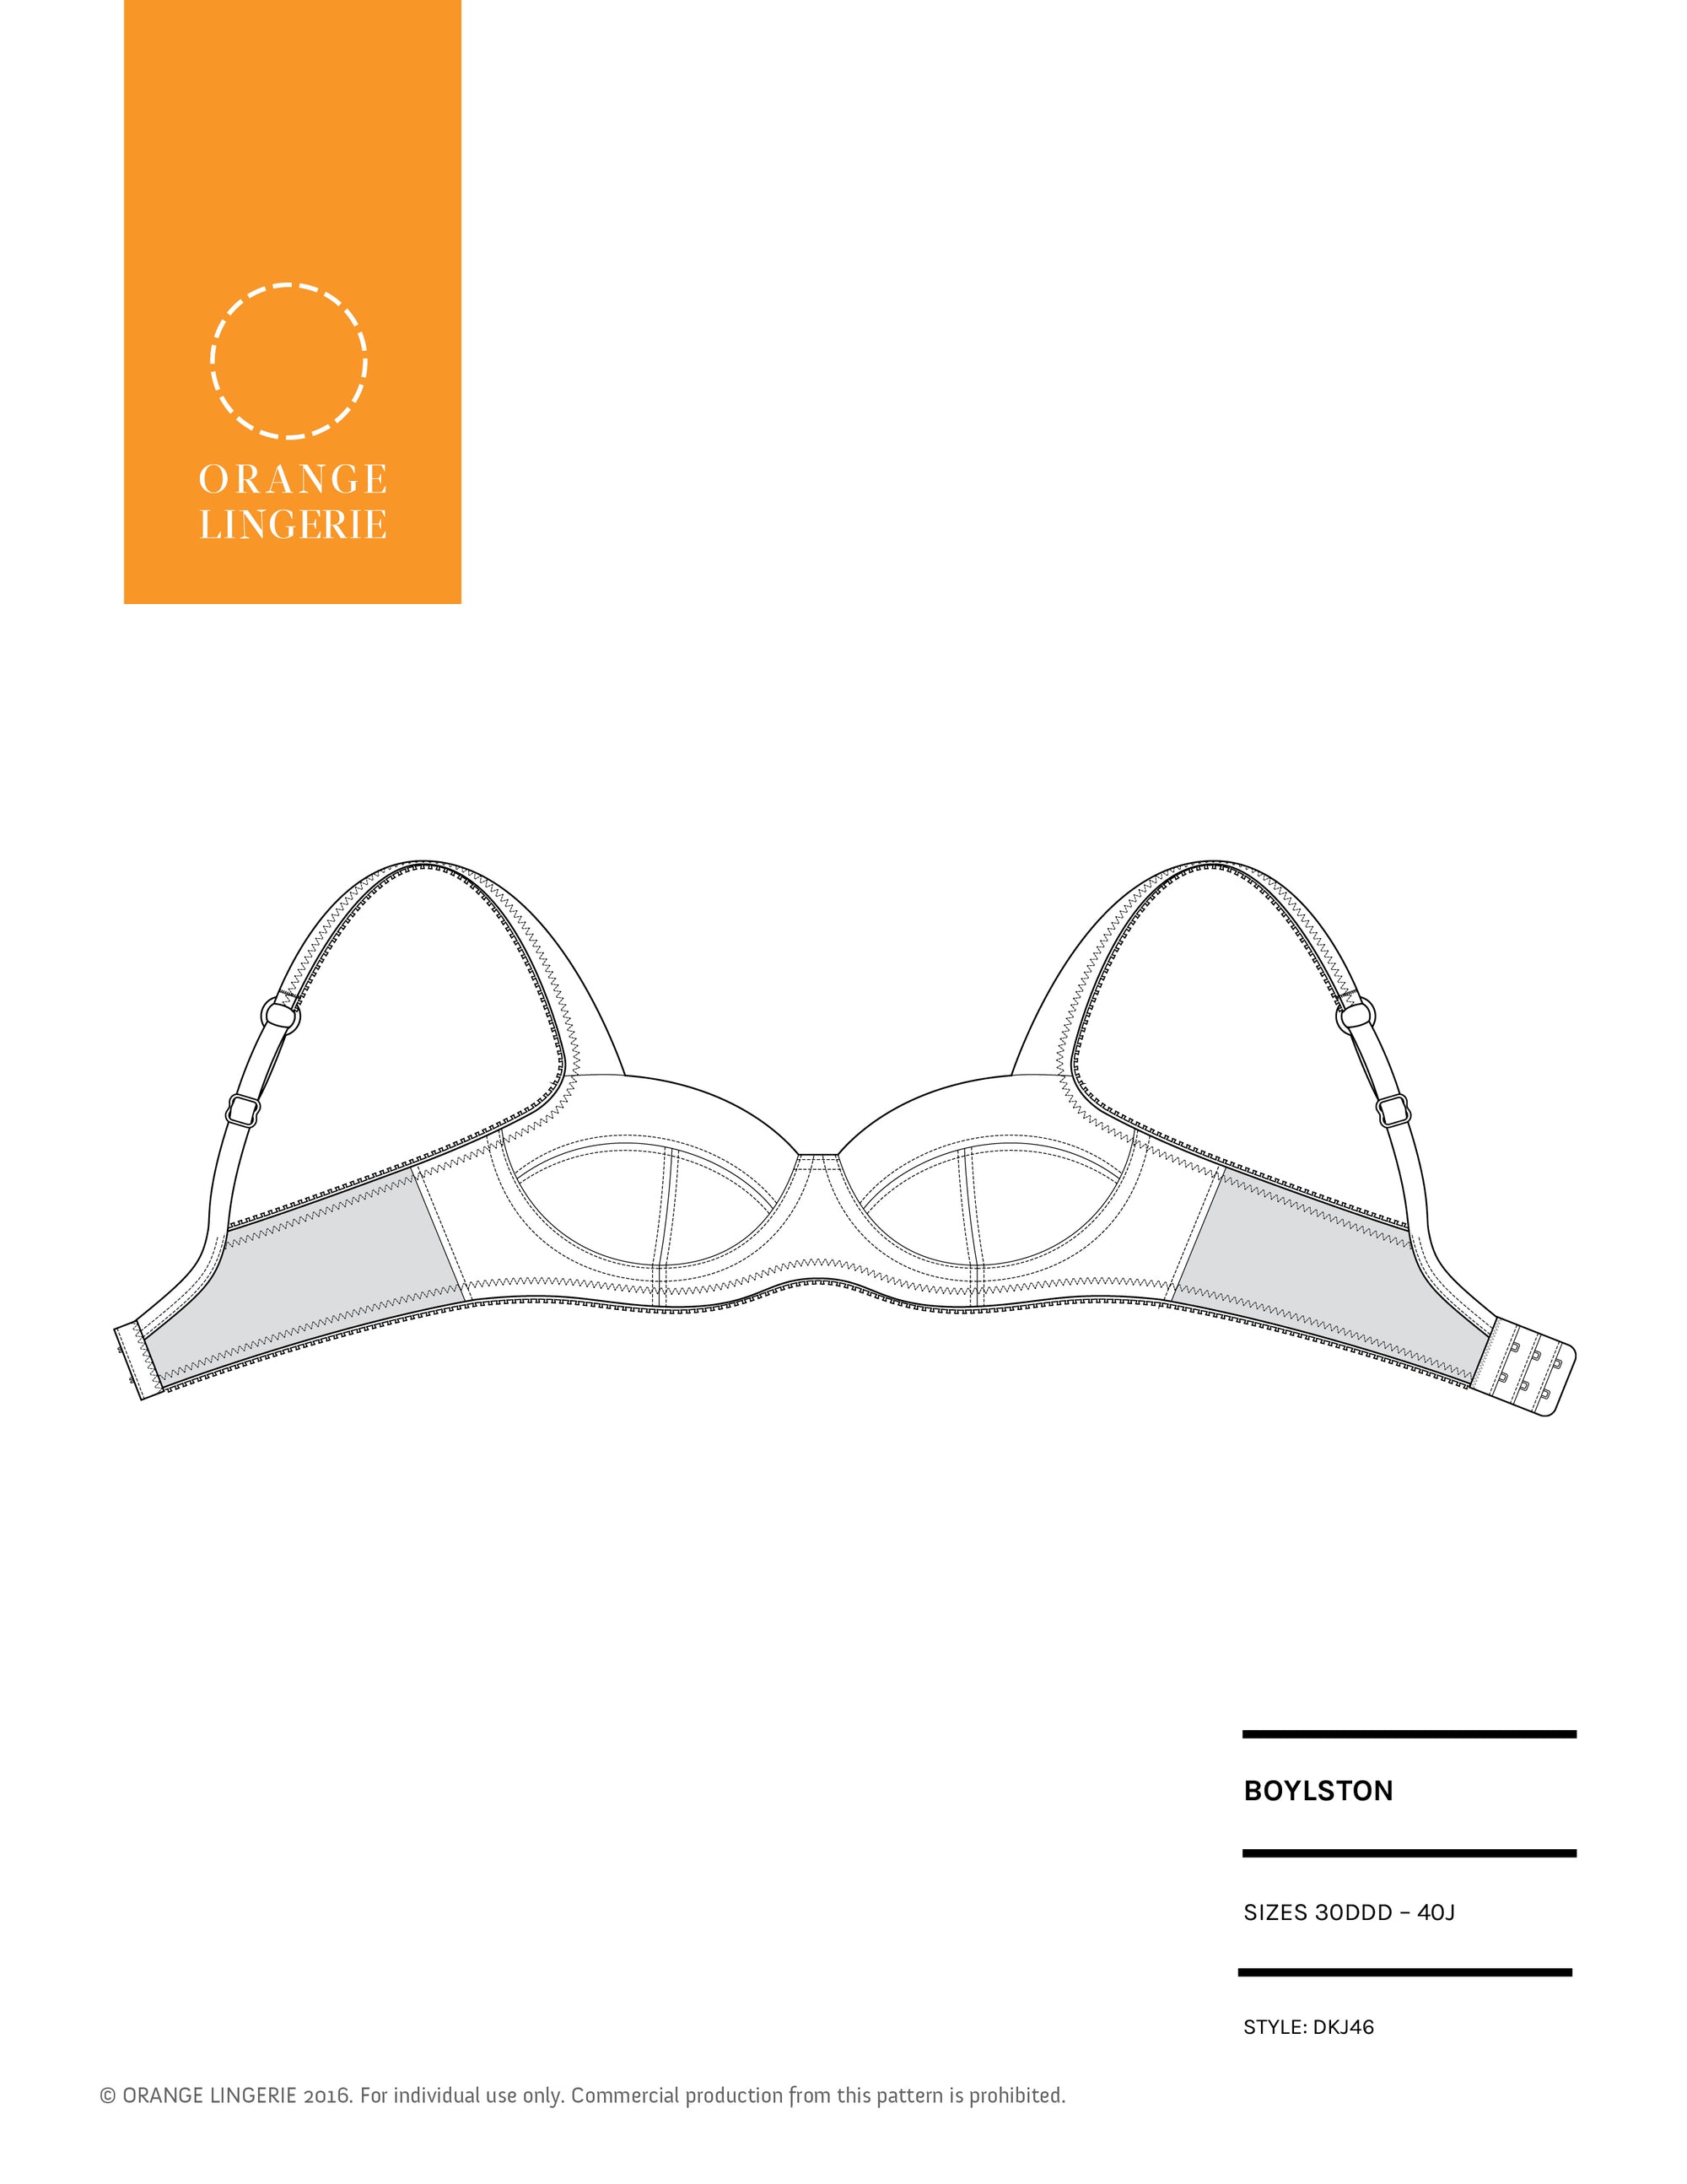
Making a toile is faster than sewing up an entire bra since you do not need the elastics or trimmings attached. Here is what a completed toile looks like for the Boylston bra pattern (note band side closest to you has been folded under).

Depending on the fabric and the alterations (I have cut into a toile in a fitting to determine the alterations!) you may be able to take your toile apart and reuse it to make your final bra. Whether you plan to reuse the materials or not, you must be sure your basting is secure enough to withstand a fitting. Remember a bra is under tension on the body!
While the steps vary a bit based on the specific bra pattern you are using, the general step-by-step assembly order for the toile is as follows:
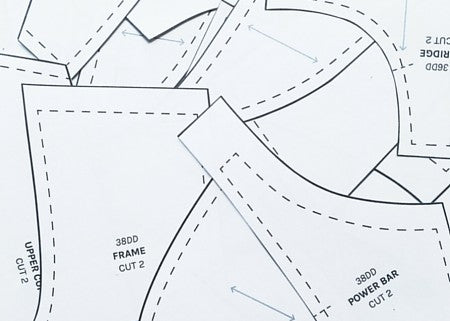
- Cut out and mark the bra as usual.
- Baste a strip of stabilizer to top of each upper cup to prevent stretching the material and to better replicate how the fabric will behave in that area in the final garment. You can use Seams Great or equivalent as a stabilizer.
- Baste the cups together.
- Baste a strip of stabilizer to the underarm area of each cup for the same reason as #2 above.
- Baste a strip of stabilizer across the top of the bridge for the same reason as #2 above.
- Baste the bridge to the frame (if applicable).
- Baste the frame to band (if applicable).
- Baste the cups to the frame (full frame) or to the bridge and the band (frameless).
- Baste the underwire casing around each cup at the ¼” seam line.
- Baste “topstitch” underwire casing to the frame (full frame) or to the bra cups (frameless). It is important to do this to keep the wire in its correct orientation during the fitting. Do not skip this step!
- Baste straps together based on your bra pattern style.
- Baste the front of the straps to each upper cup at their indicated attachment point.
- Baste the back of the straps to the back of band at their indicated attachment point using a zigzag stitch.
- Baste the hook and eye fastener onto band using a zigzag stitch.
- Baste front and back straps together (if applicable).
- Insert underwires.
Now you can try on the bra to get a better idea of fit, mark any alterations and then adjust your pattern before you sew a final garment.
It is important to note that when you try on the toile it will feel looser on the body than a completed bra since it does not have any elastics attached to keep the garment snug against the body (see below).

For this reason I usually wait to fit the band until after I have the attached the elastics when I am sewing the final bra. I will tell you how to fine tune the band fit as you are sewing in my next post!