If you are wondering what size bra to sew you are not alone! I am asked about sizing more than any other topic. The question of bra size is a tricky one since many individuals are not wearing the correct size bra or do not know what size they should be wearing. It is incredibly rare that someone comes to me for a fitting wearing a bra that fits them correctly!
While most pattern makers include instructions on how to select a size, as sewists we know all too well that measurements alone can not provide a complete picture of body dimensions.
Body circumference measurements do not indicate how the body curves underneath or between reference points. This means that any sizing method that relies exclusively on body measurements is as likely to fail as it is to succeed. Every body is shaped differently. The most accurate way to find your bra size is try on the actual bra in question in a variety of sizes to find the one that fits best. As an example, I recently had a student who used a standard bra sizing technique to calculate that she was an A cup, however it was clear from our fitting where she tried on bras in different sizes that she preferred a D cup for comfort and support.
Because it is complicated to recommend a bra size based on measurements alone, when working with a new bra sewing pattern, I advise sewists to start with their ready-to-wear size. However, this only works well if the ready-to-wear bra fits correctly. (As an aside, if you want to know what constitutes a good fit, you can read my post on that here). If you have no idea what size to sew, you can follow the pattern’s measurement and sizing instructions and make a test cup in that size.
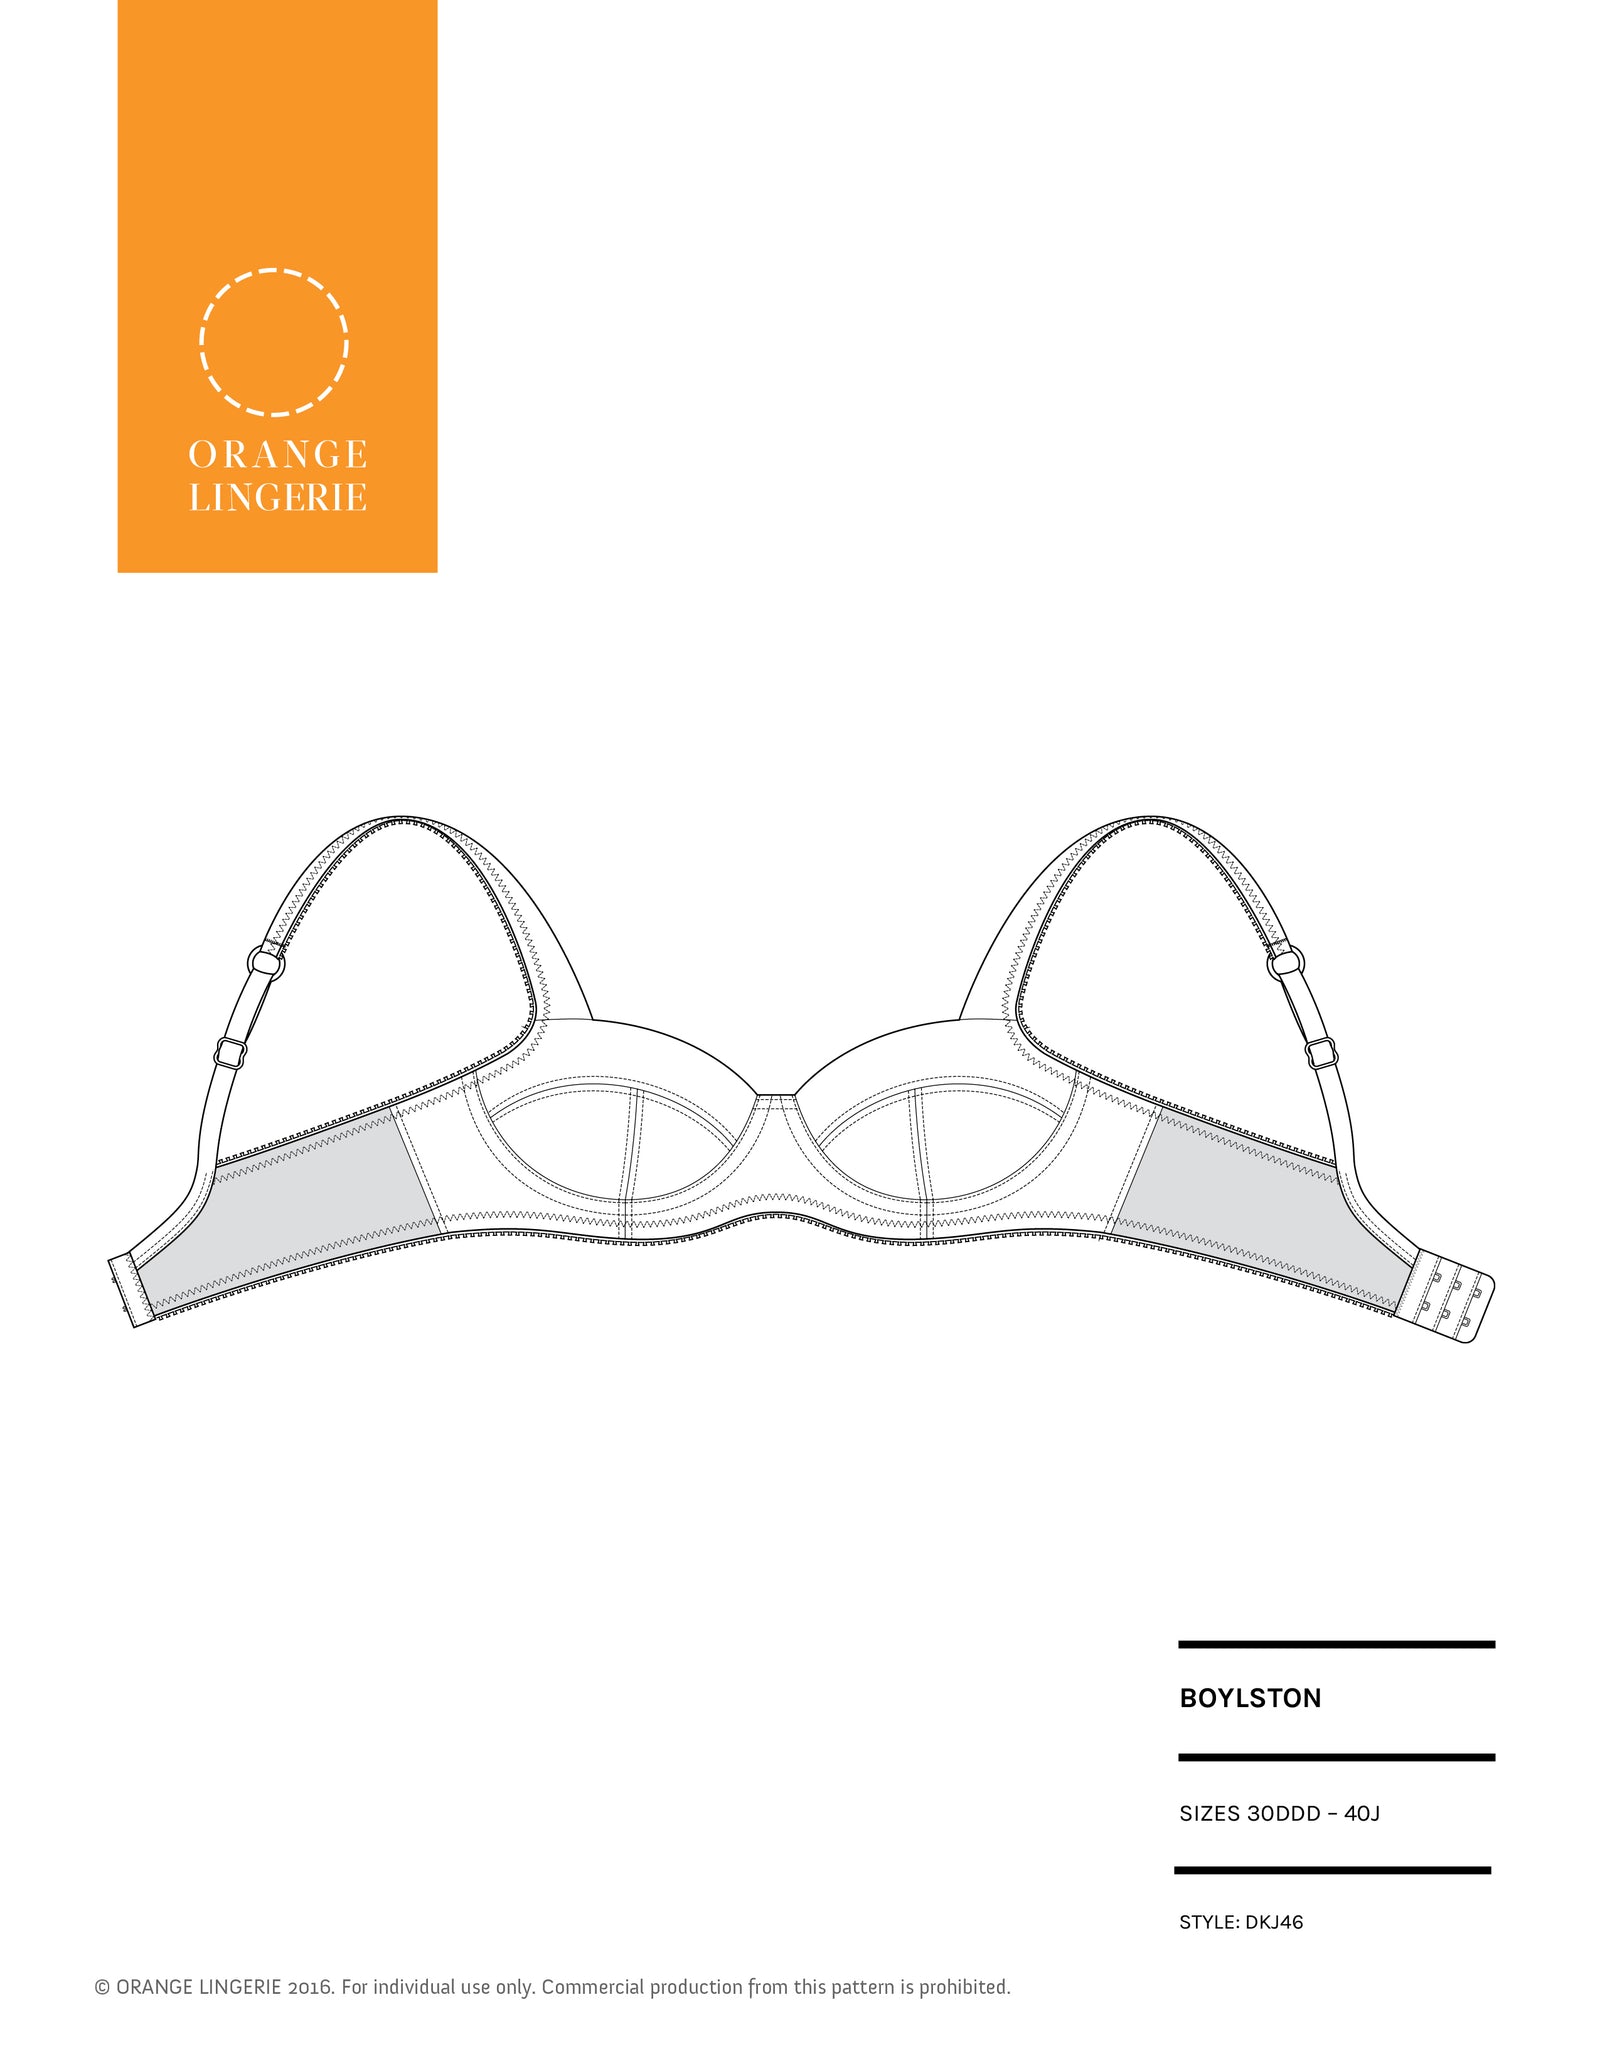
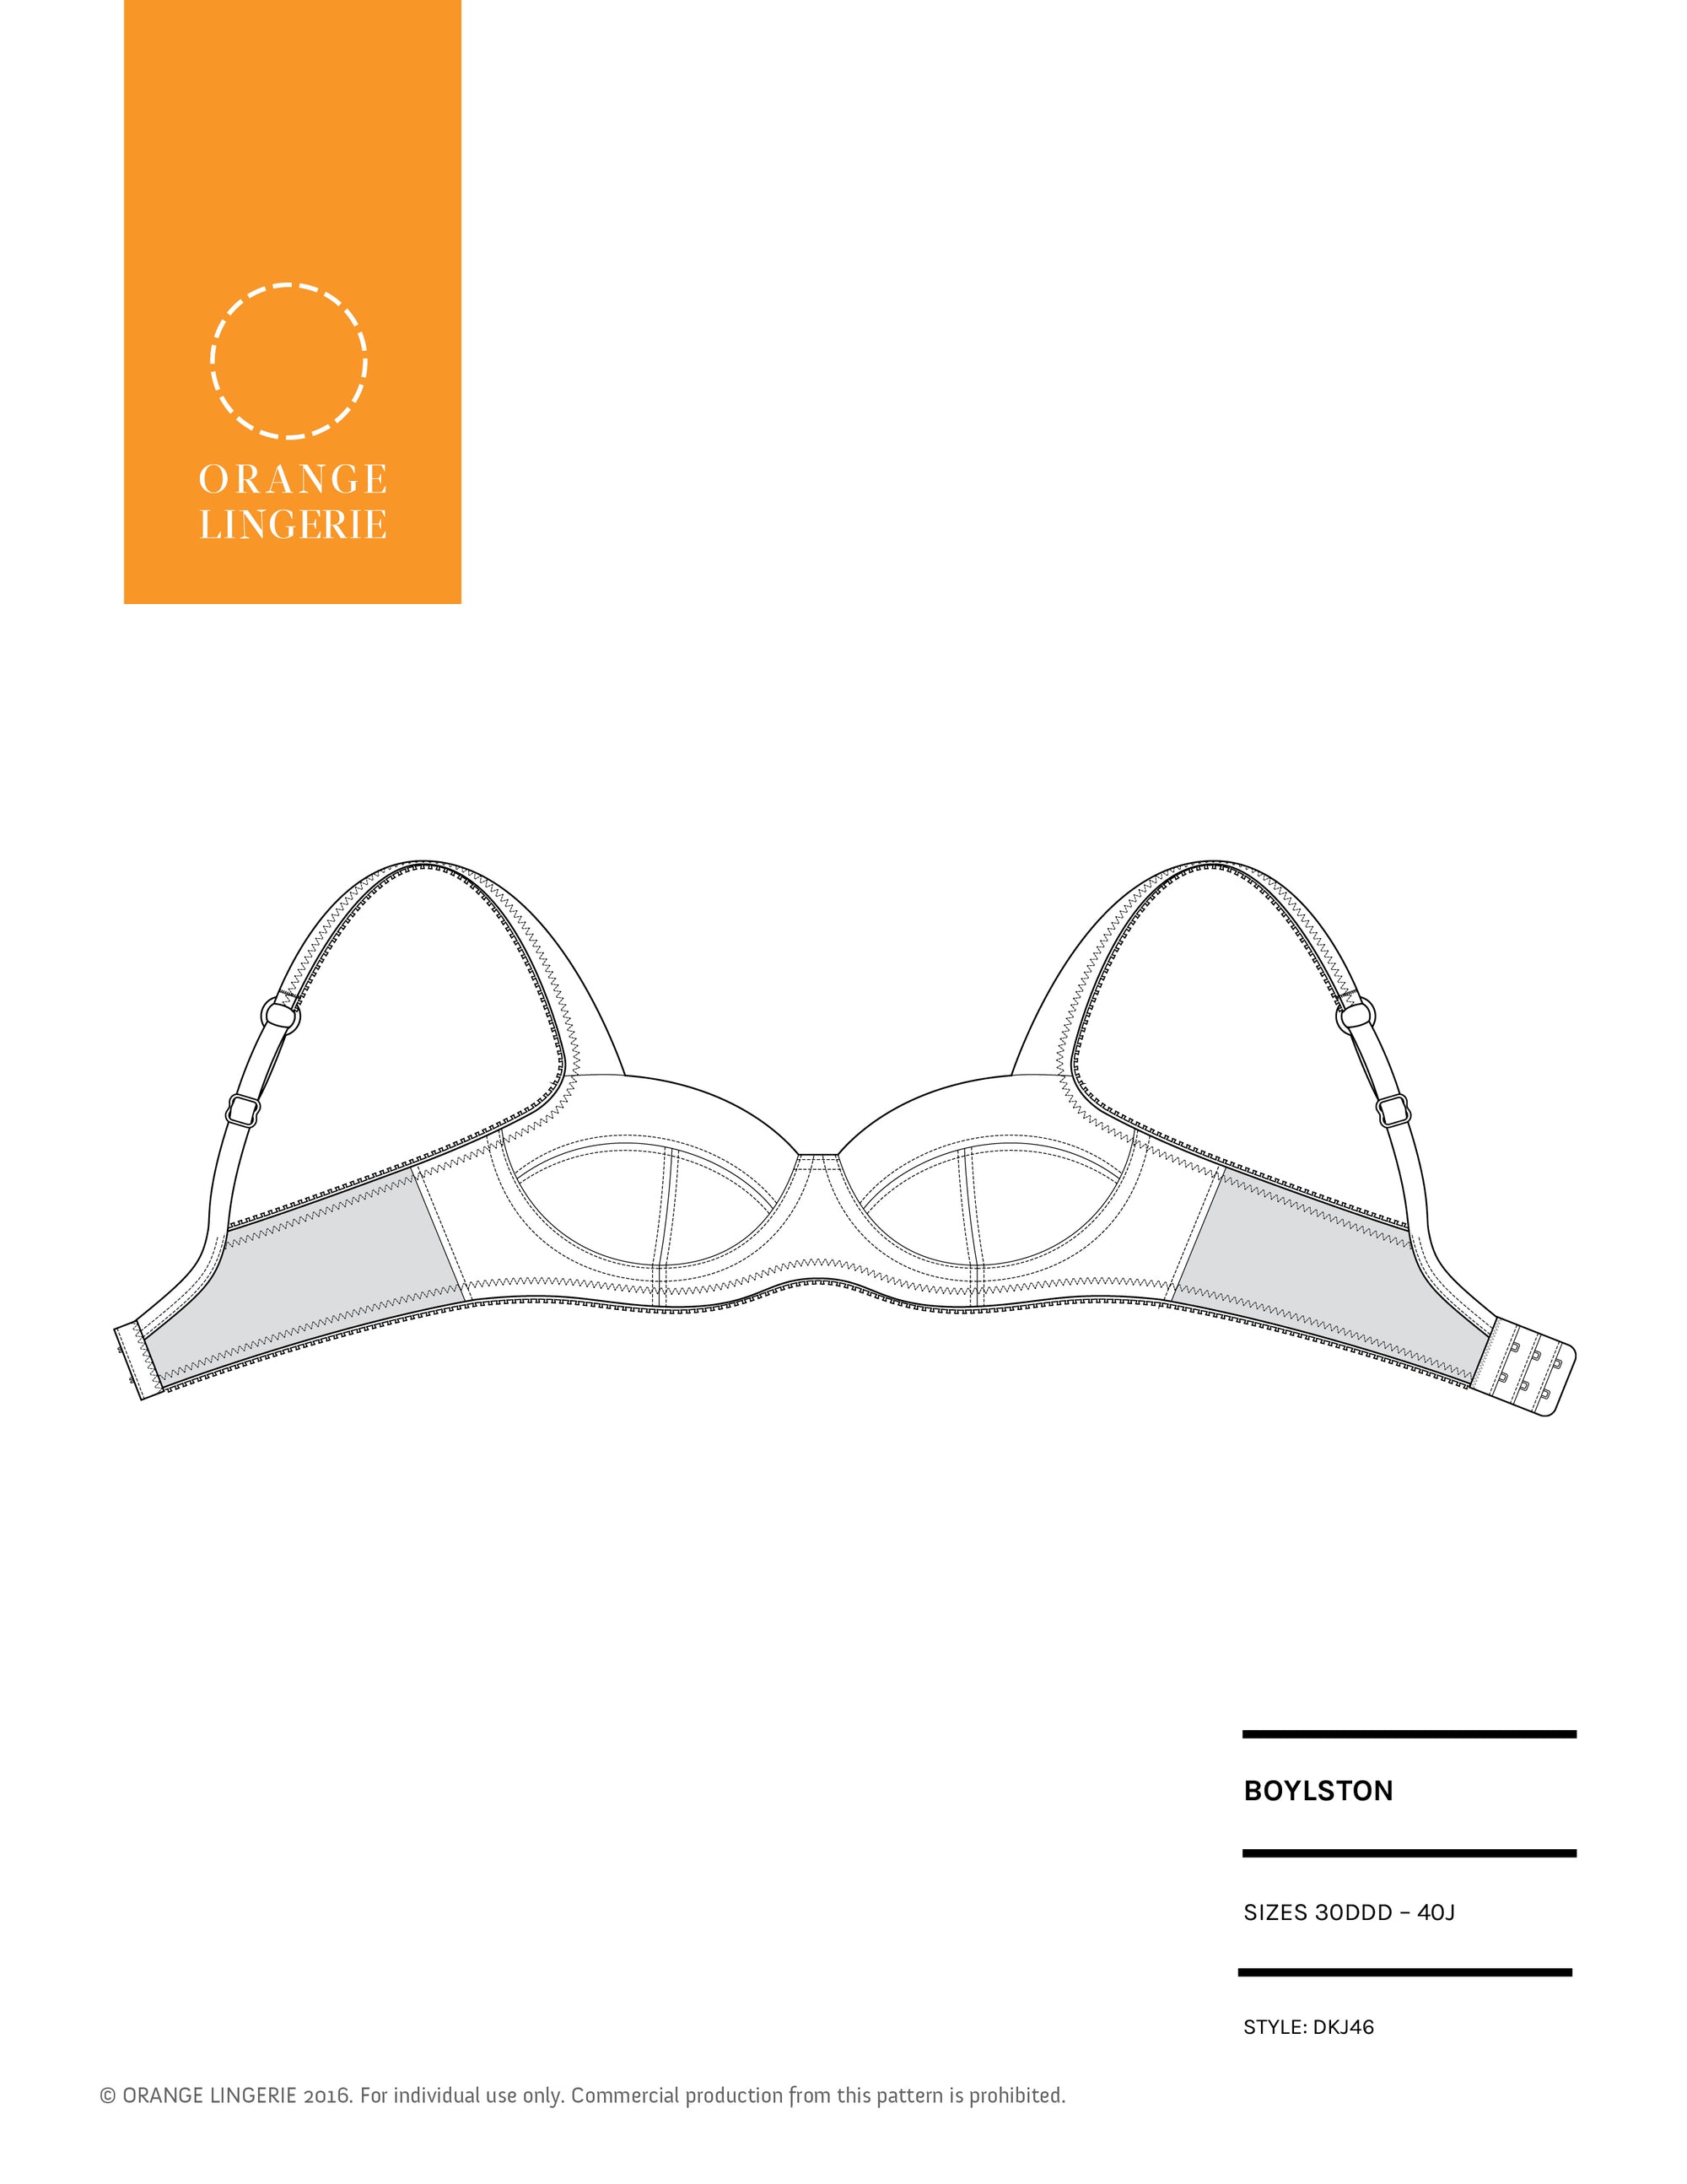
A test cup is a toile (a muslin) of the cup of the bra. Pictured below is a test cup for my Boylston bra pattern.

To make a test cup:
- Cut out the pattern pieces for a single cup using the fabric you plan to use for the final bra or something very similar when you don’t want to cut into a special fabric or lace until you make the final garment.
- Stabilize the upper edge of the upper cup to avoid stretching it out using Seams Great or similar.
- Baste the cup together per the pattern instructions omitting any topstitching or trimming.
- Optional but helpful, baste the strap to the cup so you can be sure you have the cup oriented correctly on the body when fitting and you can assess the strap location on the body.
- Baste the underwire casing to the ¼” seam line around the outside of the cup. Remember, if it is a full frame bra (as pictured above), the casing lies to the outside of the cup seam allowance (away from the cup). If it is a frameless bra, the casing lies on the inside of the seam allowance (toward the cup). For frameless bra testing, you must baste the casing to the cup in addition to the ¼” seam line in order keep the wire in the correct place and to properly assess fit.
- Insert the underwire (wire sizing is provided by your supplier) into the casing. It is helpful to have a variety of wire sizes on hand so you can test multiple cup and wire size options to find the best fit.
You can now try the test cup on the body. Be sure to try on the cup like you put on your regular bra cups, scooping the breast into the cup. It helps better replicate the final fit of the cup if you splay the wire out a bit at the underarm. A fitting friend is especially useful when using a test cup since the act of holding the cup in place on your own body can distort the fit.
Since most bodies are asymmetrical, you will want to try the cup on each breast which you can do by simply turning the test cup inside out.

A test cup is a fast and easy way to figure out which bra size to make. When I have used a test cup alone for fitting, I usually only need to make a few minor changes, if any at all, to the next iteration of the pattern.
If you want more certainty of a good fit, I recommend making a toile of the entire garment to try on so you can more thoroughly assess the fit and make any adjustments before making a final bra. I have some recommendations on ways to speed up that process coming up on the blog soon!