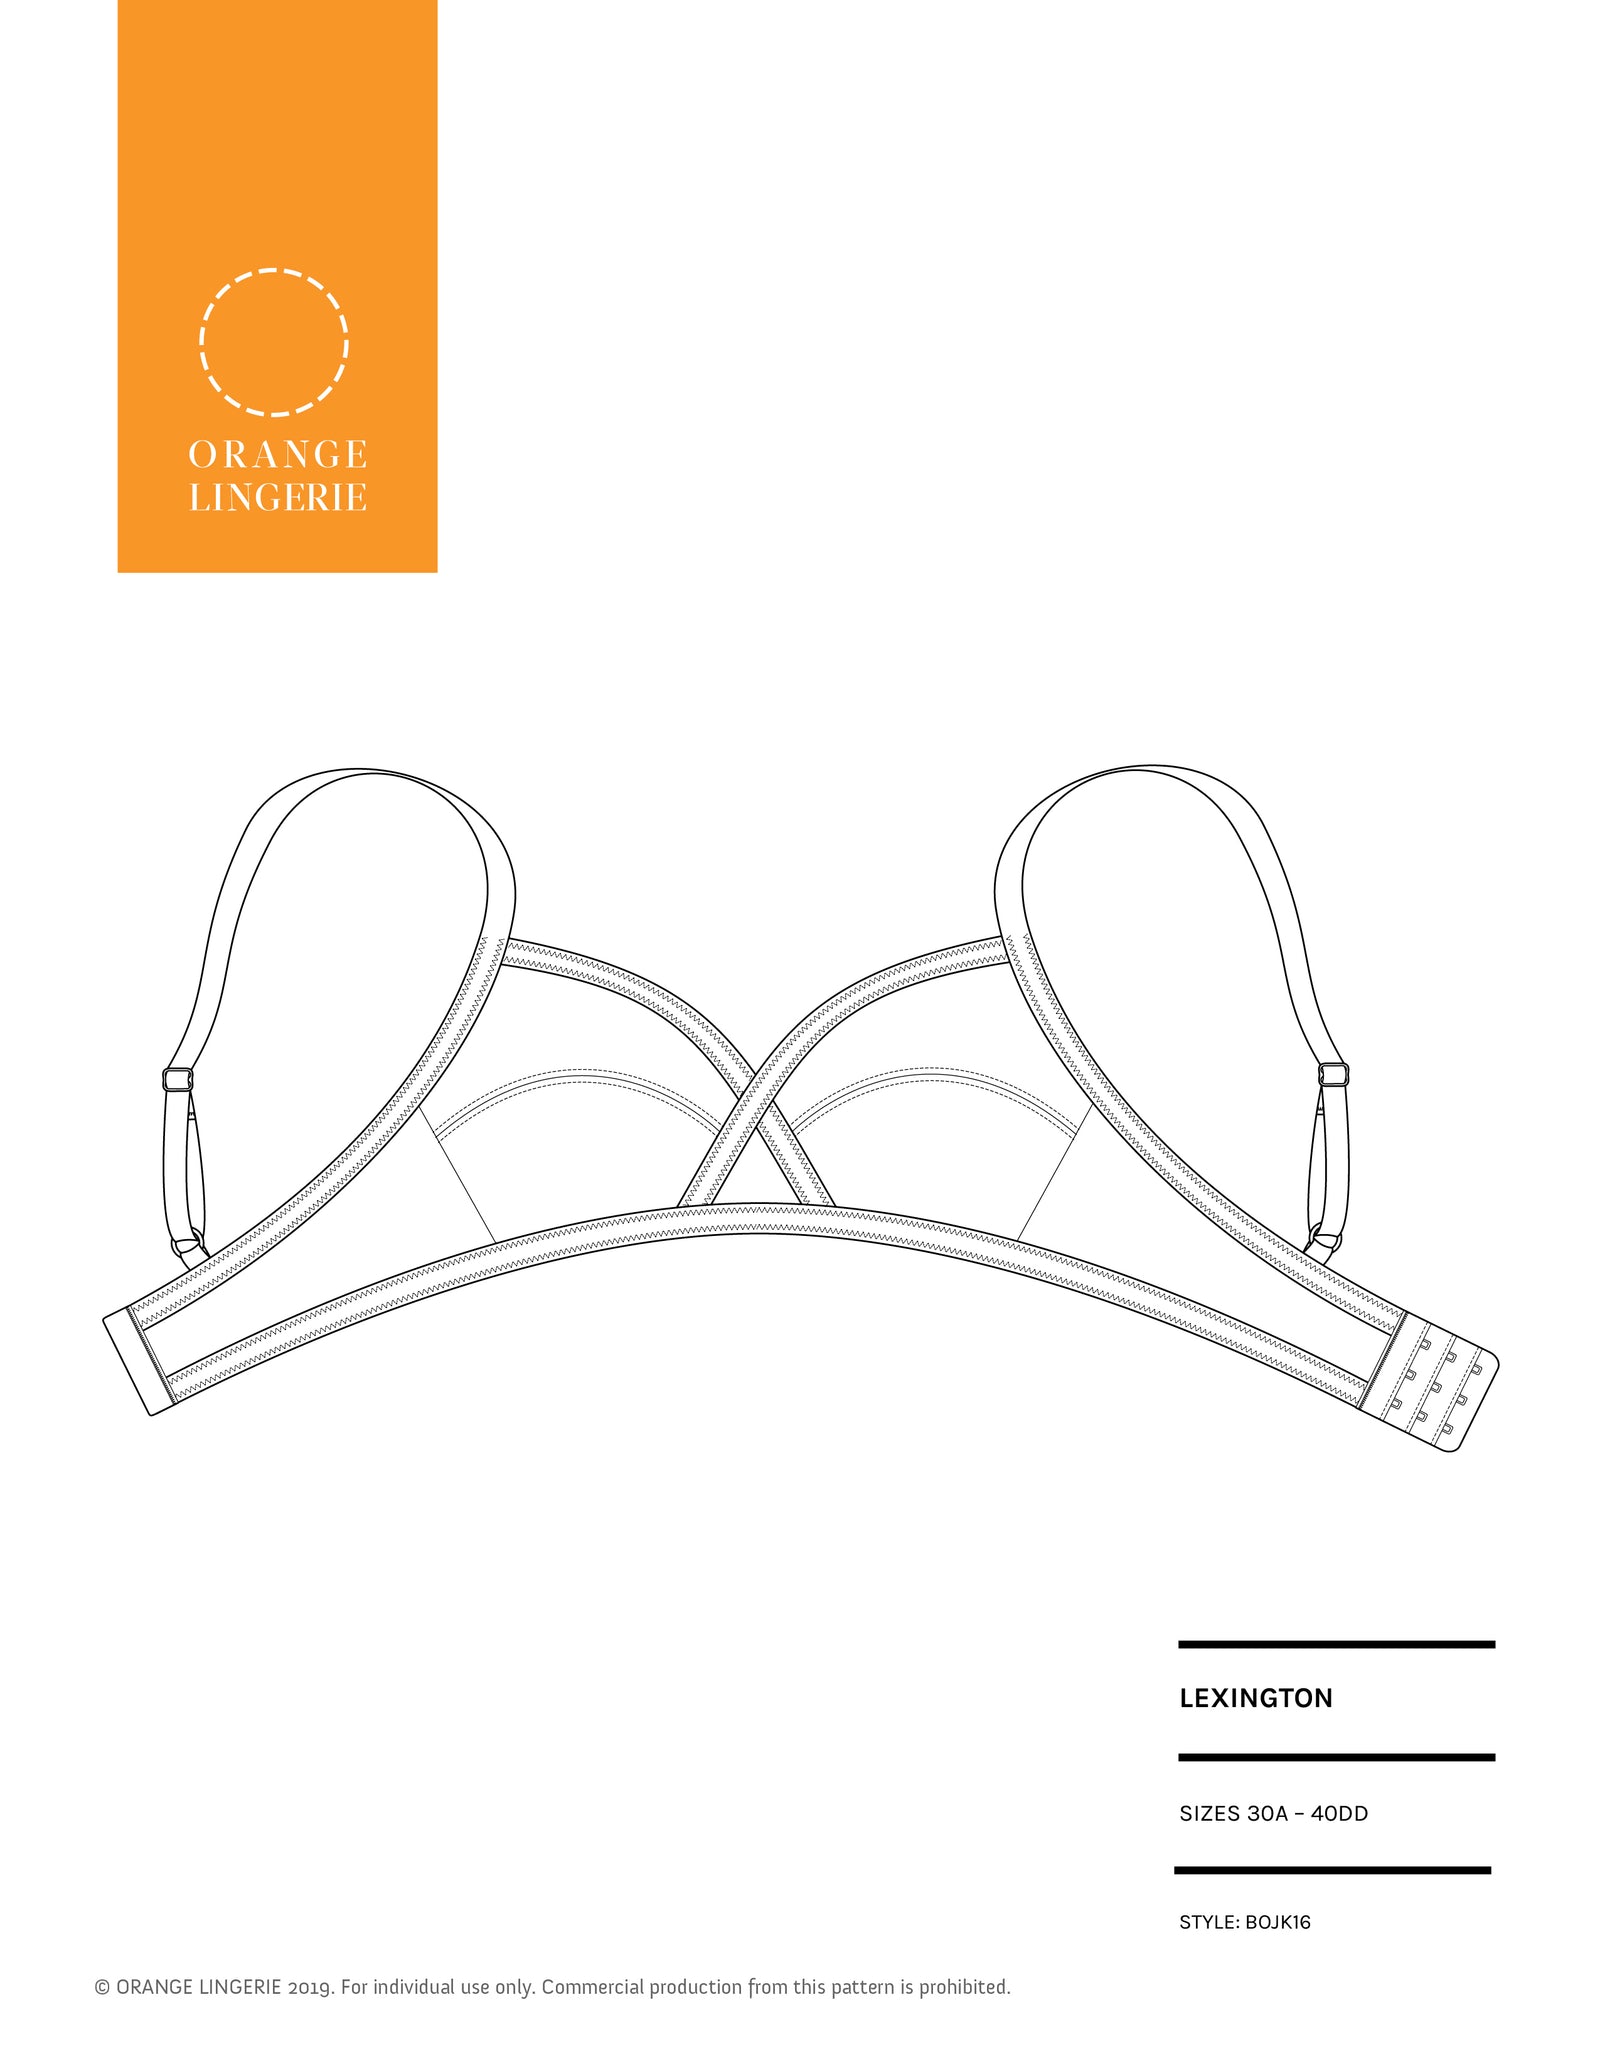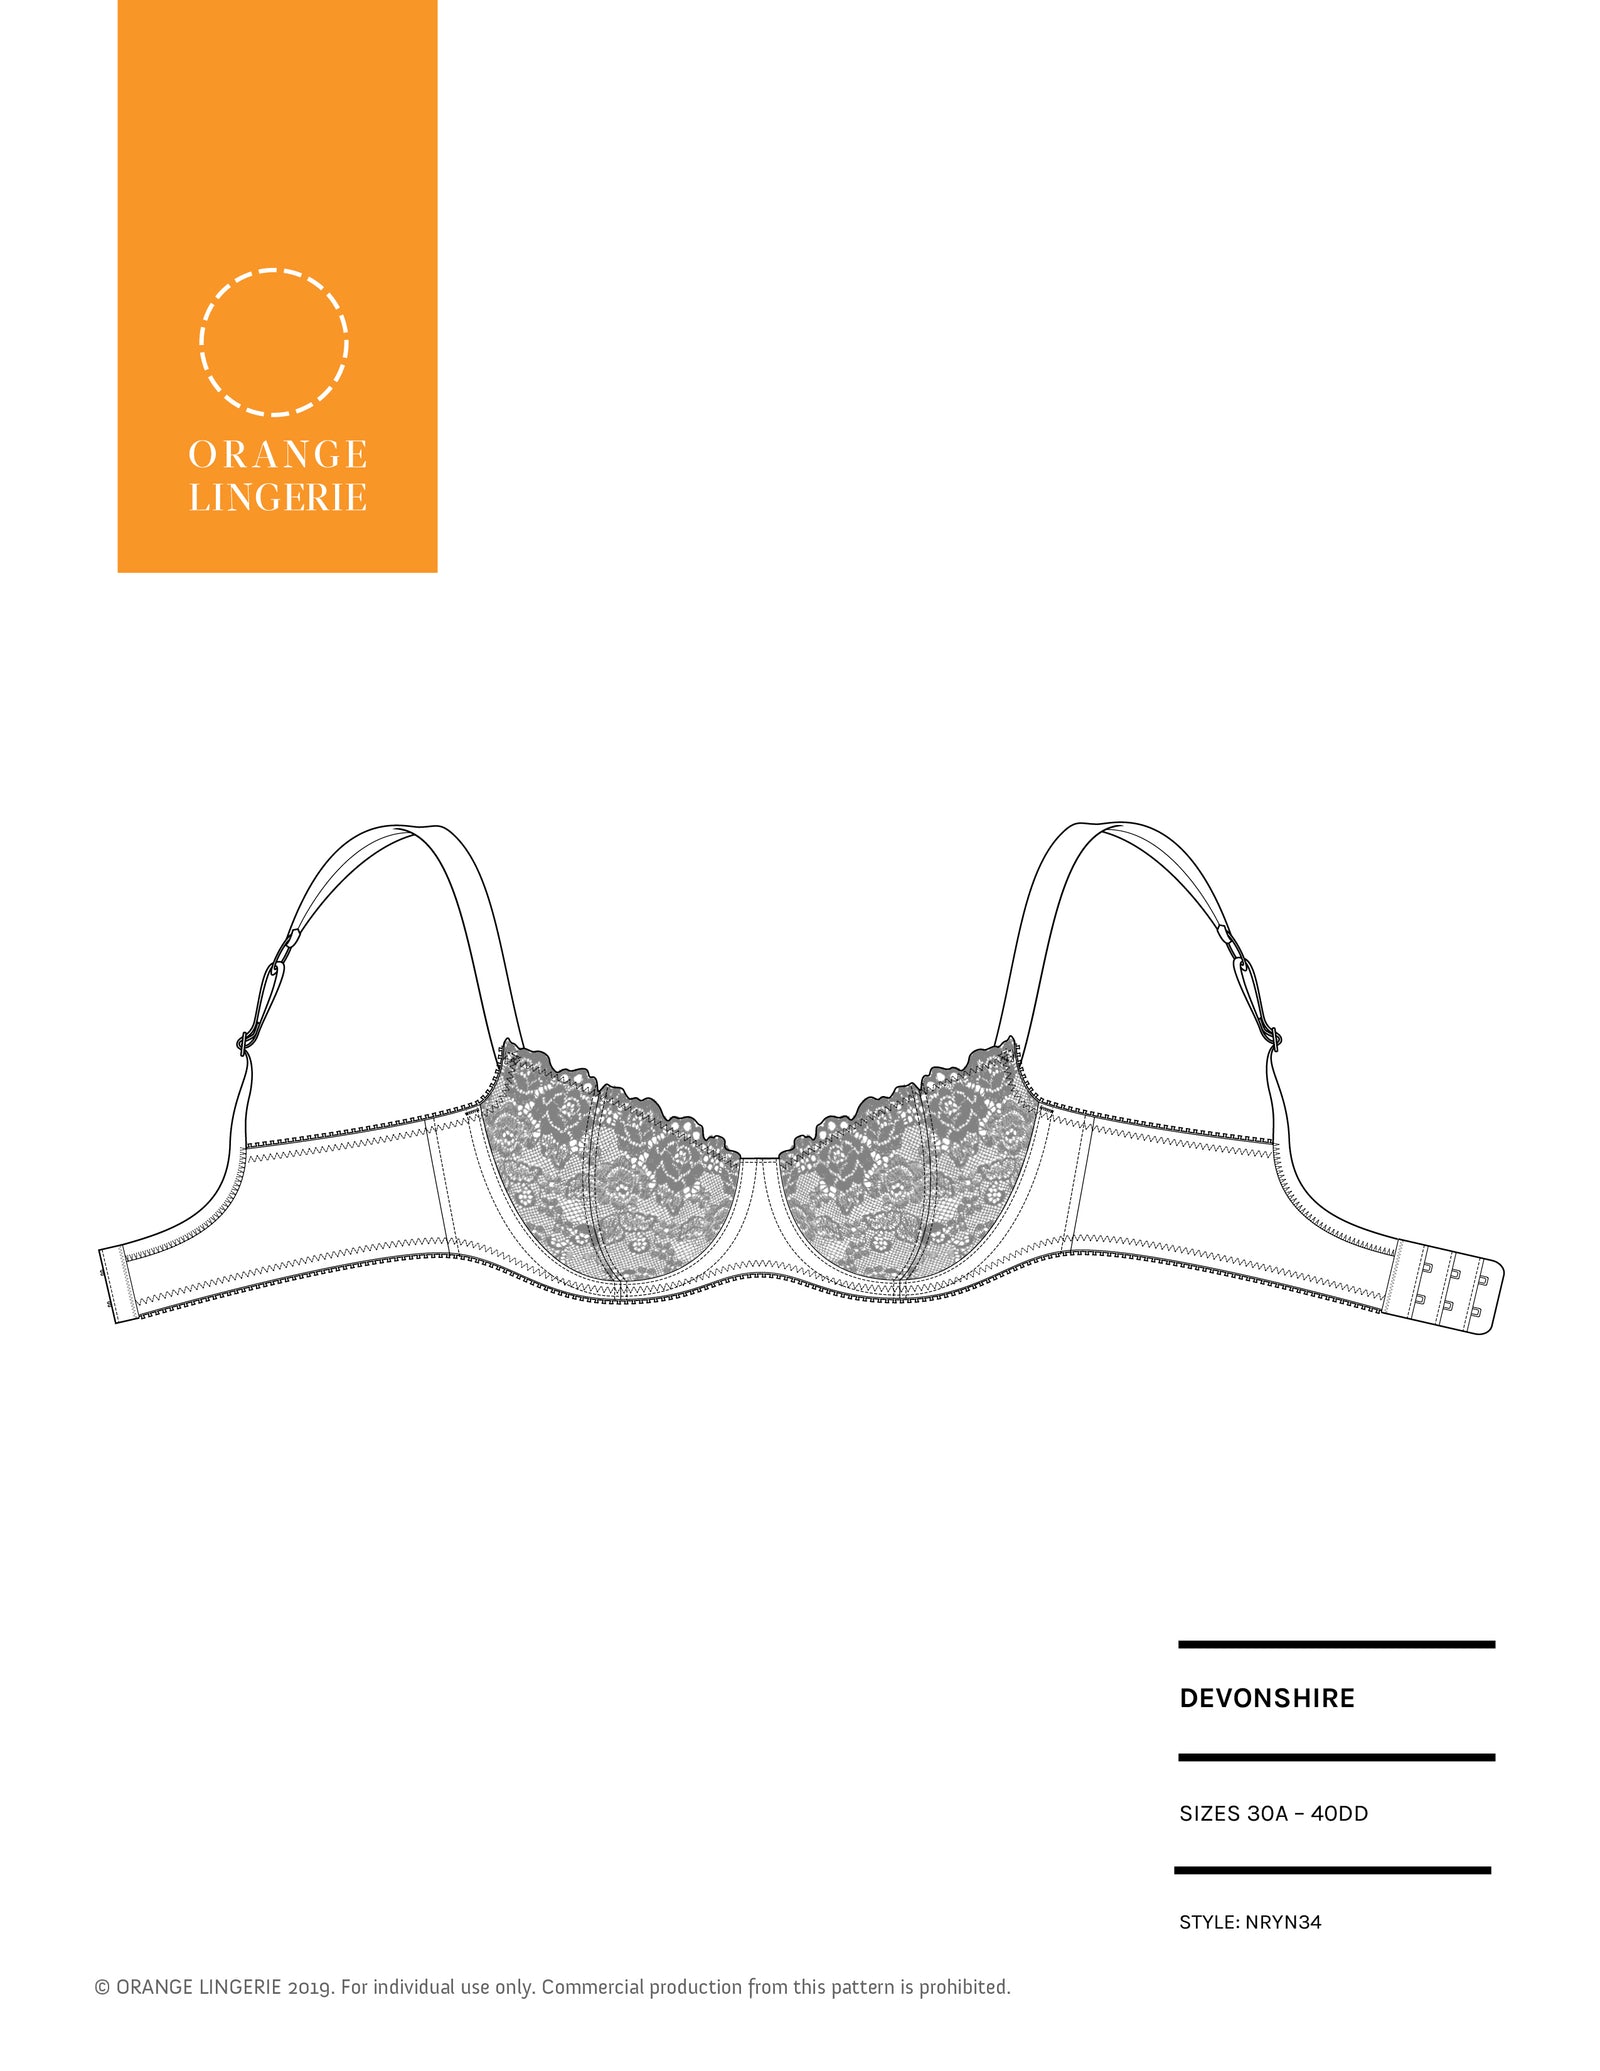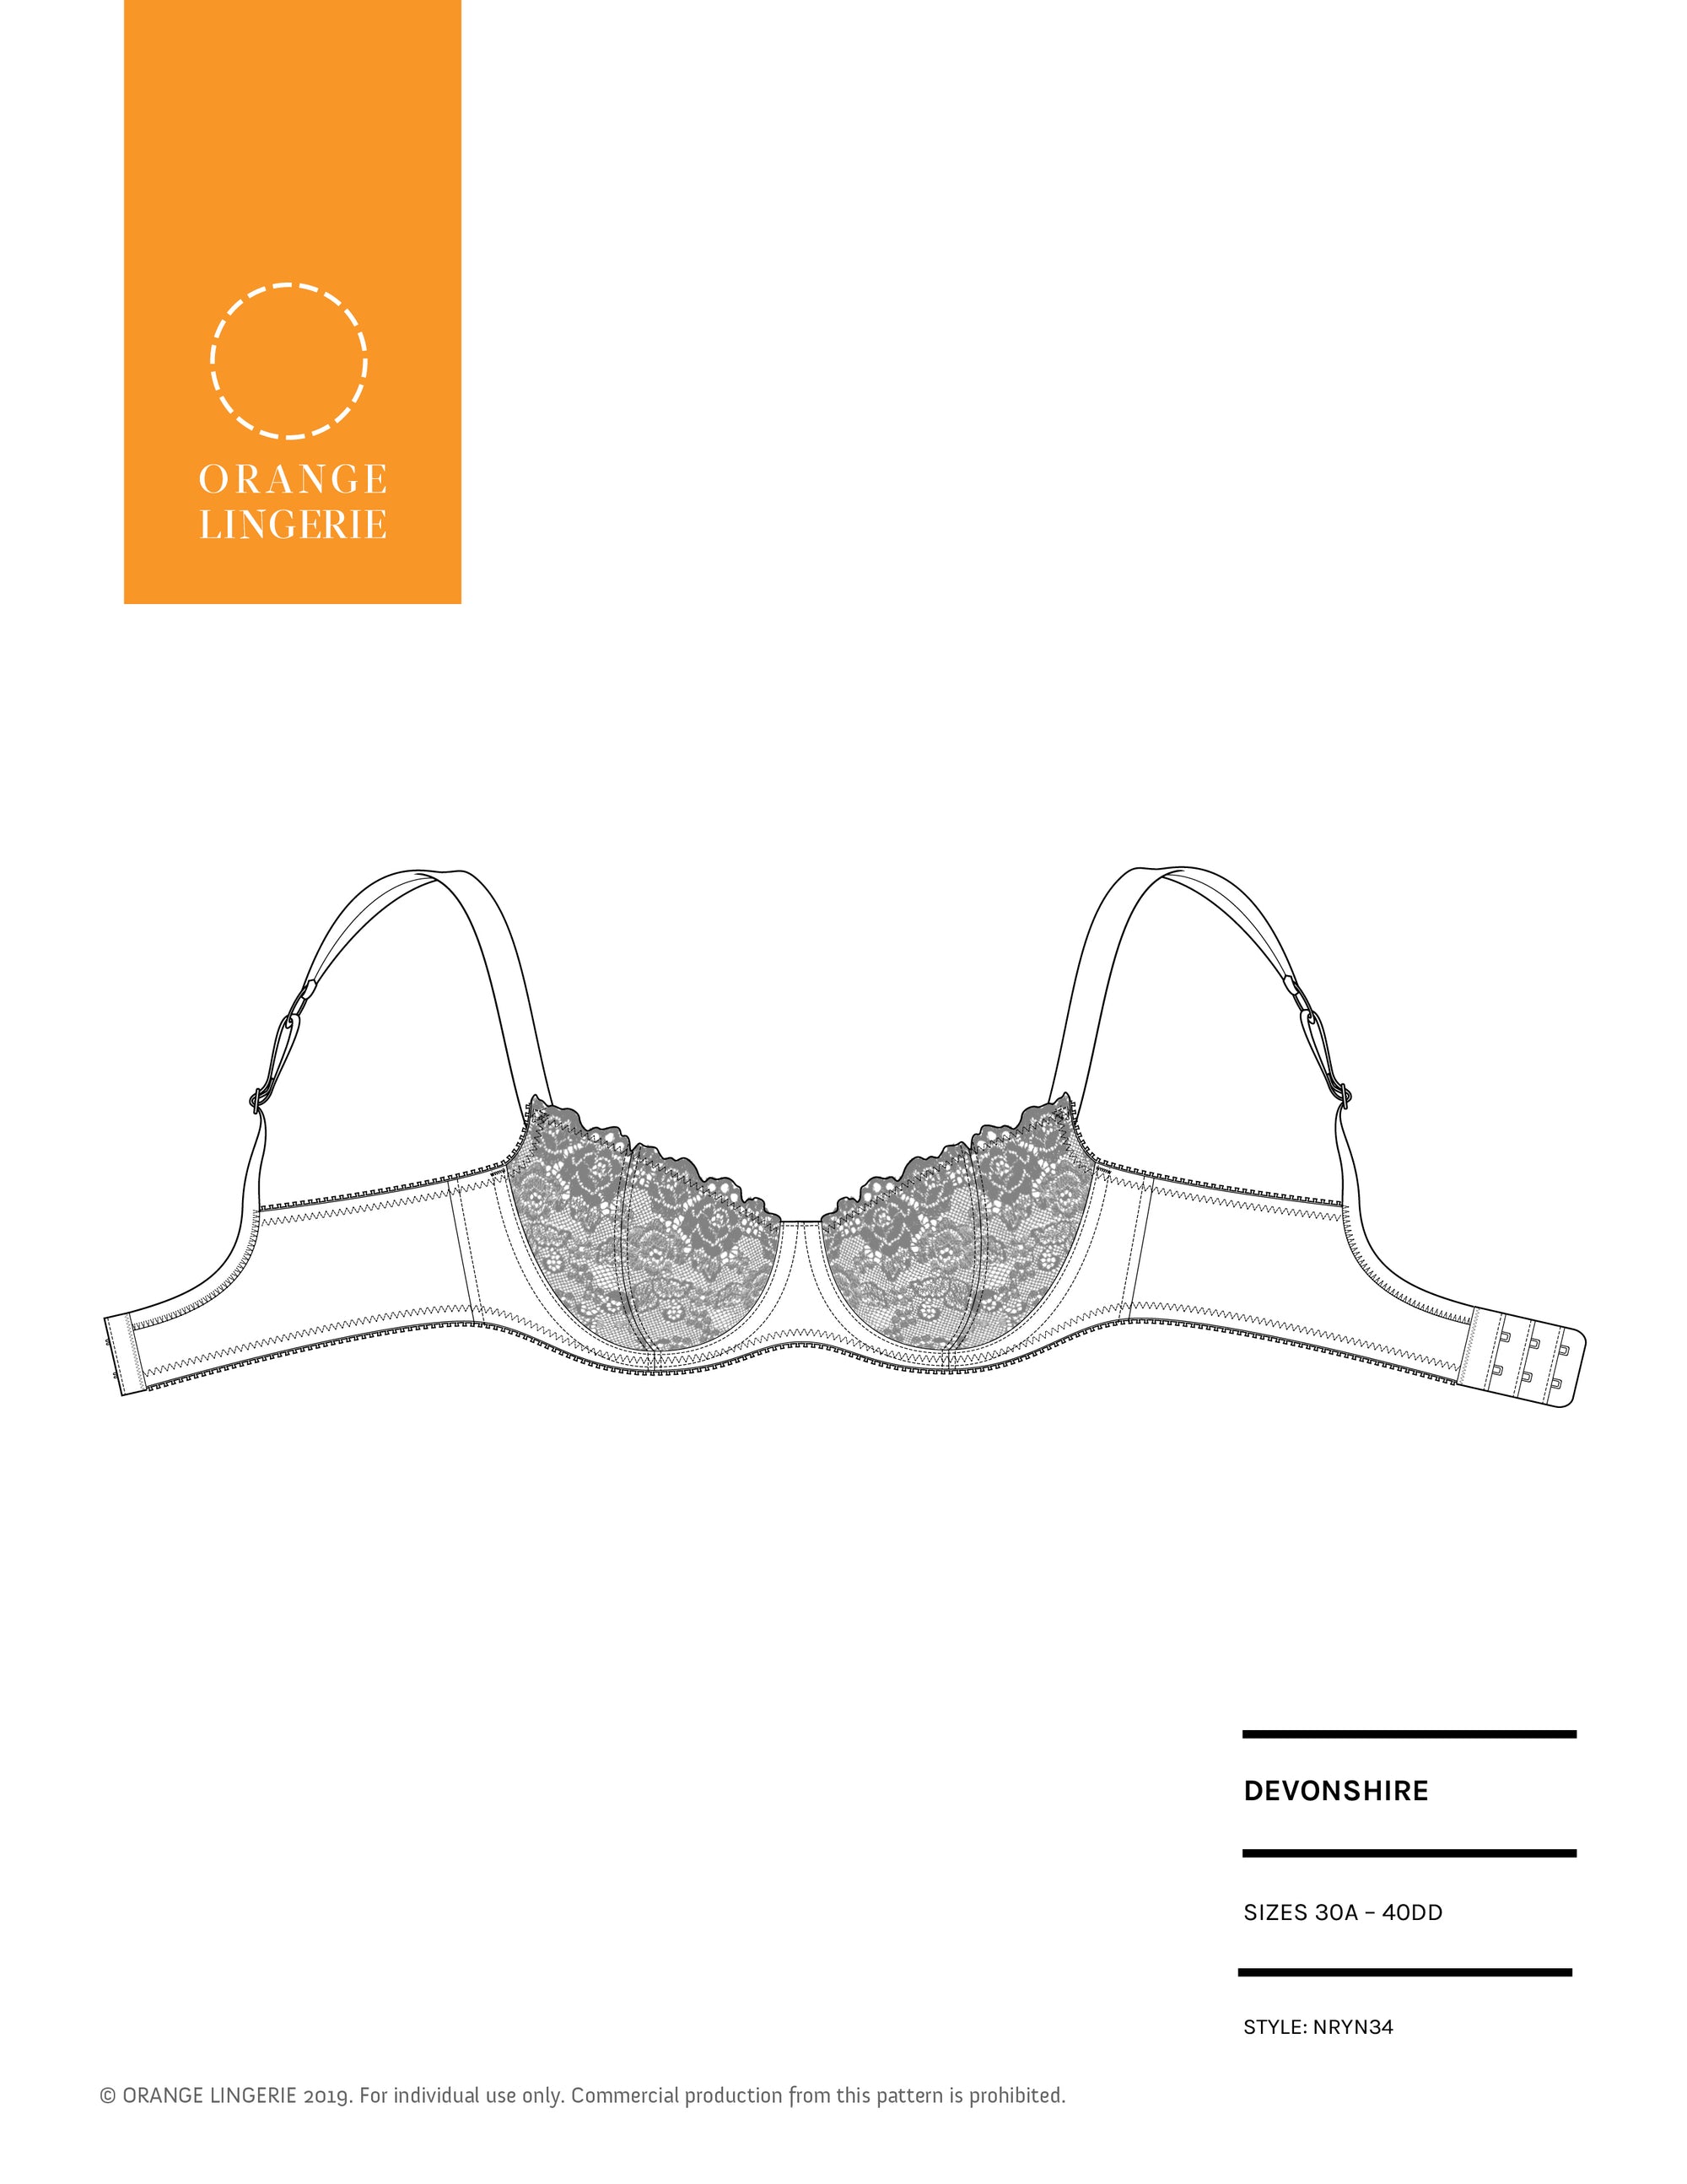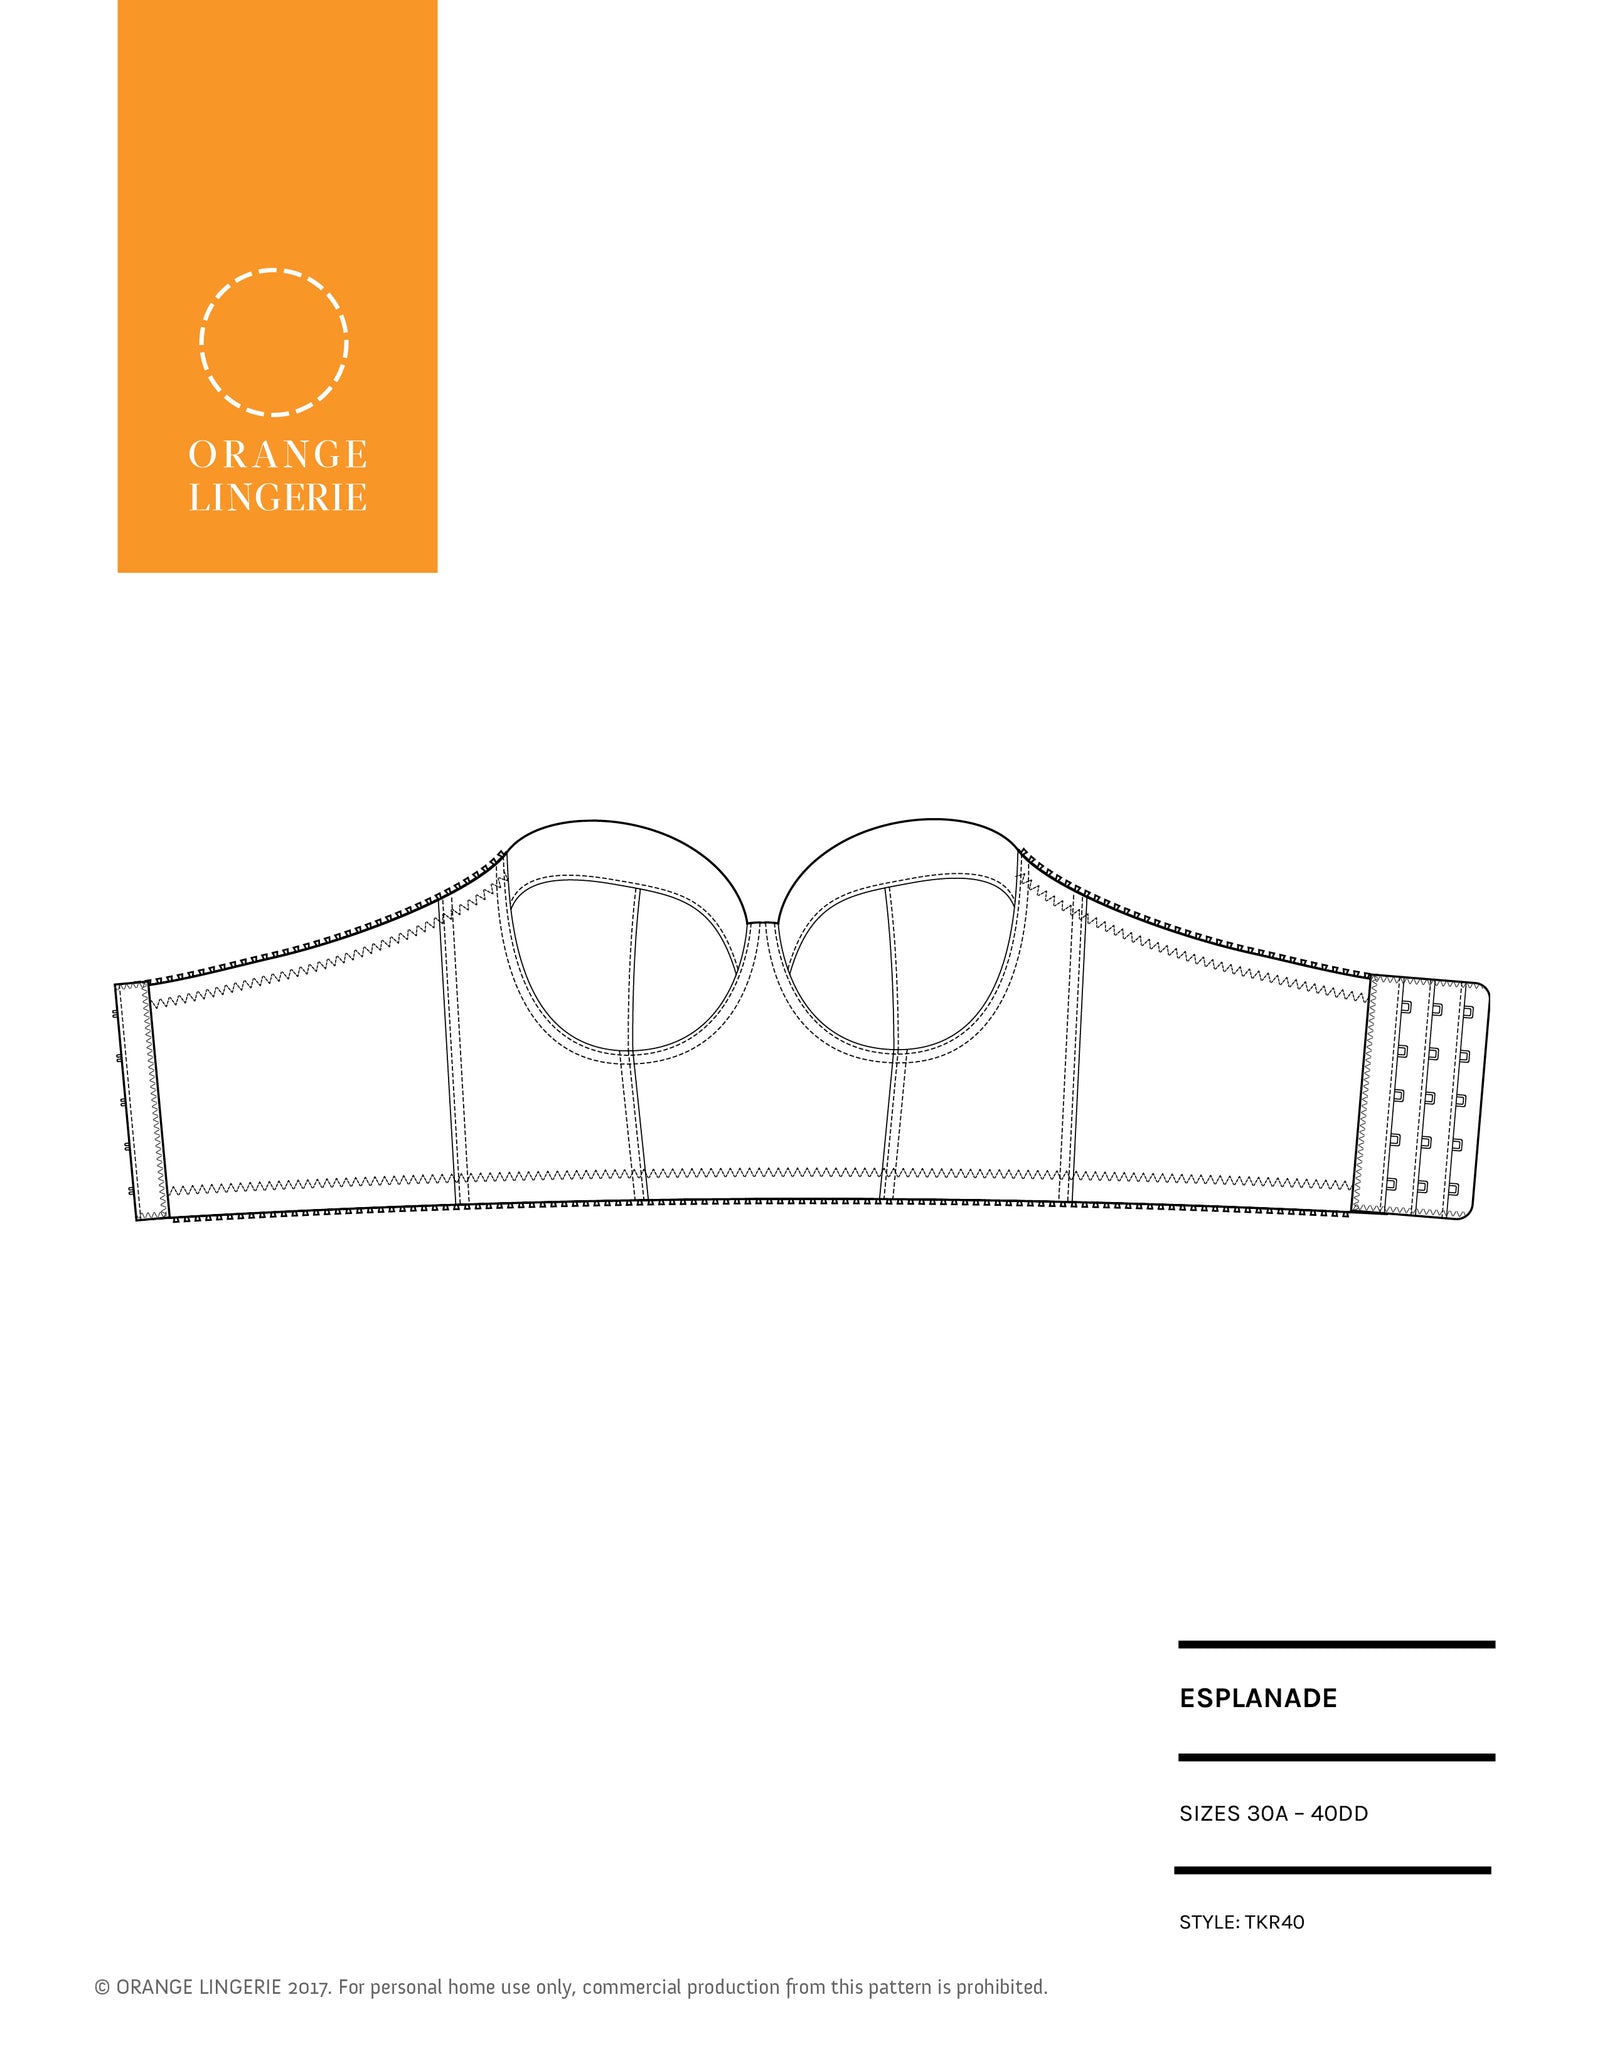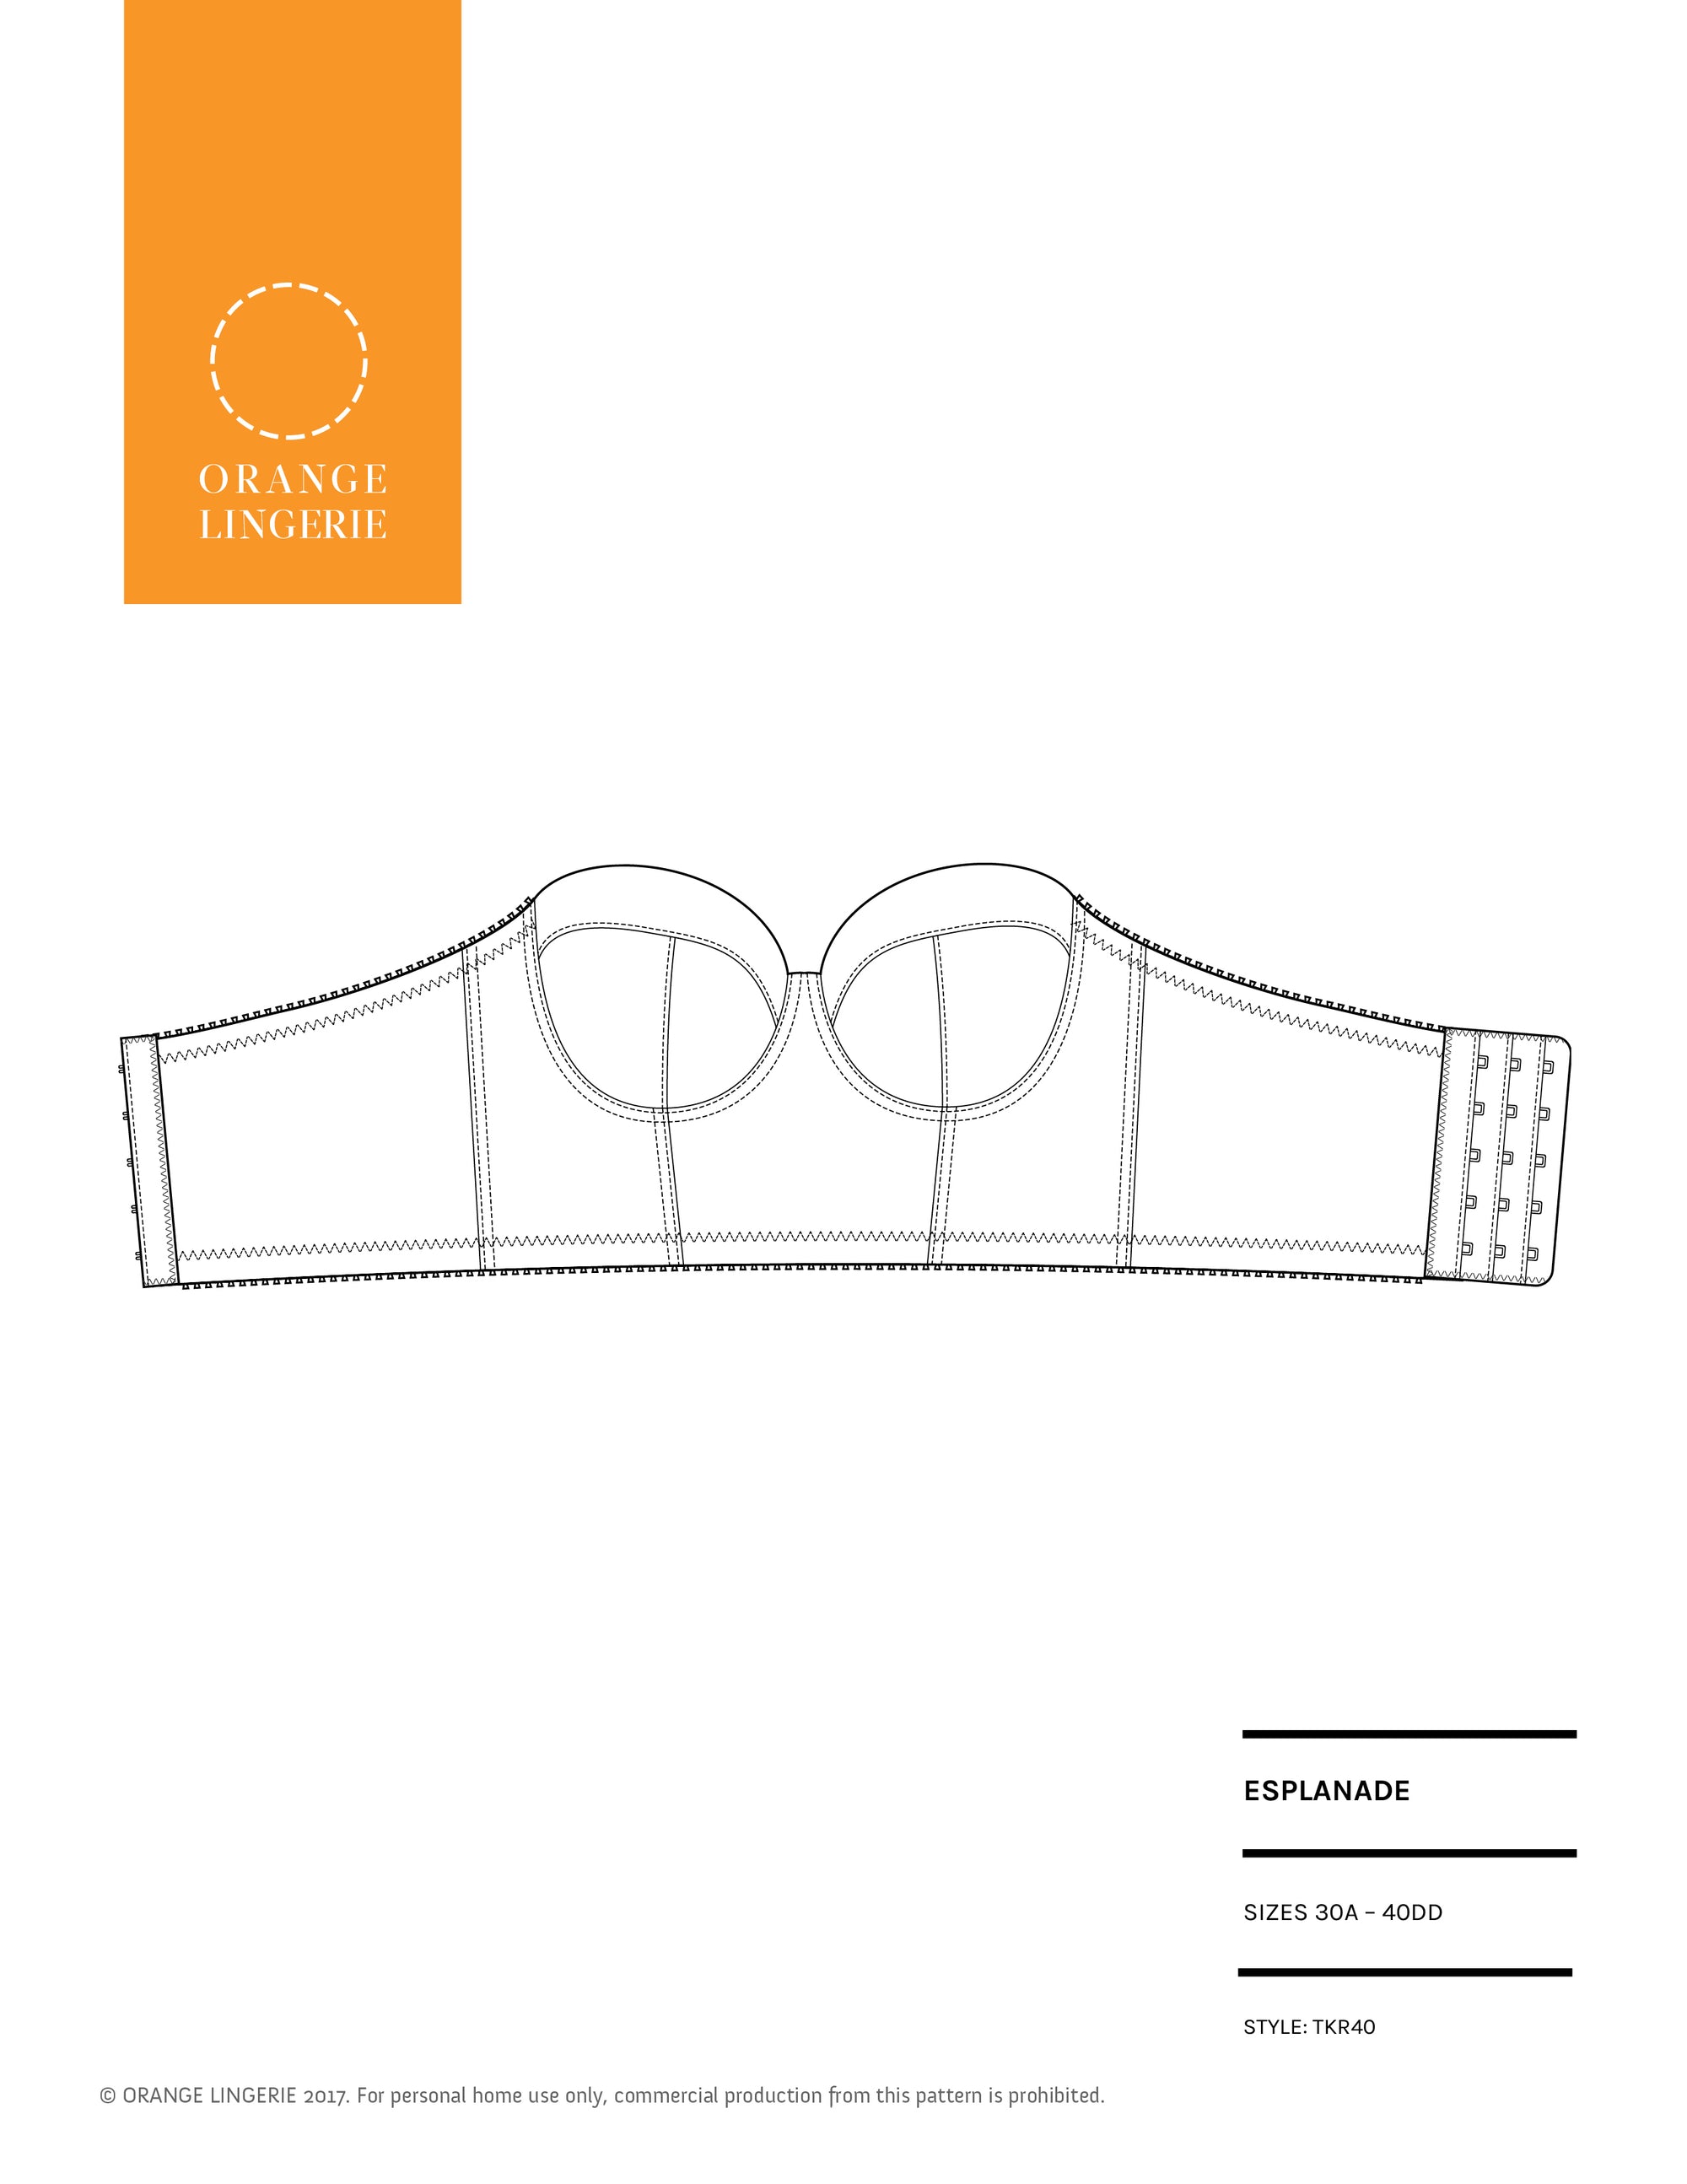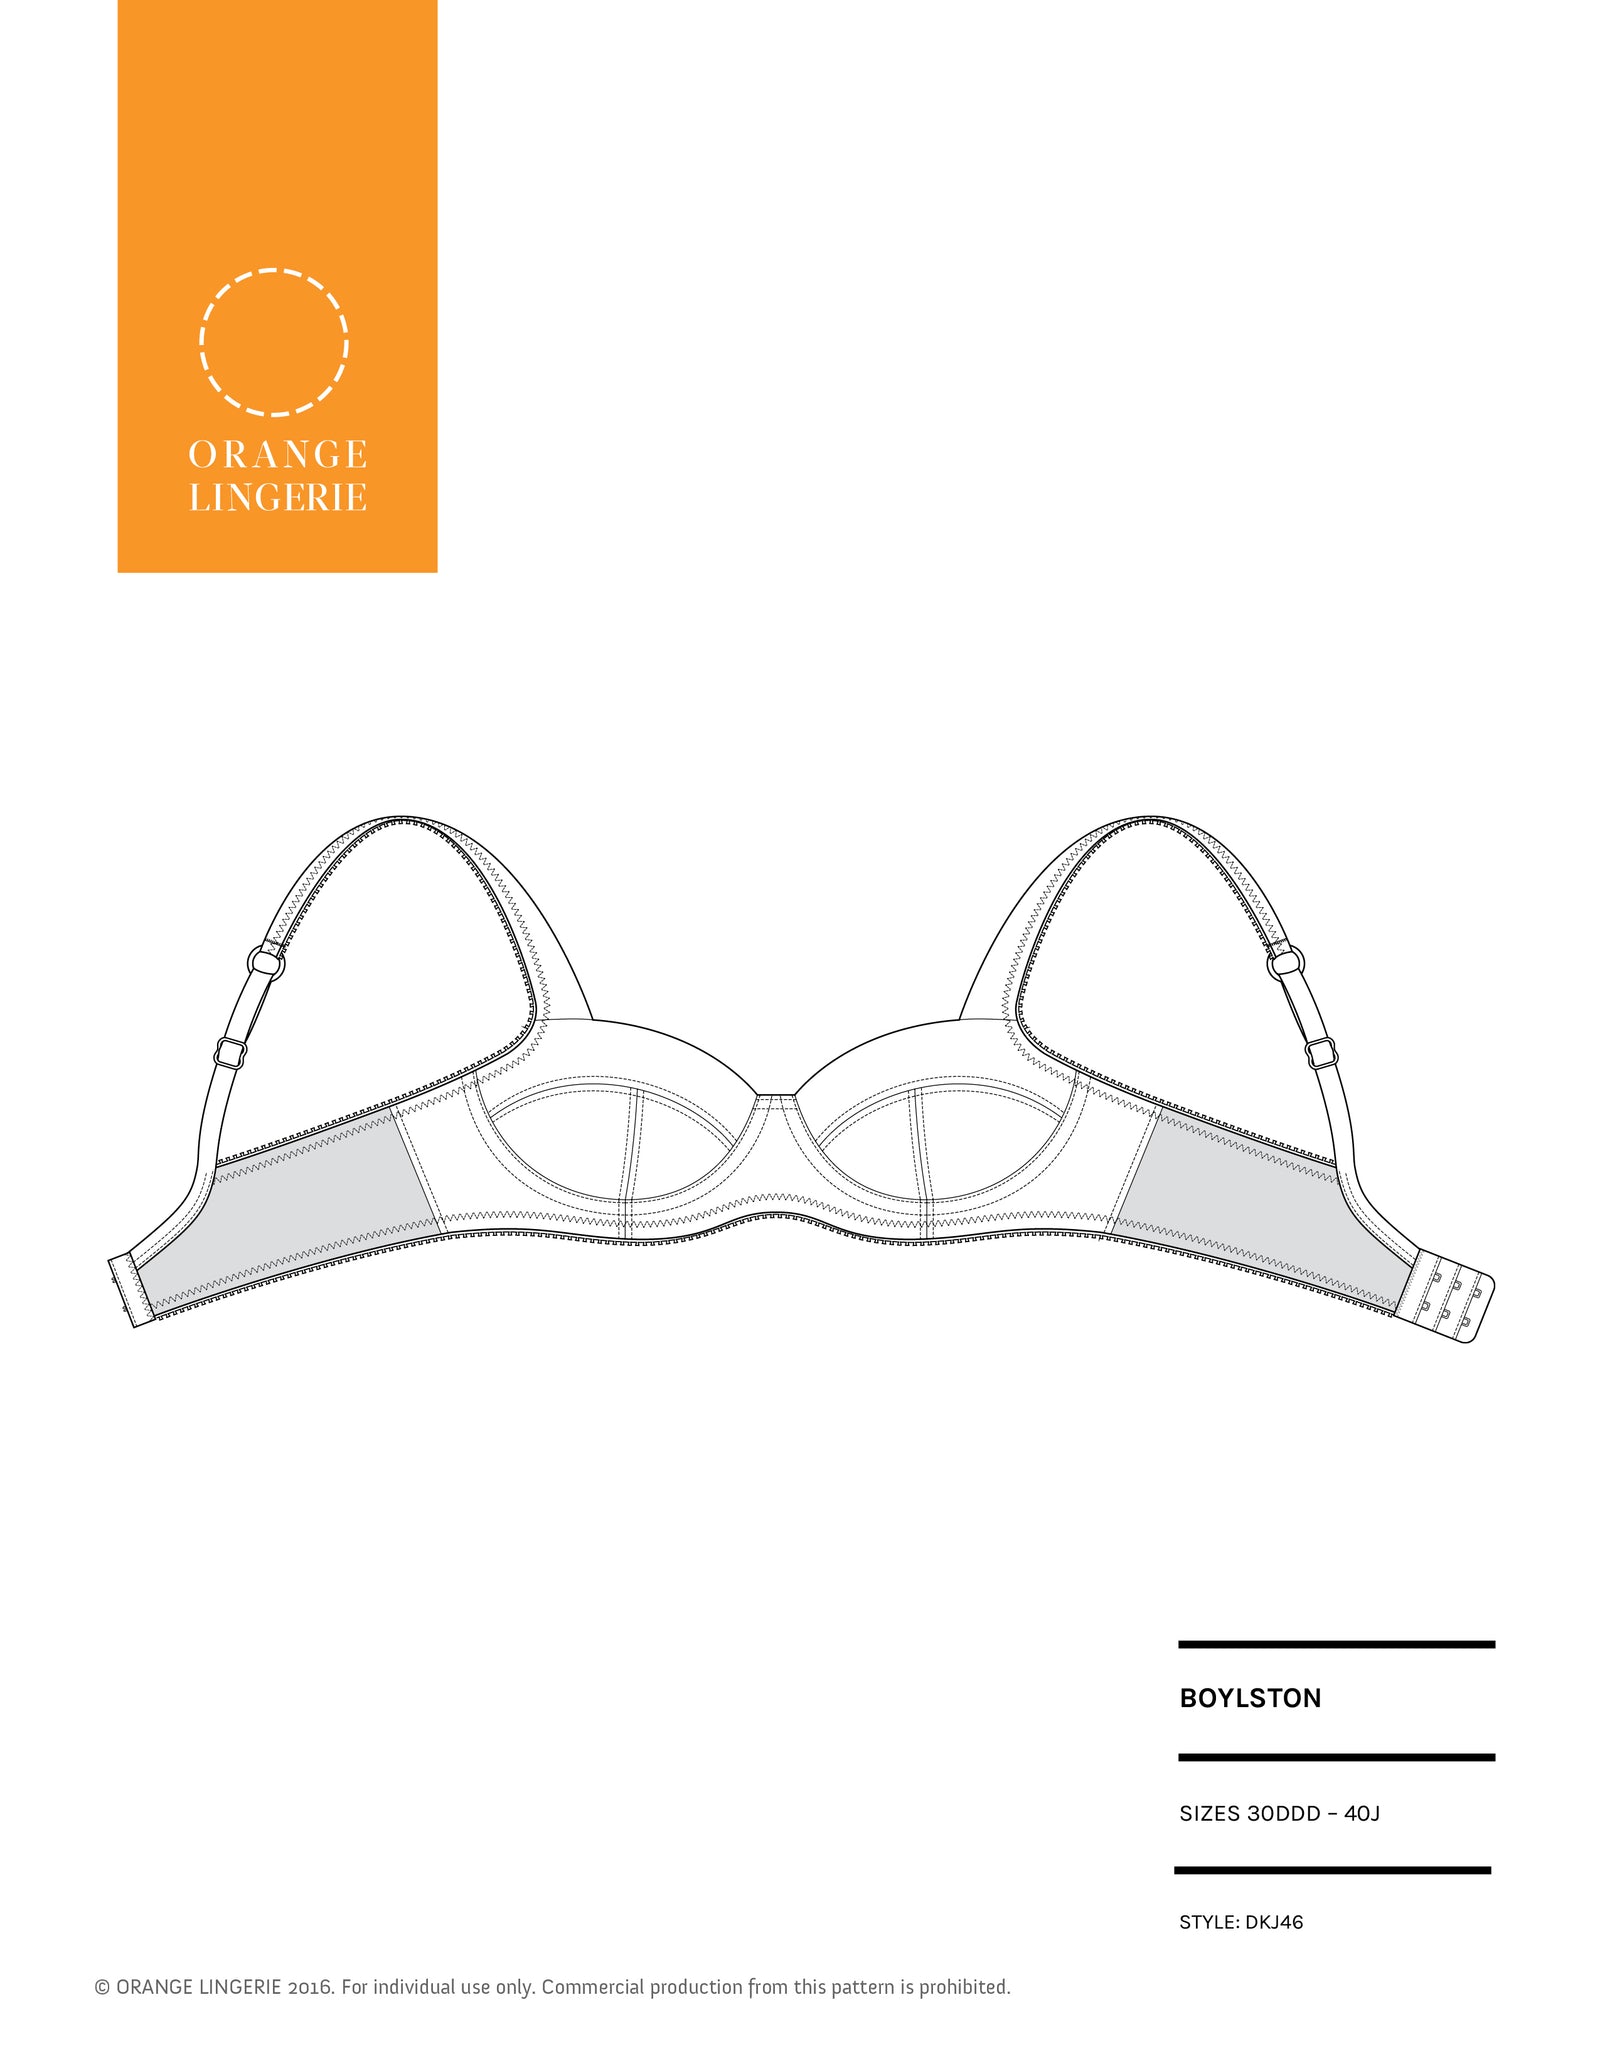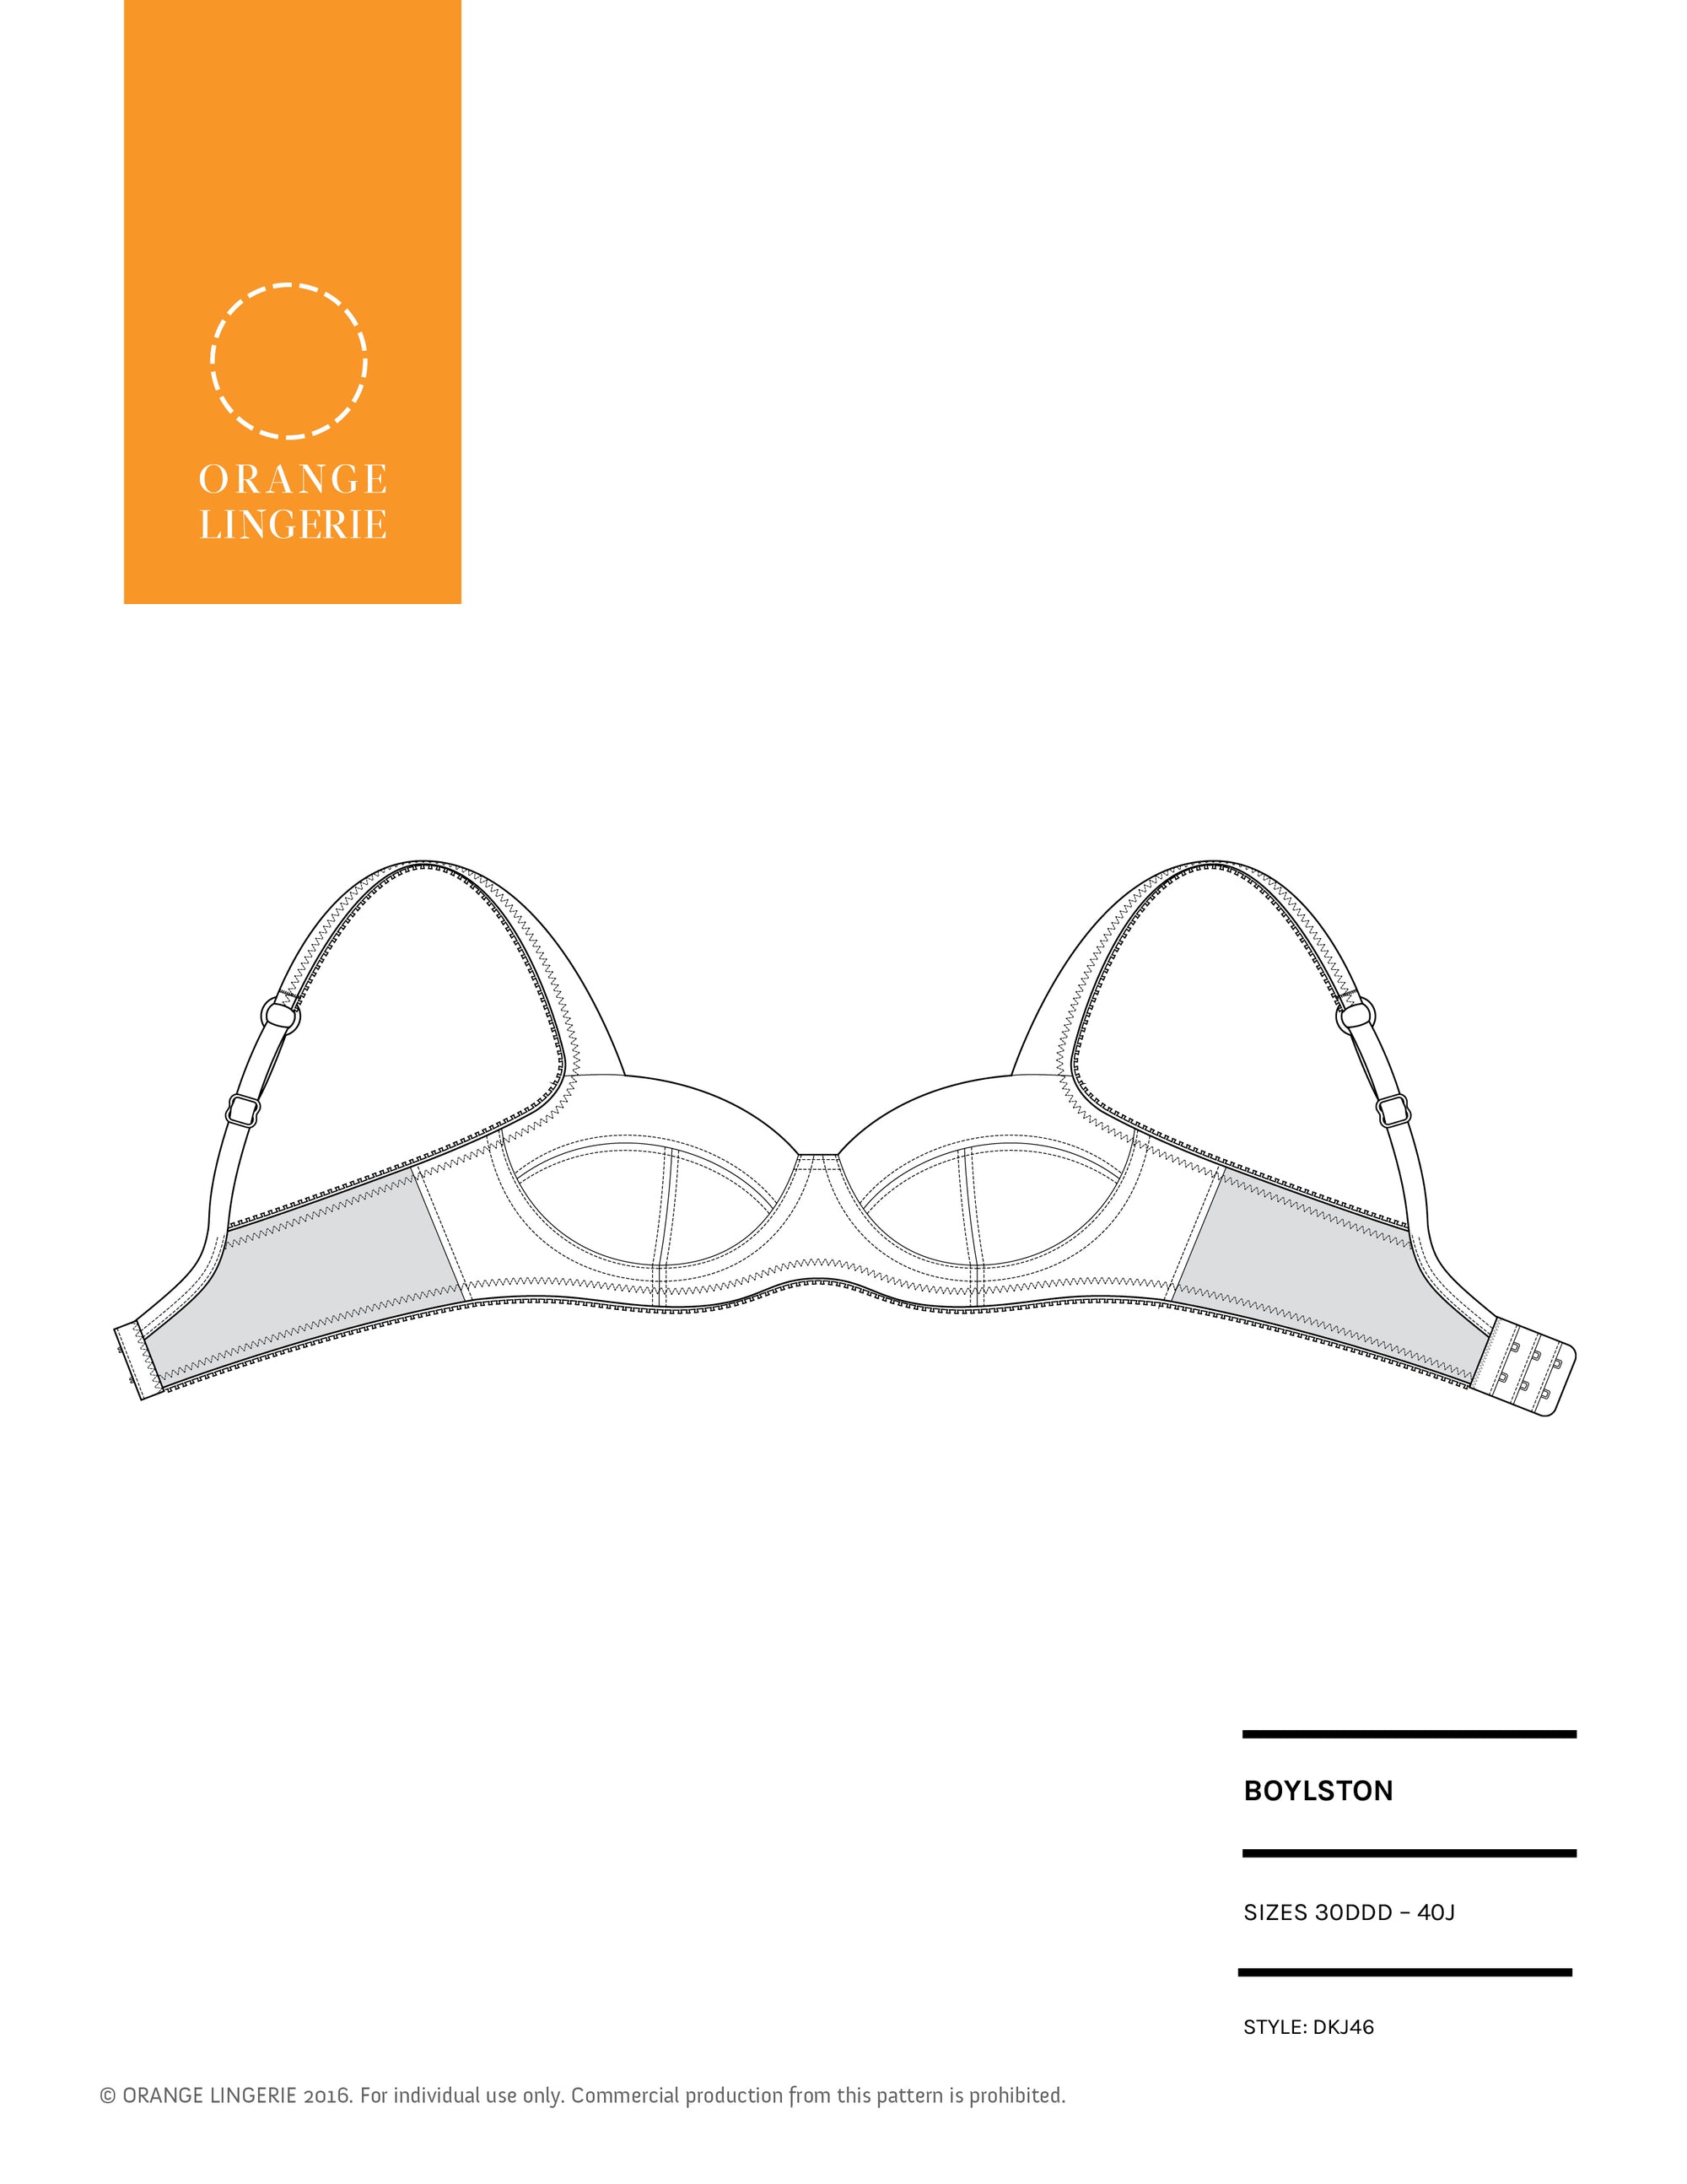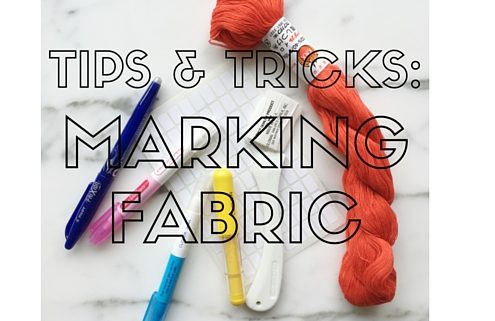
Continuing on with the summer “pro tips” series, today is about marking tools and how to mark your fabric. Marking lingerie sewing pattern pieces is important, especially for bras, since it is not always obvious how the pieces fit together. Accurate marking also makes it much easier to assemble your garment.
First things First
When it comes to markers, I believe in thorough pre-testing. To truly test a marker, you need to mark the fabric, remove the marking then wash and dry the test swatch, exactly as you will treat the final garment. It sounds like a hassle but it is even more of a hassle to have a marking reappear in a visible spot on your finished garment after its first wash!
Marker Recommendations
Let’s dive right in with my top recommendation, the Clover Chacopen. It washes right out, even from white Duoplex fabric and does not reappear after washing. Easy marking and removal make this marker a winner.
I know some sewists swear by the Pilot Frixion pen, a gel pen that uses heat to remove its markings. I do not use them since they failed my wash and dry test on white Duoplex. The markings faintly reappear. The pen’s marks will also reappear if the garment gets cold. It is worth noting that, Frixion pens are designed as erasable gel pens, not as removable fabric markers. You are actually putting gel ink on your fabric when you use these pens.

On darker fabrics, I like to use chalk in the form of the Clover Pen Style Chaco Liner (in yellow above). Depending on how quickly I will be working with the garment, I may even use disappearing tailors chalk, a chalk that disappears on its own over the span of a few days. Clover also makes an air erasable marker (the pink marker pictured) but I find those markings disappear too quickly!
Some of my students like to use Hera markers (the white plastic tool pictured above). I find the markings too hard to see but if it works for you it is a great option since you don’t apply anything but pressure to the fabric to make a marking. I would still test this marker first to be sure it does not cause any long term damage the fibers of your fabric.
When it comes to larger projects like my couture camisole or this chemise I mark construction details using cotton basting thread as pictured below.

Marking
Now you know which markers to use, so what should you mark?
If you are not used to sewing bras, the pattern pieces and how the pieces fit together can be confusing so I recommend placing a marker to indicate the top (and/or bottom) of each pattern piece for your reference so you know how the pieces come together. You may even want to label what each piece is (e.g. lower outside cup) I like to use small adhesive labels as pictured below.

Of course you also want to be sure to transfer construction markers onto your fabric. Another tip – do not snip any notches! Think about what happens when you cut into a knit garment or snag a pair of stockings – the fabric unravels. Even when using a woven fabric for lingerie the small seam allowances make snipping notches is a bit dangerous! To make it easier to transfer notches to my fabric using a marker, I notch my pattern pieces.
Do you have any tips for marking fabric? Feel free to add your tips to the comments below!
Note: Some of the links above are affiliate links and if you click through and make a purchase I will be compensated.