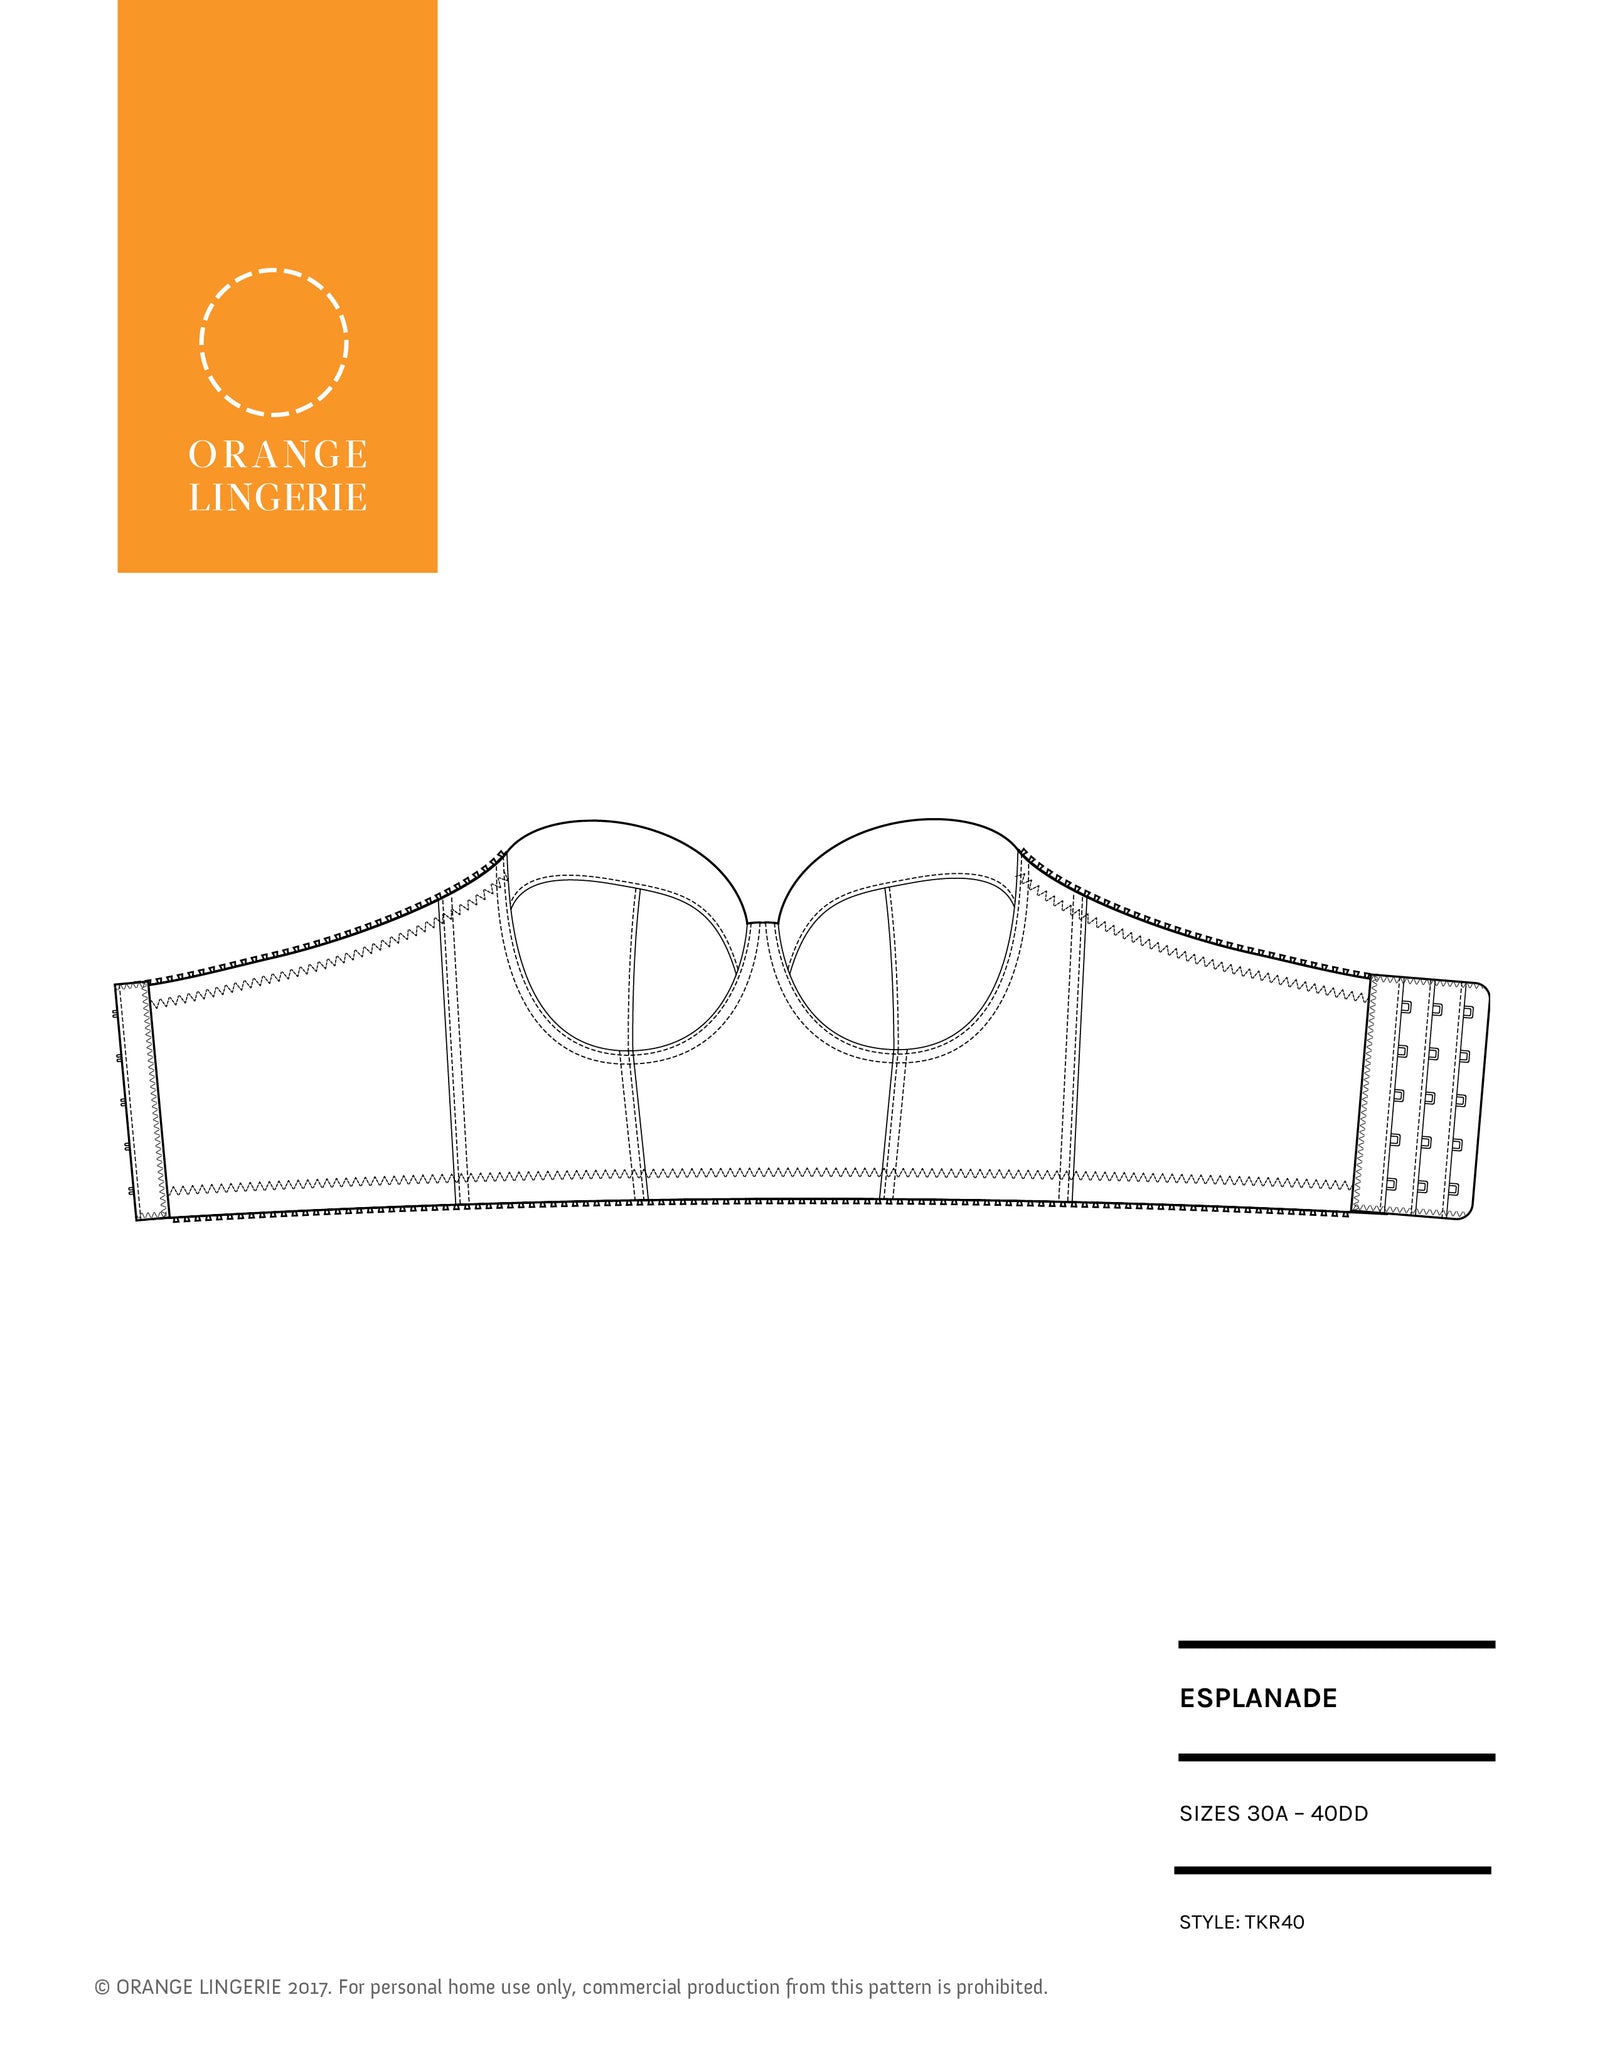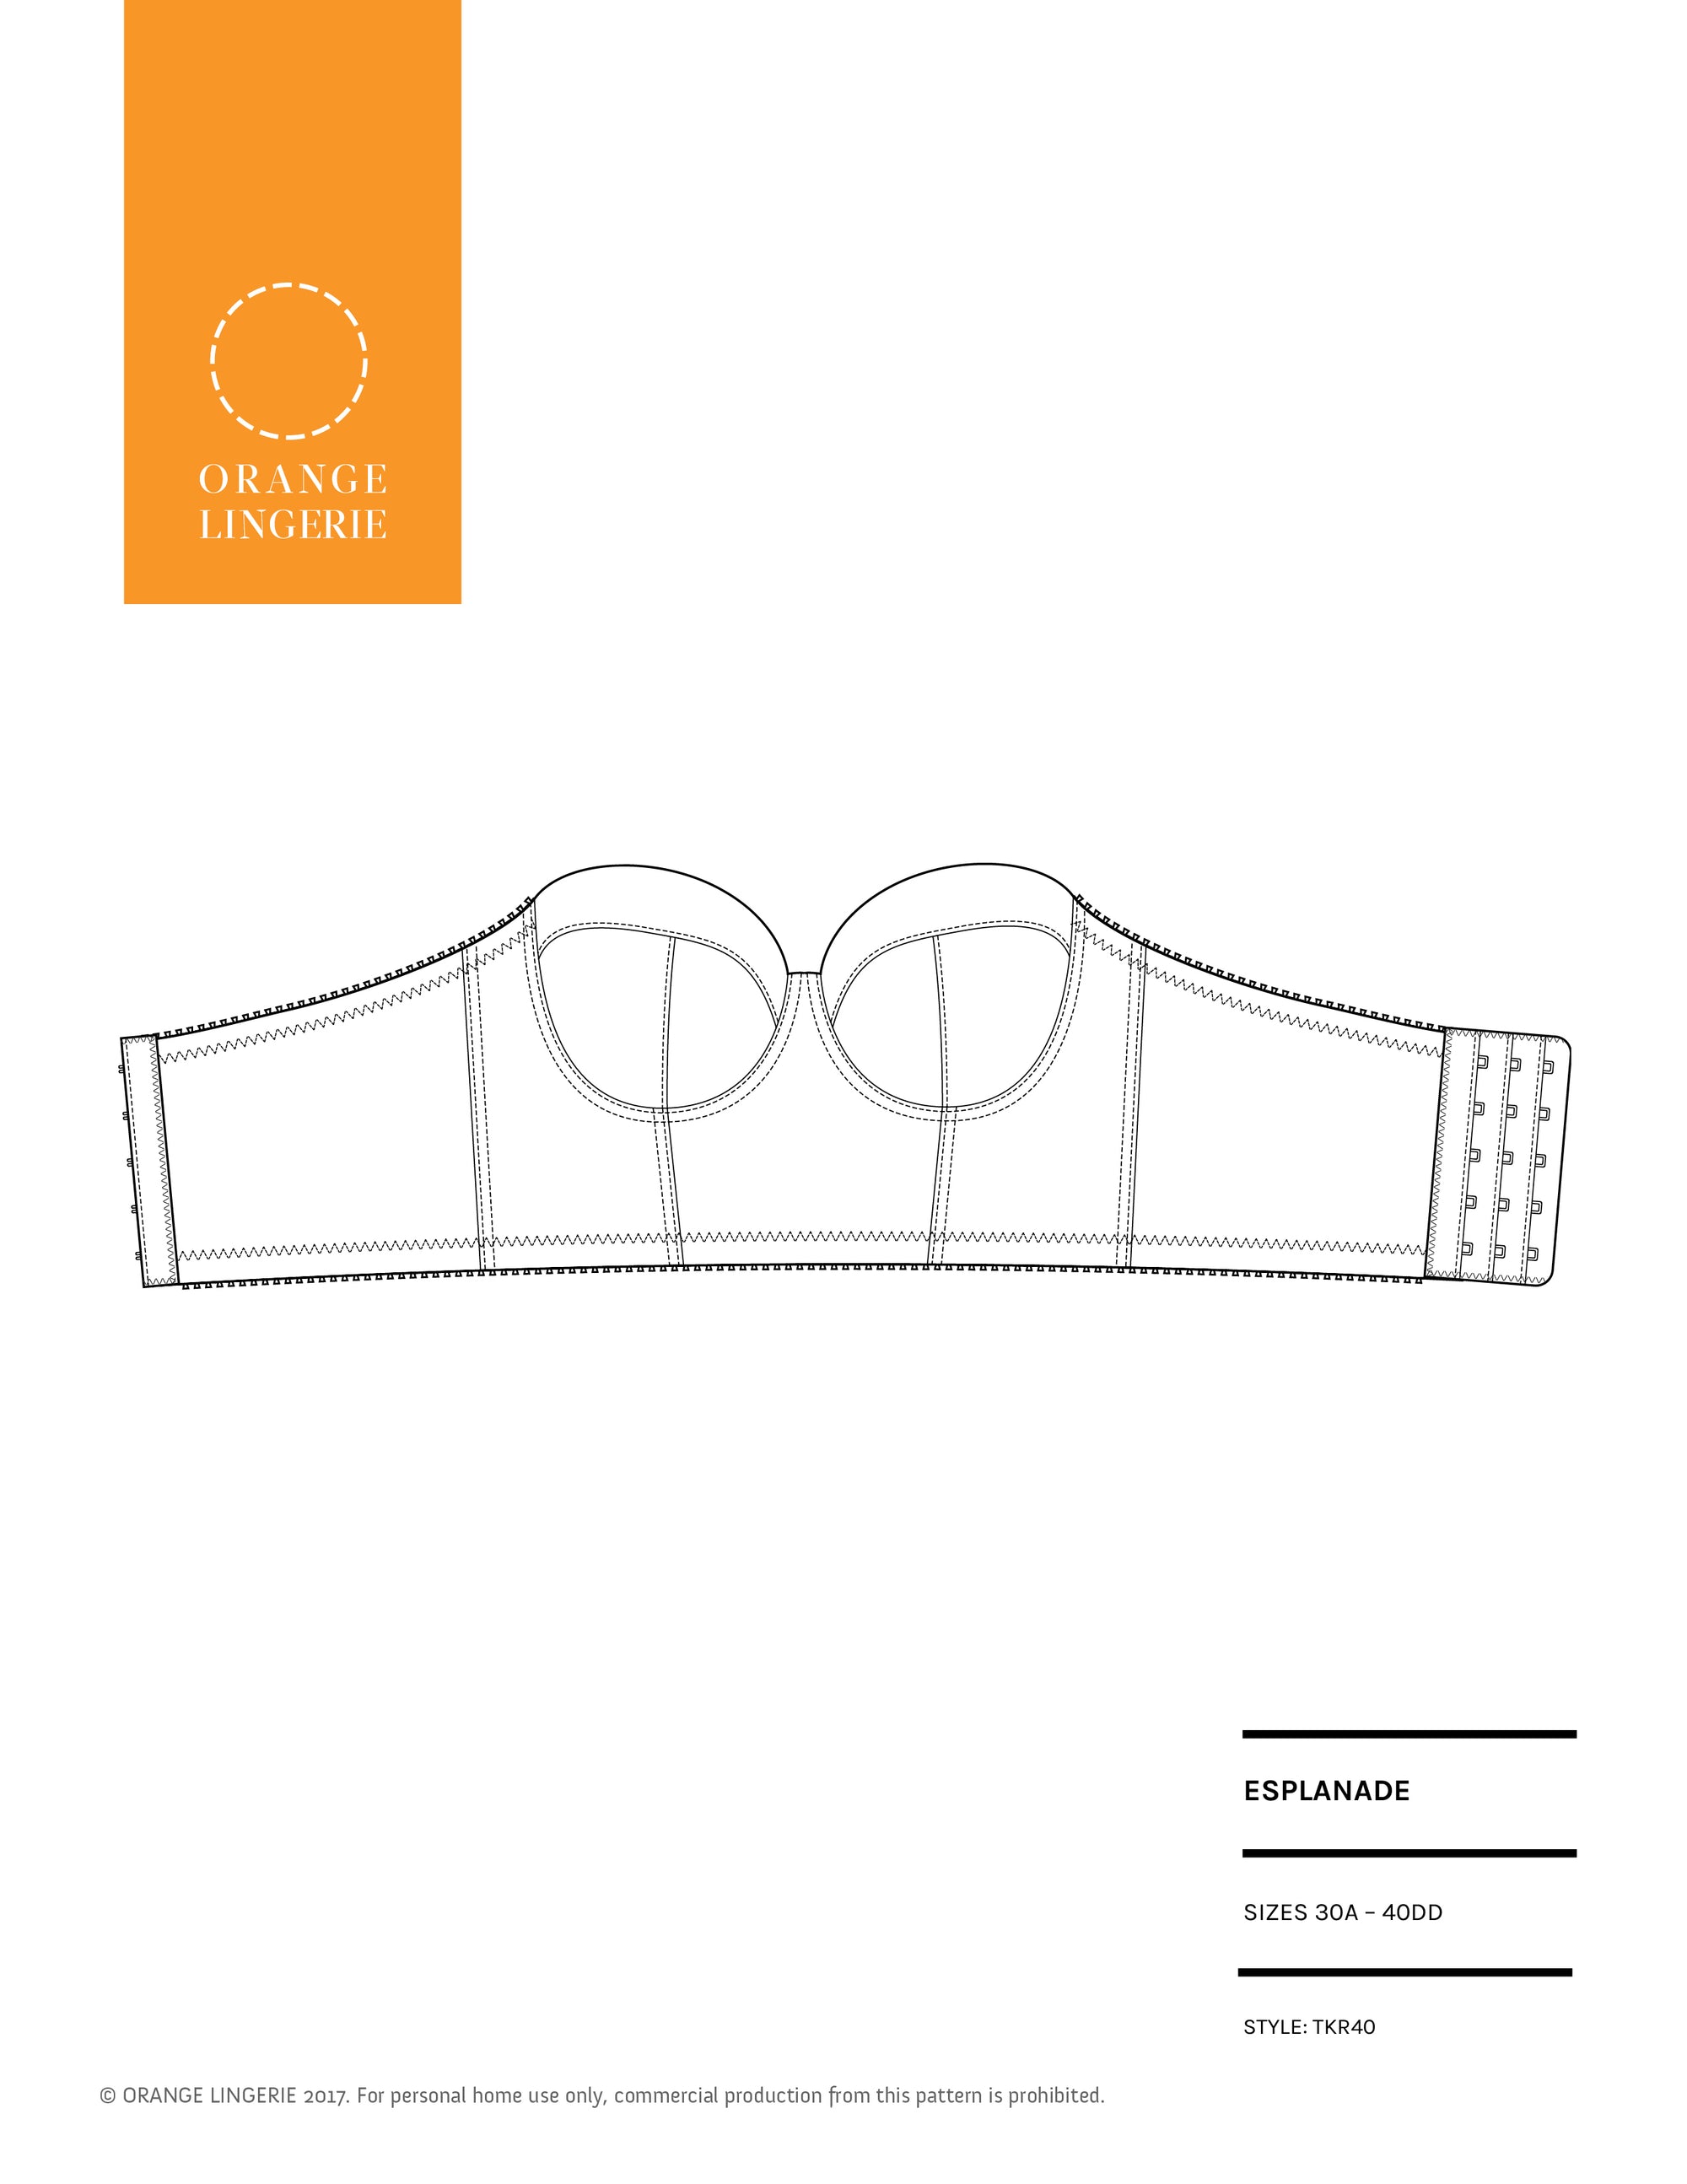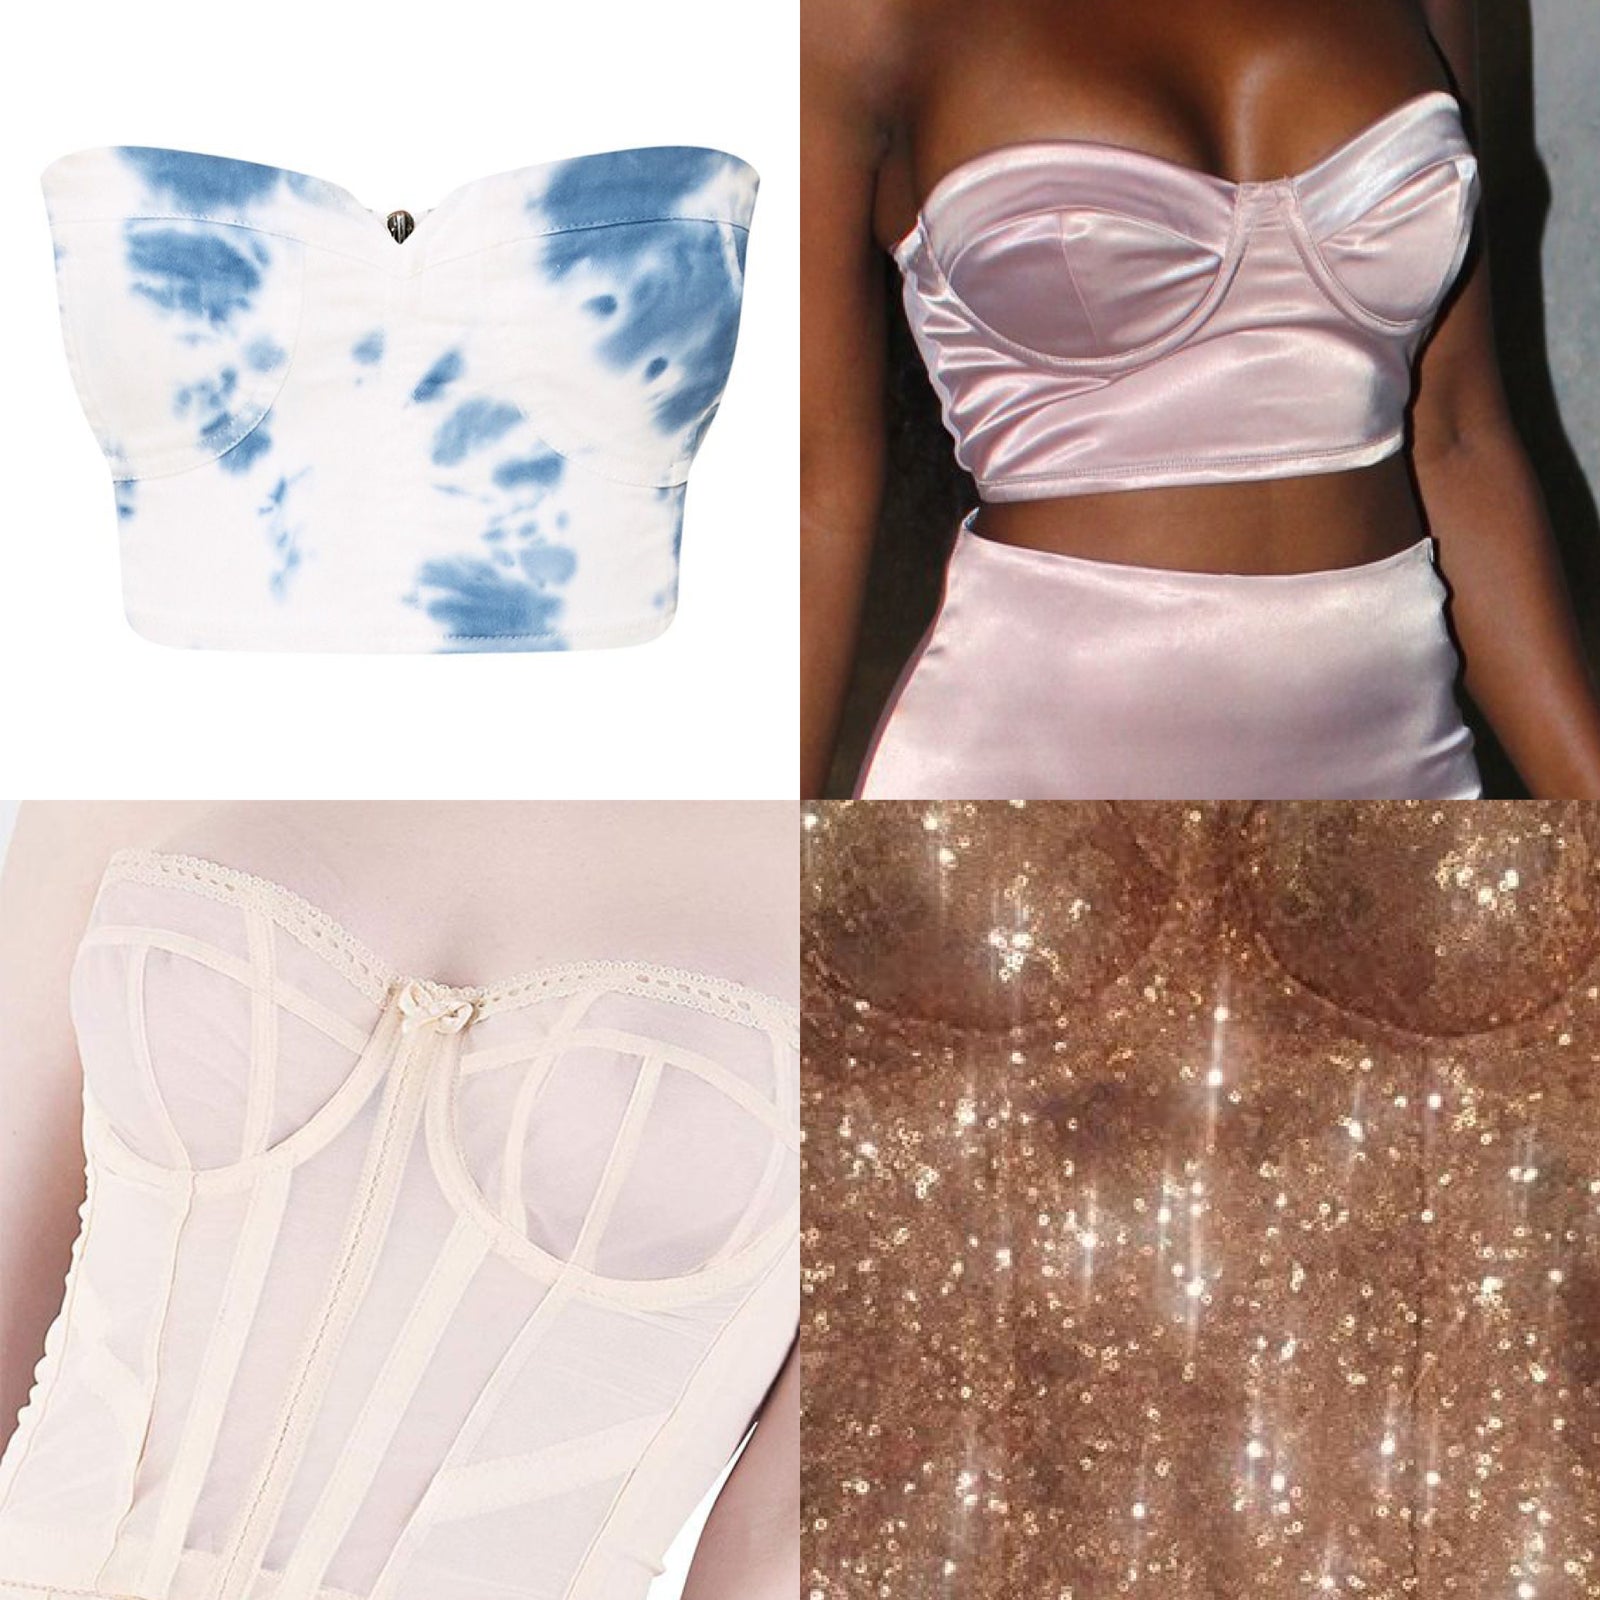

In the last post I shared some of my favorite lingerie inspired looks that you can create starting with the Esplanade bra sewing pattern. In this post I will show you how to alter the pattern so you can get the look!
These looks are largely the result of shortening or lengthening the Esplanade bra and in the case of the bra on the bottom left, altering the cup shape.
Before you get started, remember, all pattern changes are made from the seam or trim line (the dashed line) on the pattern pieces.
How to Shorten the Bra
To shorten the height of the bra, simply draw a new seam line parallel to the bottom trim line of the bridge, frame, and band pattern pieces. Make sure the distance to the original line is consistent throughout the pieces. Do not forget to add the new cut line as well!

If you want to be absolutely sure of the way the alteration will look on your body before cutting into your final fabric, you can make a toile, and mark the exact location you would like the bra to end on the body and then transfer those changes to the pattern.
Note: Decreasing the height of the bra decreases the support of the bra and the ability of the bra to stay put on the body, so I would only consider this an option for A to C cup sizes.
How to Lengthen the Bra
While decreasing the height of the bra is relatively straightforward, lengthening it requires that you test out the modified pattern on a toile first to make sure that the garment conforms to your body shape the entire span of its new length. Remember, you should only be able to get two fingers underneath the back of a well fitting bra. This is especially important for strapless bras that really rely on support from the band.

The easiest way to lengthen the band is to start by creating new rough pattern pieces by extending the existing seam lines of the original bridge to frame seam line and squaring out and extending the frame to band lines. Extend the center back following the existing seam line.
This alteration will intentionally make the band too wide, so that it is possible to remove fabric AT THE SIDE SEAM to get to the perfect fit. Remember, it is always easier to subtract fabric rather than trying to add fabric that isn’t there in the first place!

For now, copy the shape of the bottom of the original pieces. All your extensions should come roughly to the same bottom line, (easy to check by putting them side by side as in the diagram below), but you will redraw the final bottom edge later. Also be sure to mark the original side seam line on the garment to act as your guide for achieving a nice angle on the side seam.

Once you have cut your fabric from the modified pattern and basted your toile together, try it on, pinching and pinning the fabric at the original seam mark to get a close fit. Remember to pinch symmetrically on your left and right, in order to remove the same amount of fabric on each side.
When you are happy with the fit, transfer the new side seam to the pattern pieces and create a smooth line all around the base of the bra.
How to Change the Shape of the Bra Cups
When changing the upper cup shape be sure keep the height of the upper cup at the wire line. As a strapless bra, it is important for the Esplanade bra to use longer underwires. If you have read my Anatomy of a Bra article in Seamwork Magazine, you know that underwires are key to providing support.
Because the upper cup of the Esplanade bra is fairly narrow and nearly straight across, it is not possible to decrease its height. You can, however, increase the height of the upper cup or change its shape. Just mark your shape changes from the “fold over foam” line on the upper cup fabric pattern pieces and directly to the top of the foam pattern pieces.

I highly recommend making a toile to test the new shape to be sure it conforms to your body!
How to add Straps to the Bra
Another great and simple modification for the Esplanade bra is to add straps. For detachable straps, you can read my tutorial on how to add detachable bra straps to the Esplanade bra, Part 1 and Part 2.
If you want to make the straps permanent, simply bar tack the straps to the bra in the desired location once you have completed sewing the garment. If you prefer, with advance planning you can conceal the strap attachment under the band elastic as well as under the cup covering.
To conceal the strap attachment on the front of the bra, stitch the strap between the cup covering and foam cup attachment seam. Conceal the final strap attachment bar tack by sewing through the foam cup and the cup covering seam allowance, keeping the cup covering free. Once you flip the cup covering over the foam, the strap join is hidden.

To conceal the strap attachment on the back of the bra, follow the back strap instructions in Part 2 of the detachable straps tutorial post.
In terms of placement, as a rule of thumb start by placing the front straps at the external edge of the cup seam. This will read as a continuation of the underarm curve up along the shoulder, for a harmonious look.
If you feel the need to adjust strap placement, check out my blog post on How to move straps for a better fitting bra.
There are so many great options for transforming the Esplanade bra, which one do you want to try first?