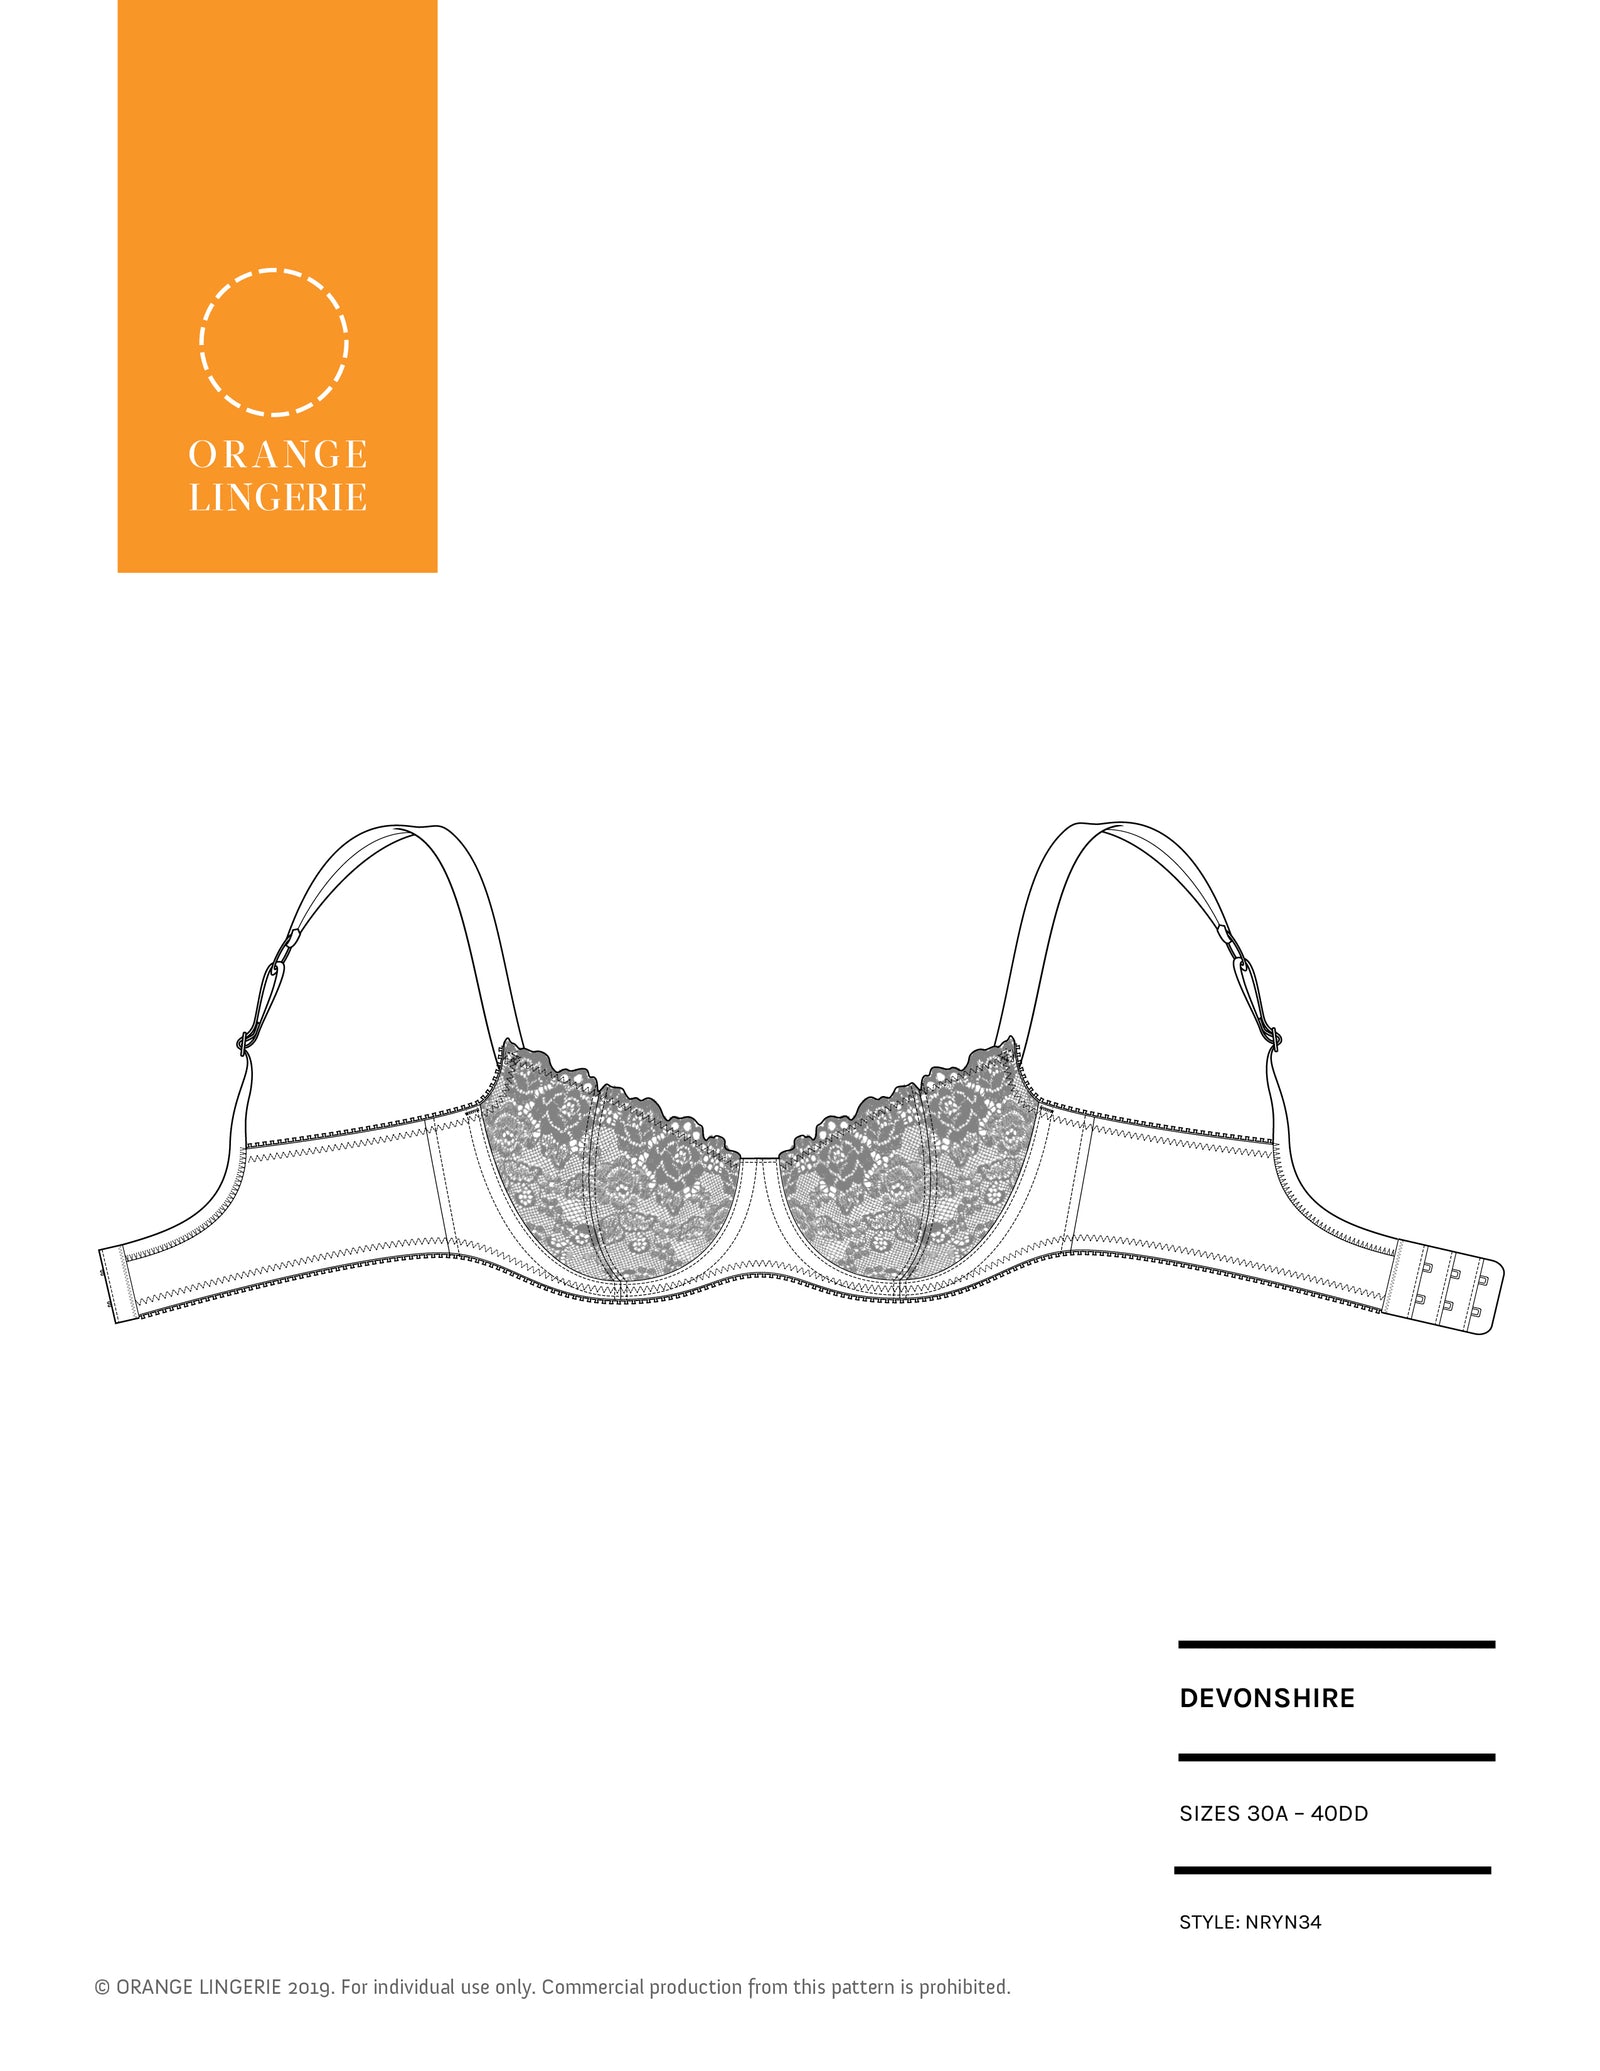
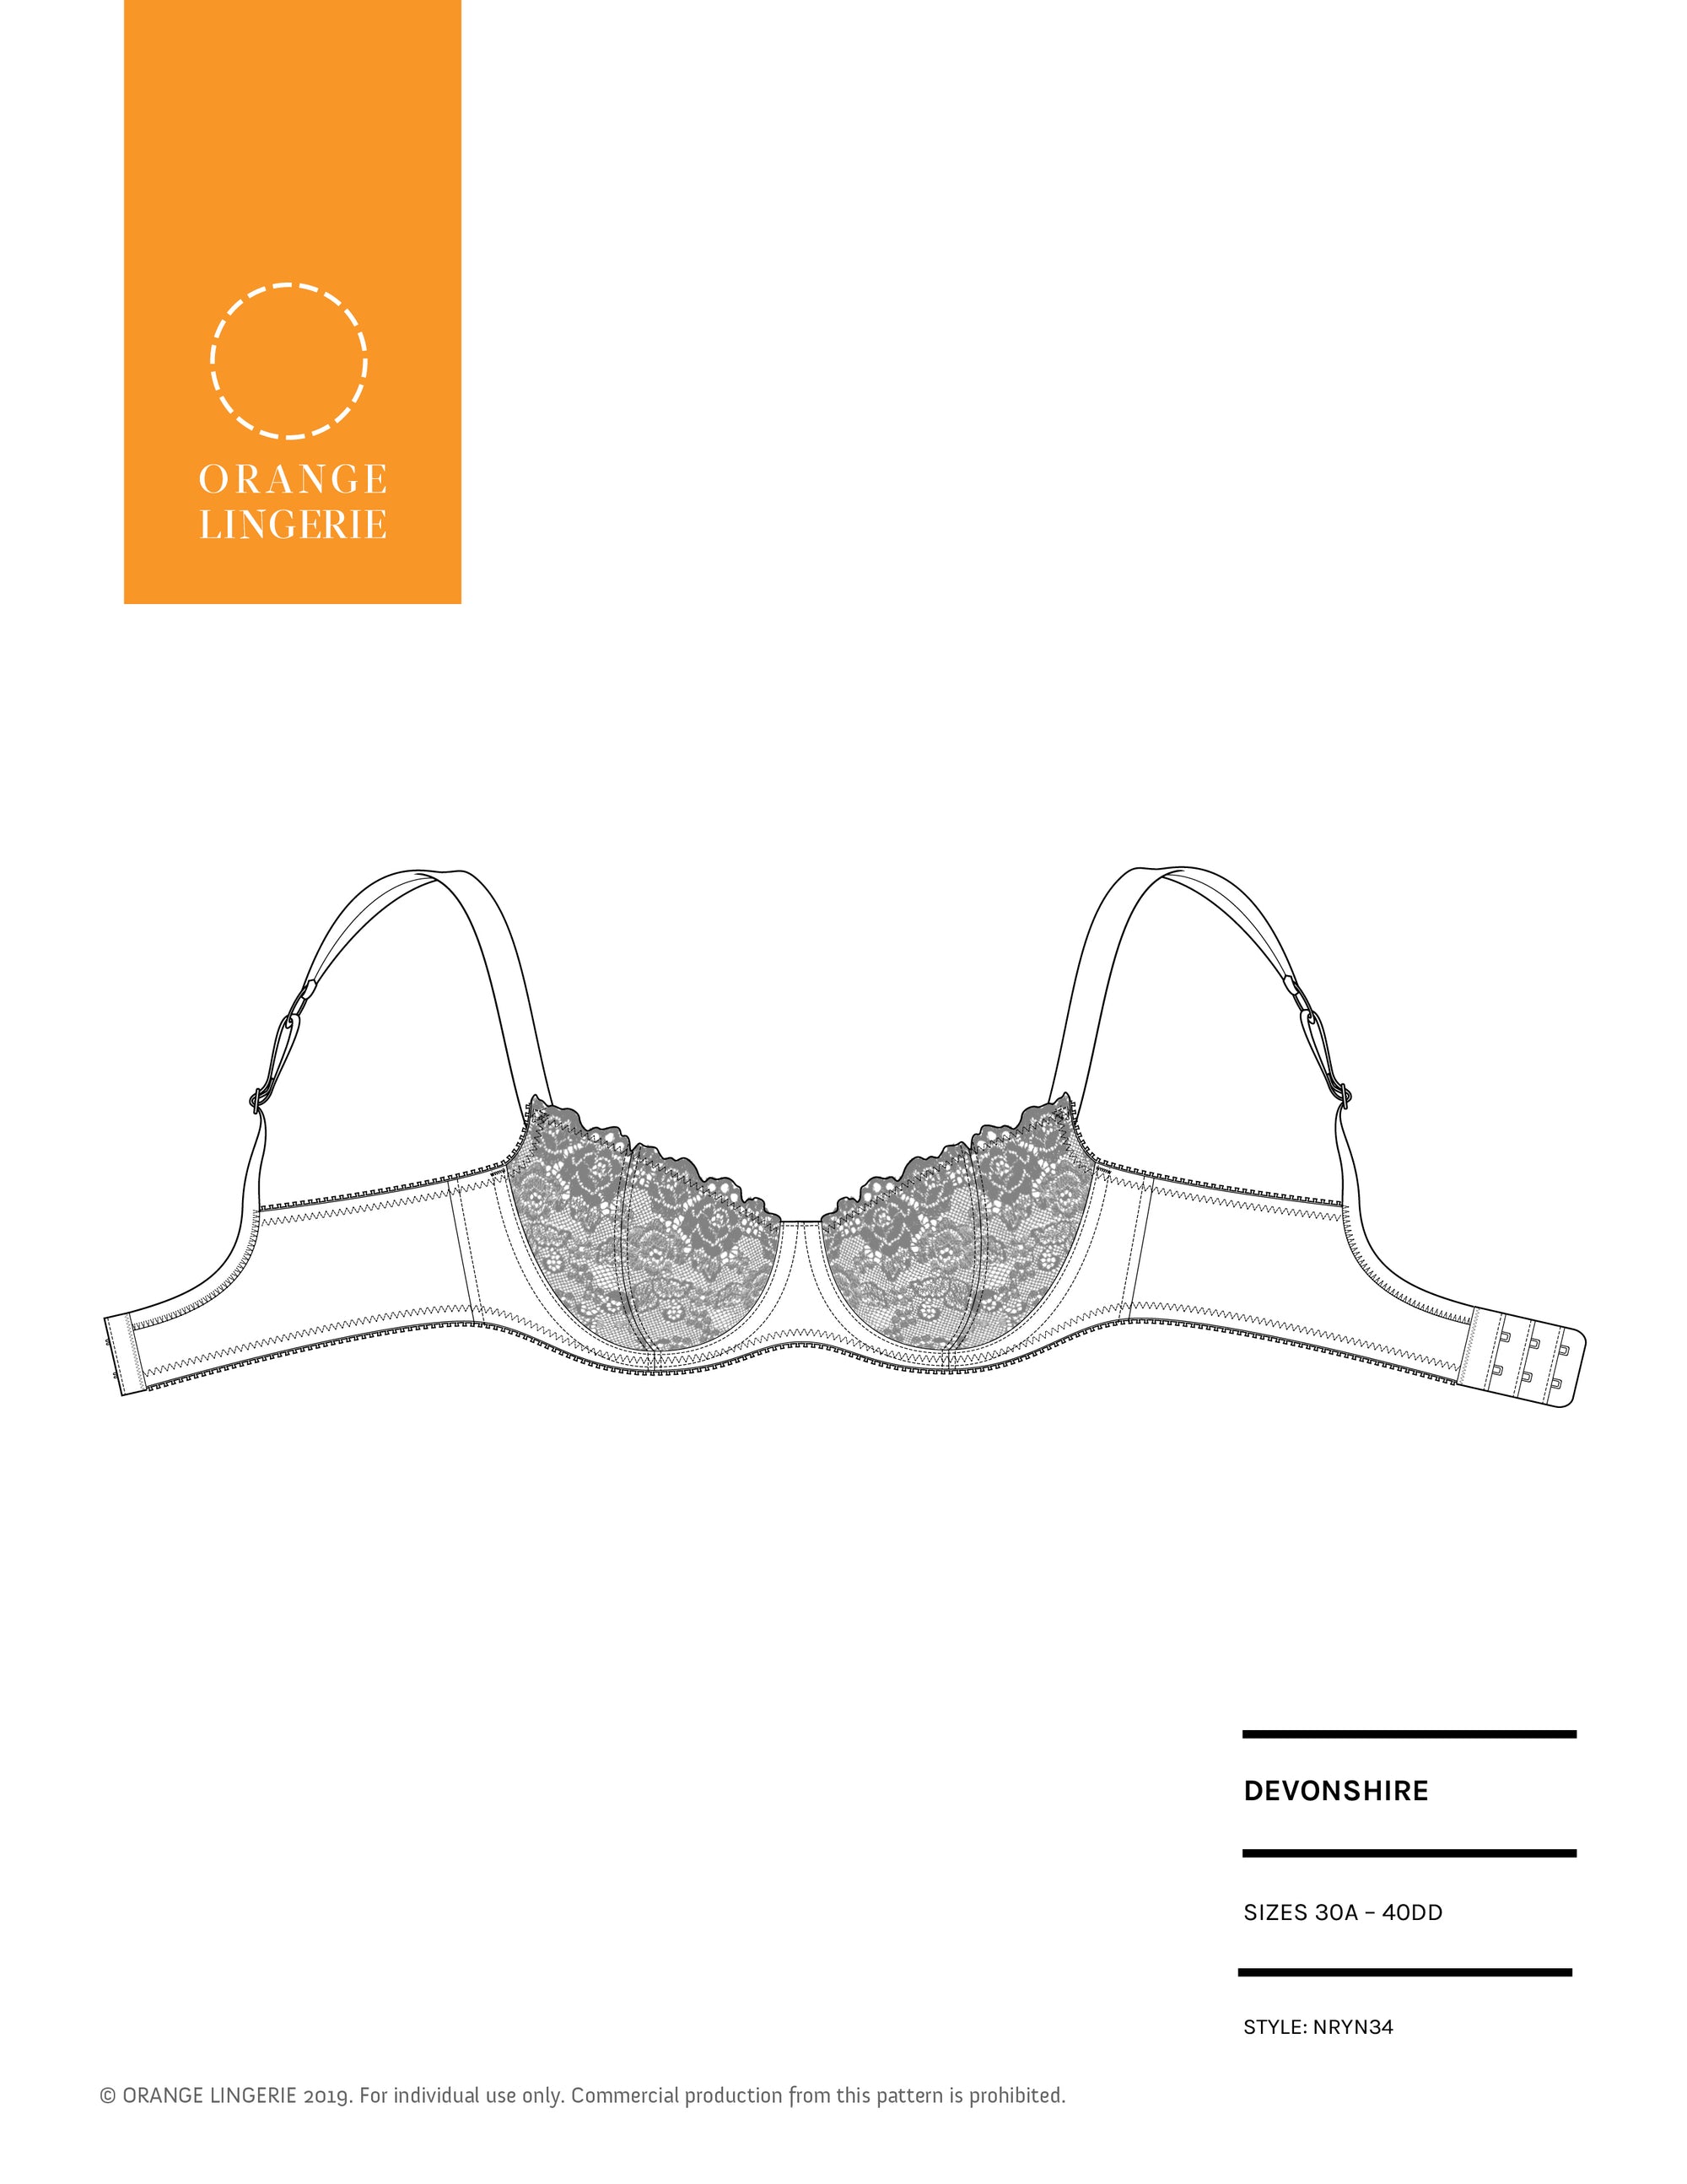
The Devonshire love continues! This week I have a tutorial for converting the cup from using lace to using fabric. This conversion allows you to carry through your fabric print (or solid) through the entire front of the bra like the scuba fabric Devonshire pictured above. This alteration is also a great workaround for when you are using an allover lace that does not have a scallop edge.
Before we dive in, remember all pattern changes are from the seam or trim lines and then the cutting line is established by adding your seam or trim allowance. Also, be sure to label your pattern pieces. You need to know what those pieces are for, especially if you are interrupted and need to set your project aside.
Now the overall approach to convert the cup to use fabric, is to add a trim allowance to allow you to stabilize and neatly finish the cup in the absence of a lace scallop edge.
Begin by taping both cup pieces to some tracing or pattern paper. Now, measure up the width of the trim elastic you use for the underarm. That same trim can be used to finish the upper cup. I really like this approach since it does not require any additional materials.
For my bra patterns the trim allowance for the underarm area is ⅜” for A to C cups and ½” for cup sizes D and greater. These are always marked on all our bra patterns so you can clearly see the trim allowance allowed and understand where to alter the pattern.

Now if you want to get fancy, you can take this a step further and reshape the upper cup. Without lace, we no longer need that straight line at the top of the cup and that allows us to add some contouring.
To get the curvy inner upper cup below, I measured the total width of the inner lower cup pattern piece along the upper edge (the solid black line at the top of the cup in between the seam lines). I then measured 75% of the distance away from the center of the overall cup and marked a point ¼” above the top edge of the cup.

To get the new curved line, I drew a smooth arcing convex line from the non-notched side of the inner cup (where it attaches to the bridge) and transitioned the line to a concave line toward the notched side of the inner cup (where it attaches to the outer cup).
You could even curve the top of the outer cup down a tiny bit (I used ⅛” below) as you move to the center of that pattern piece, bringing the line back up the existing top edge of the upper cup as you get to the underarm.

If you do decide to get fancy and add this kind of contouring to your cup, check your upper cup curve to be sure it is continuous and smooth all the way across by putting the cup pieces together along the top edge as if they were sewn.

When you go to sew the bra, apply elastic to finish the upper cup as directed for the underarm area. This application is made to the top of the completed upper cup and lining combination.
Yet another great option for your next Devonshire bra!