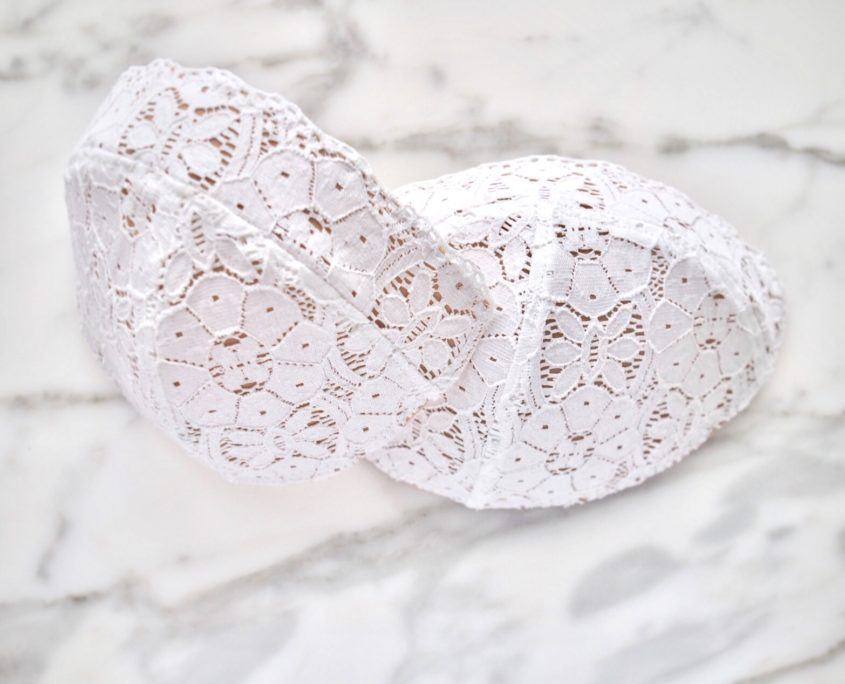

I love lace bras and I especially love the look of a lace scallop edge. Luckily it is simple to convert the upper cup of many bra patterns to use a lace scallop edge, even when that cup is made of foam.
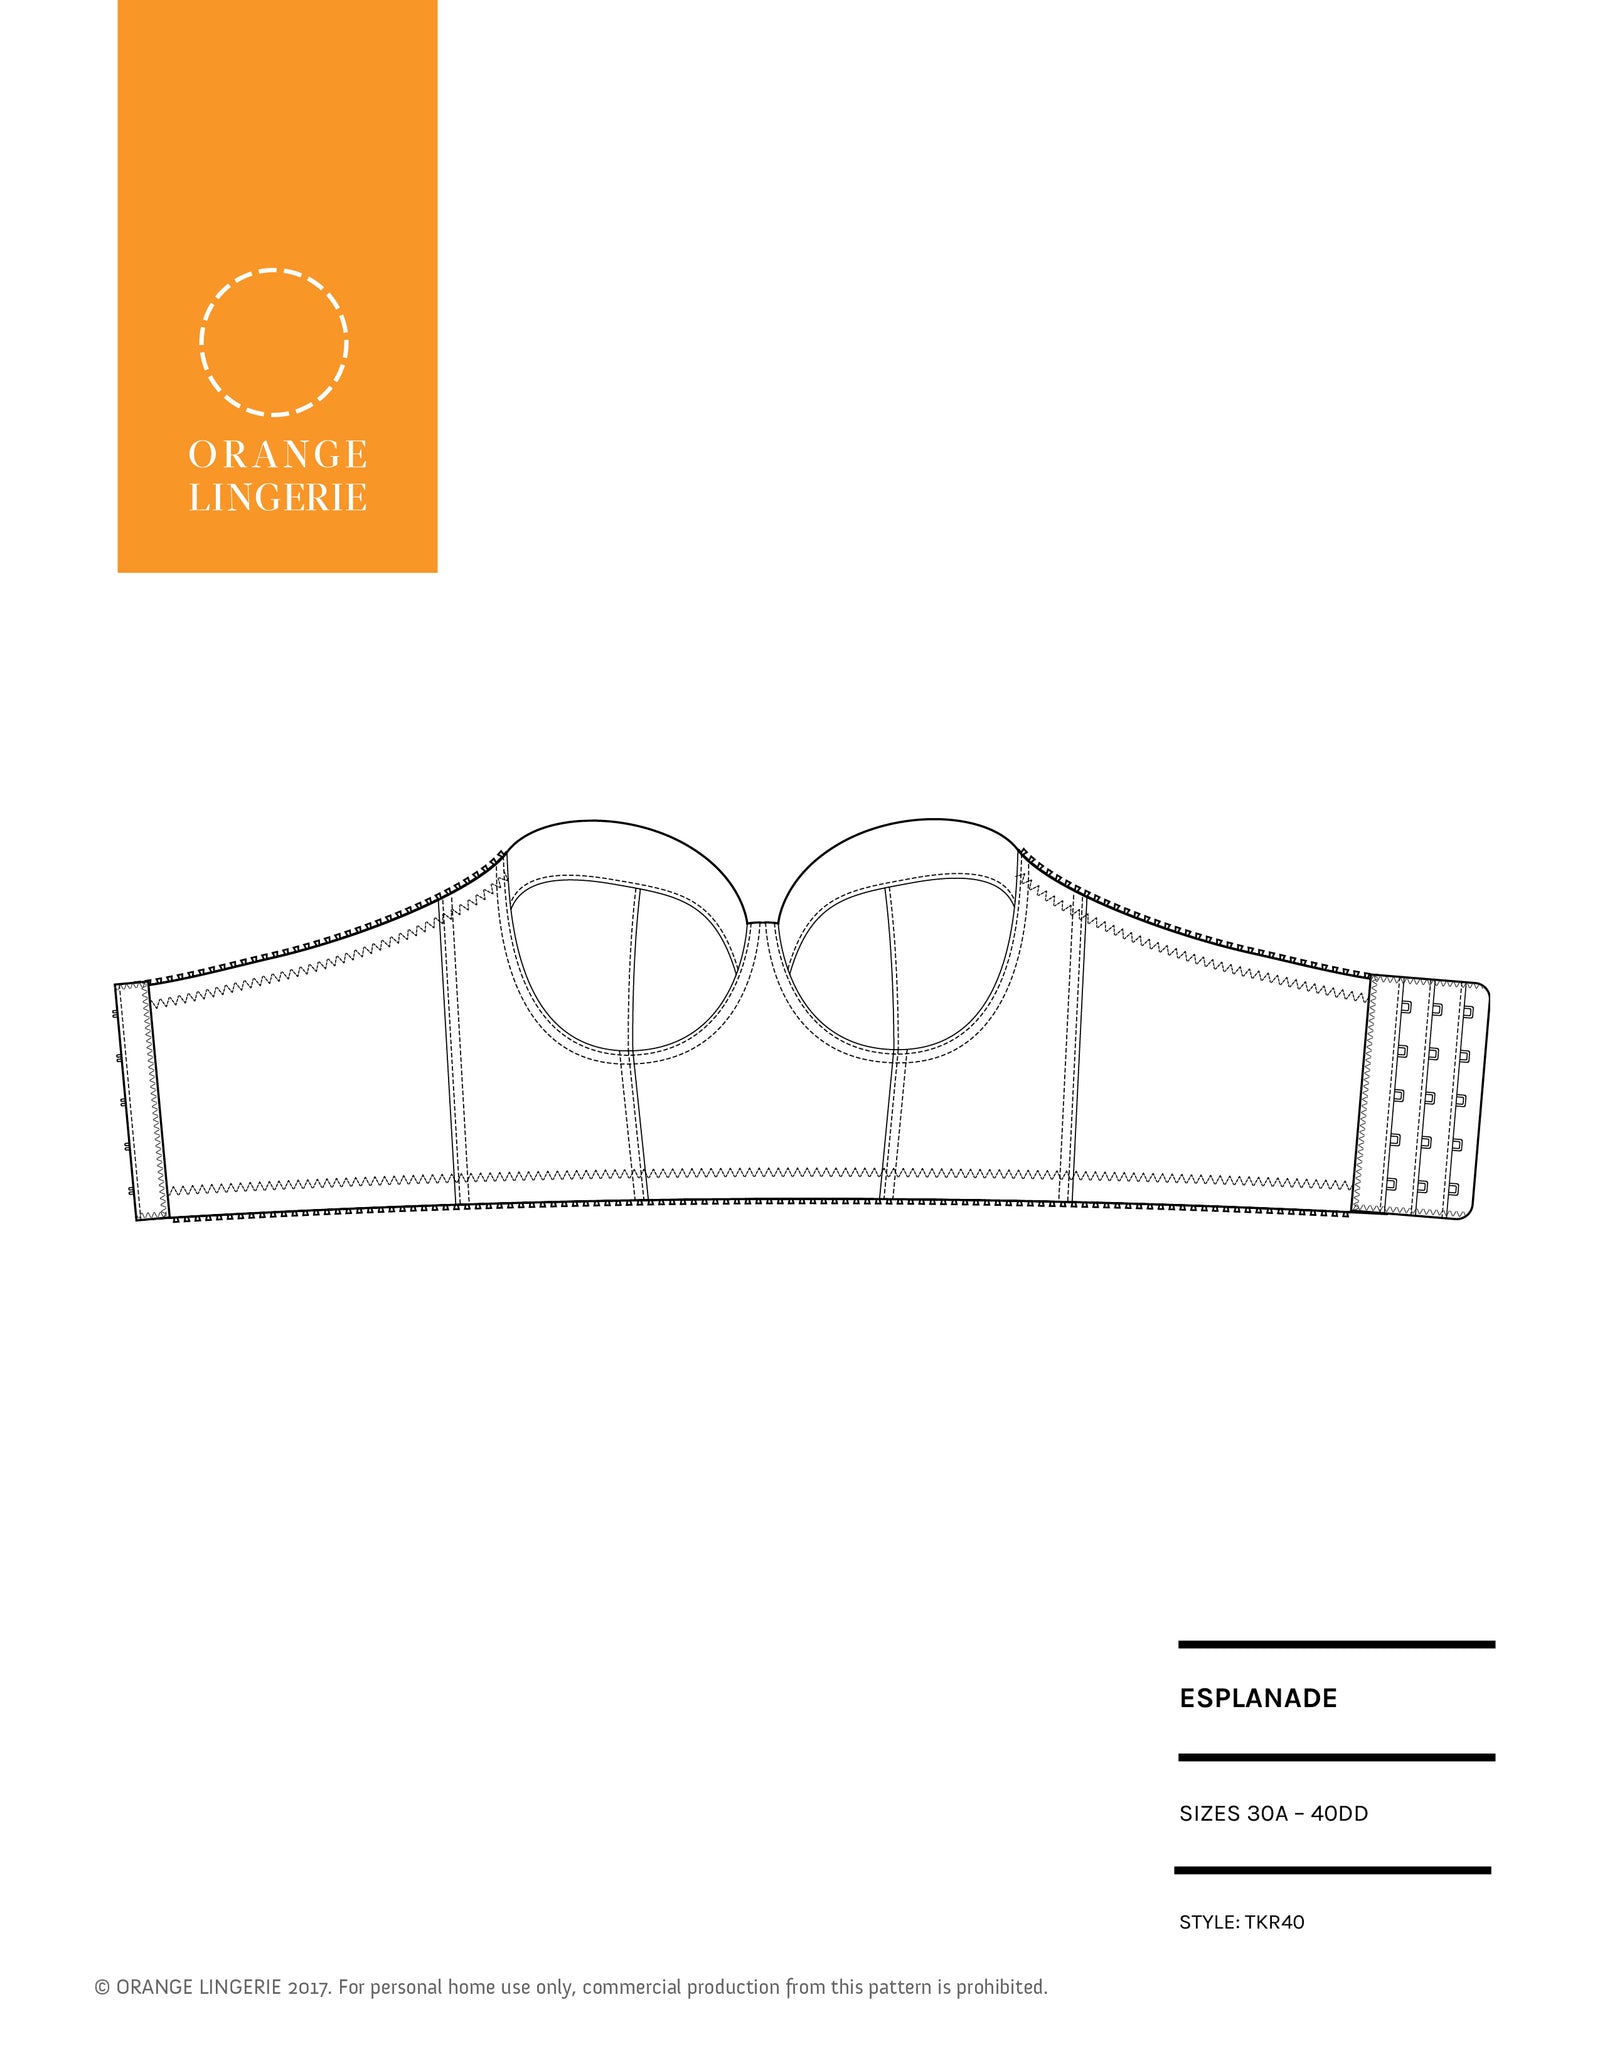
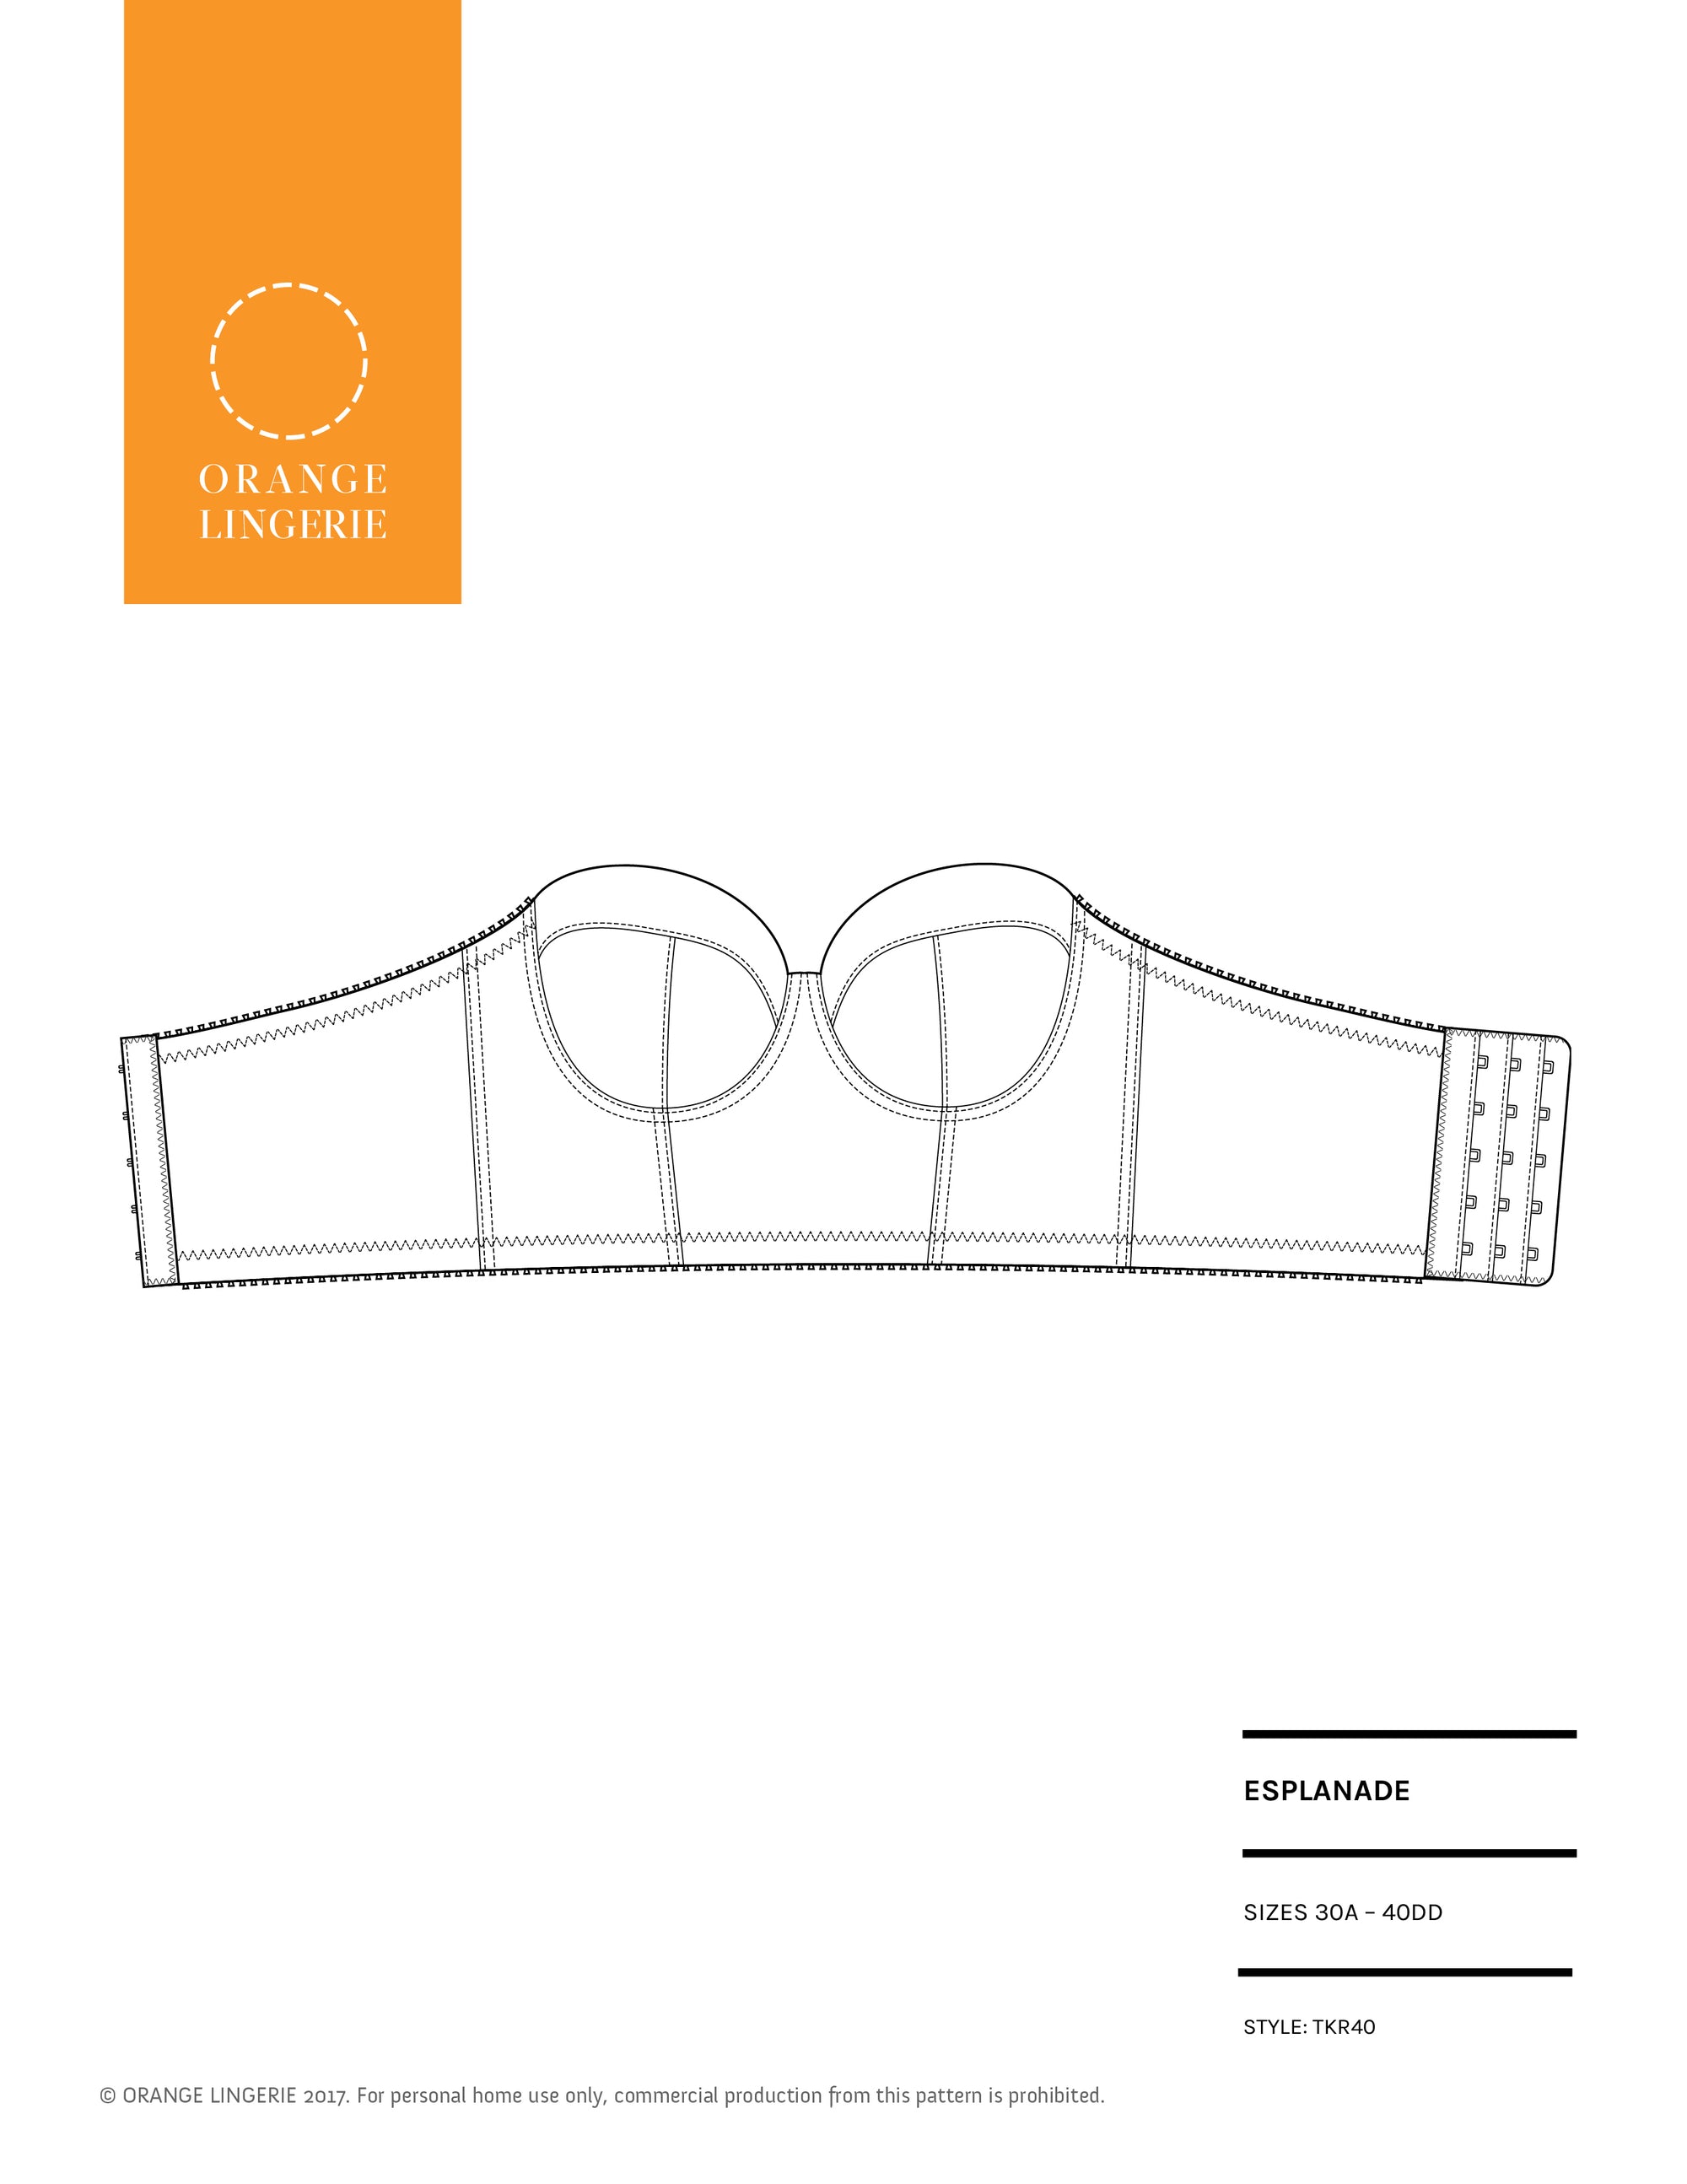
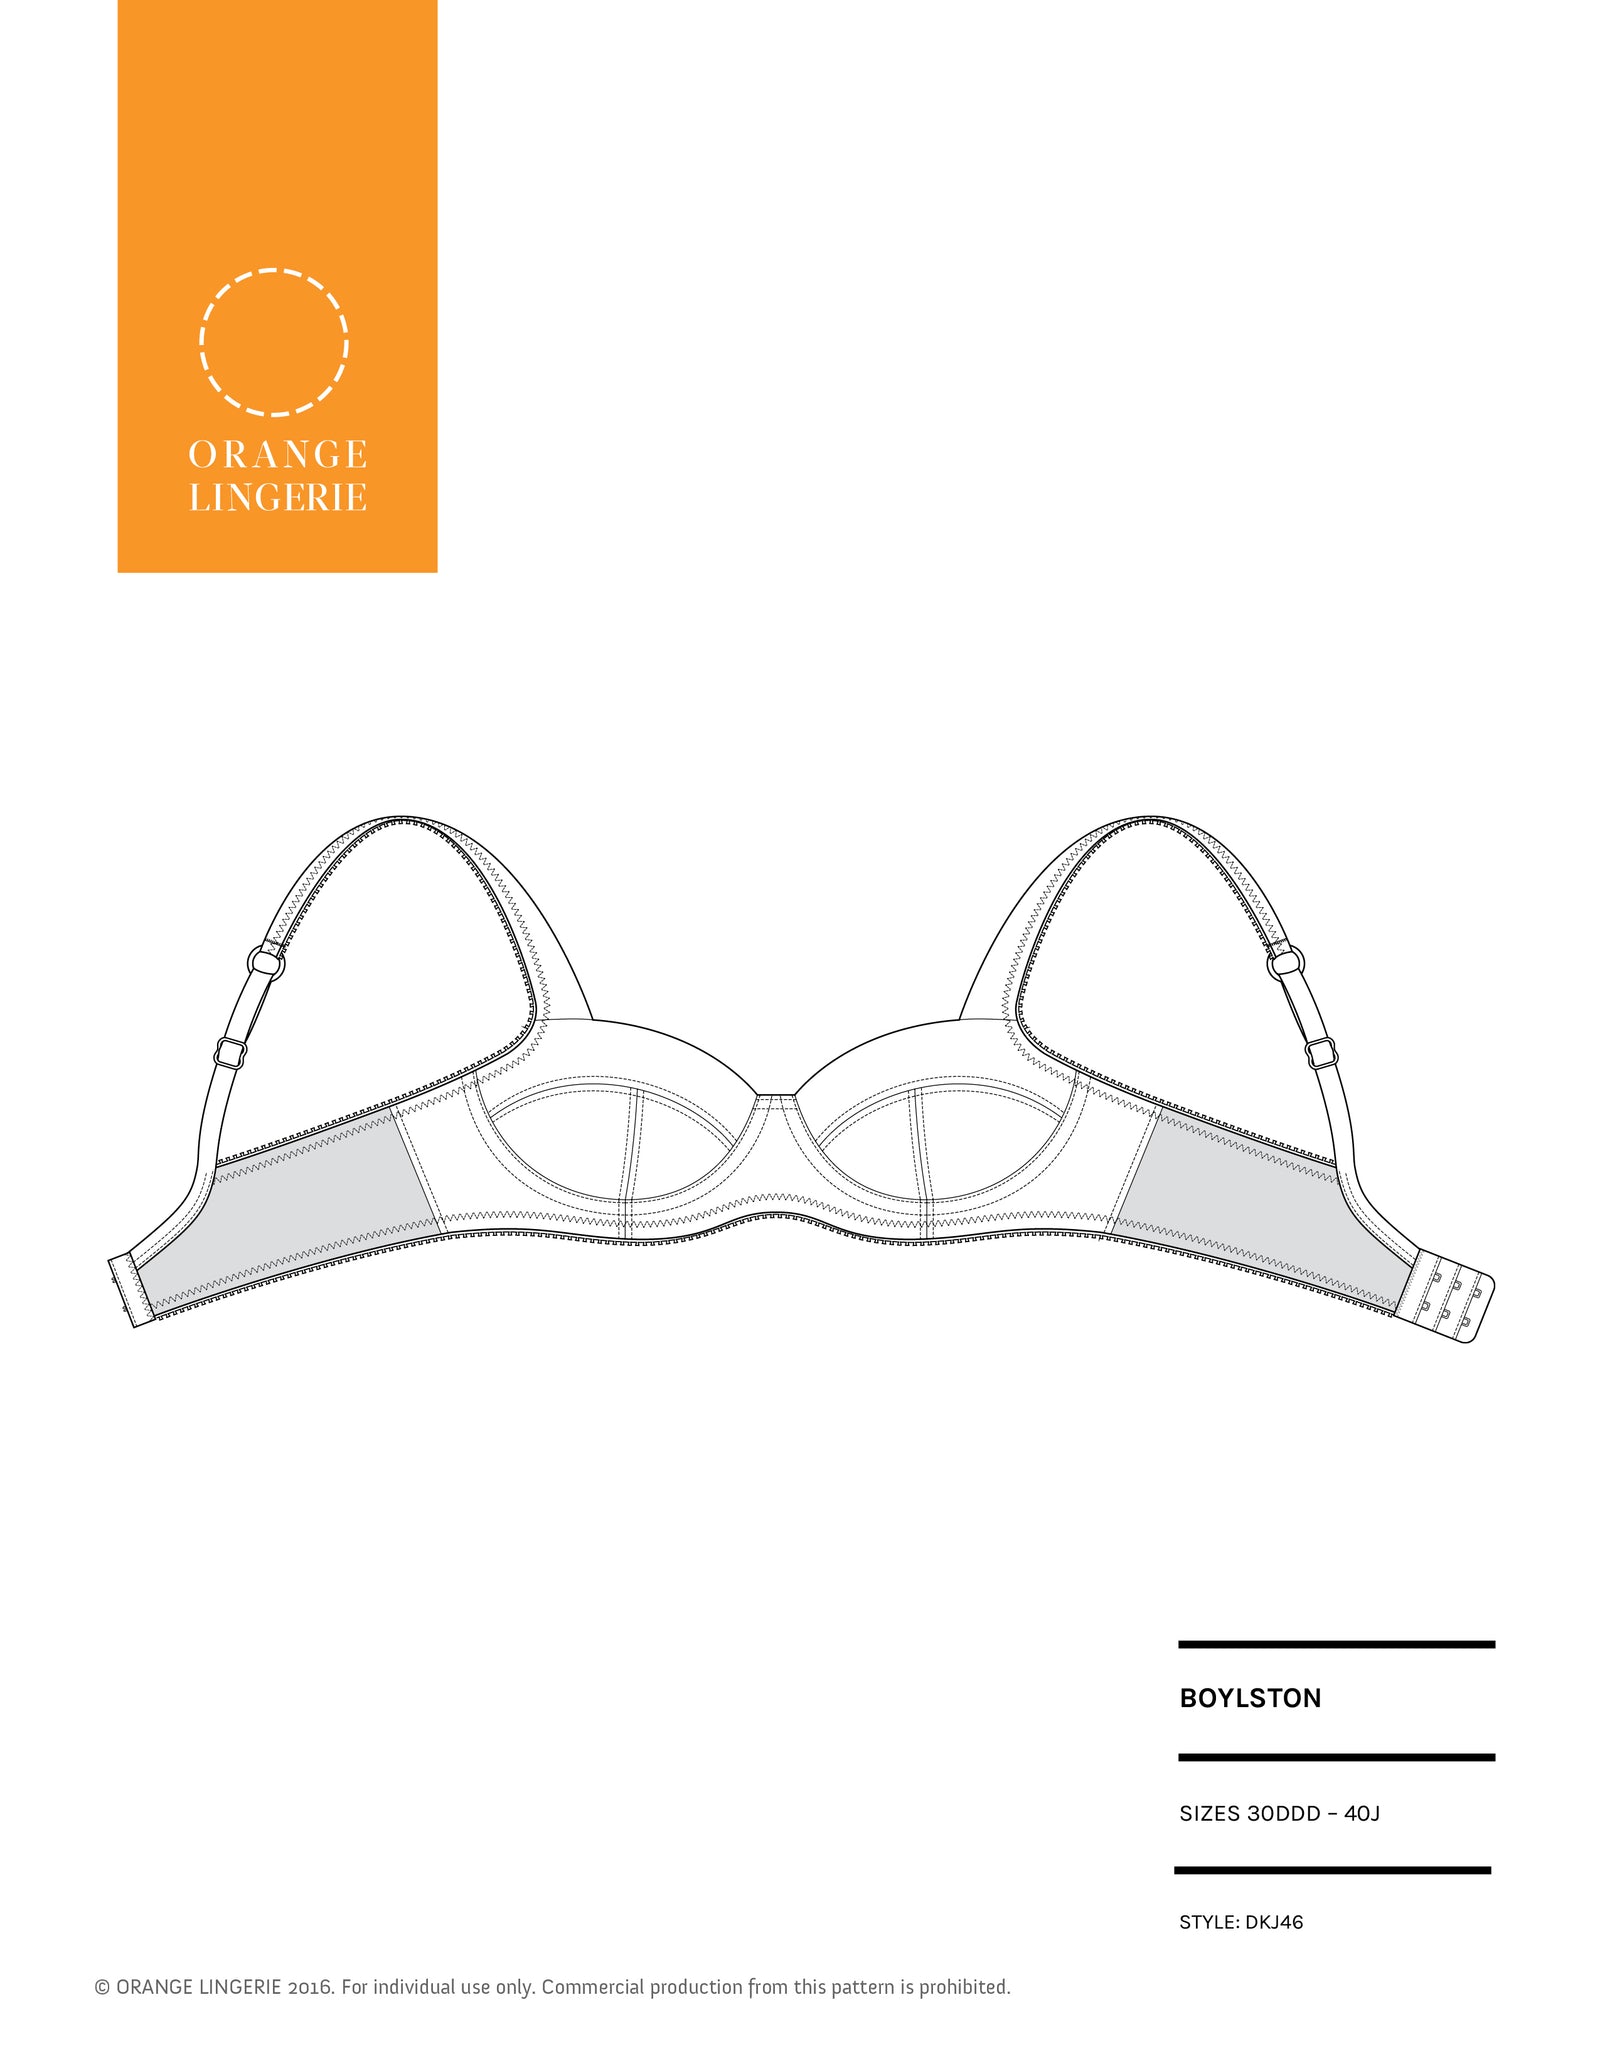
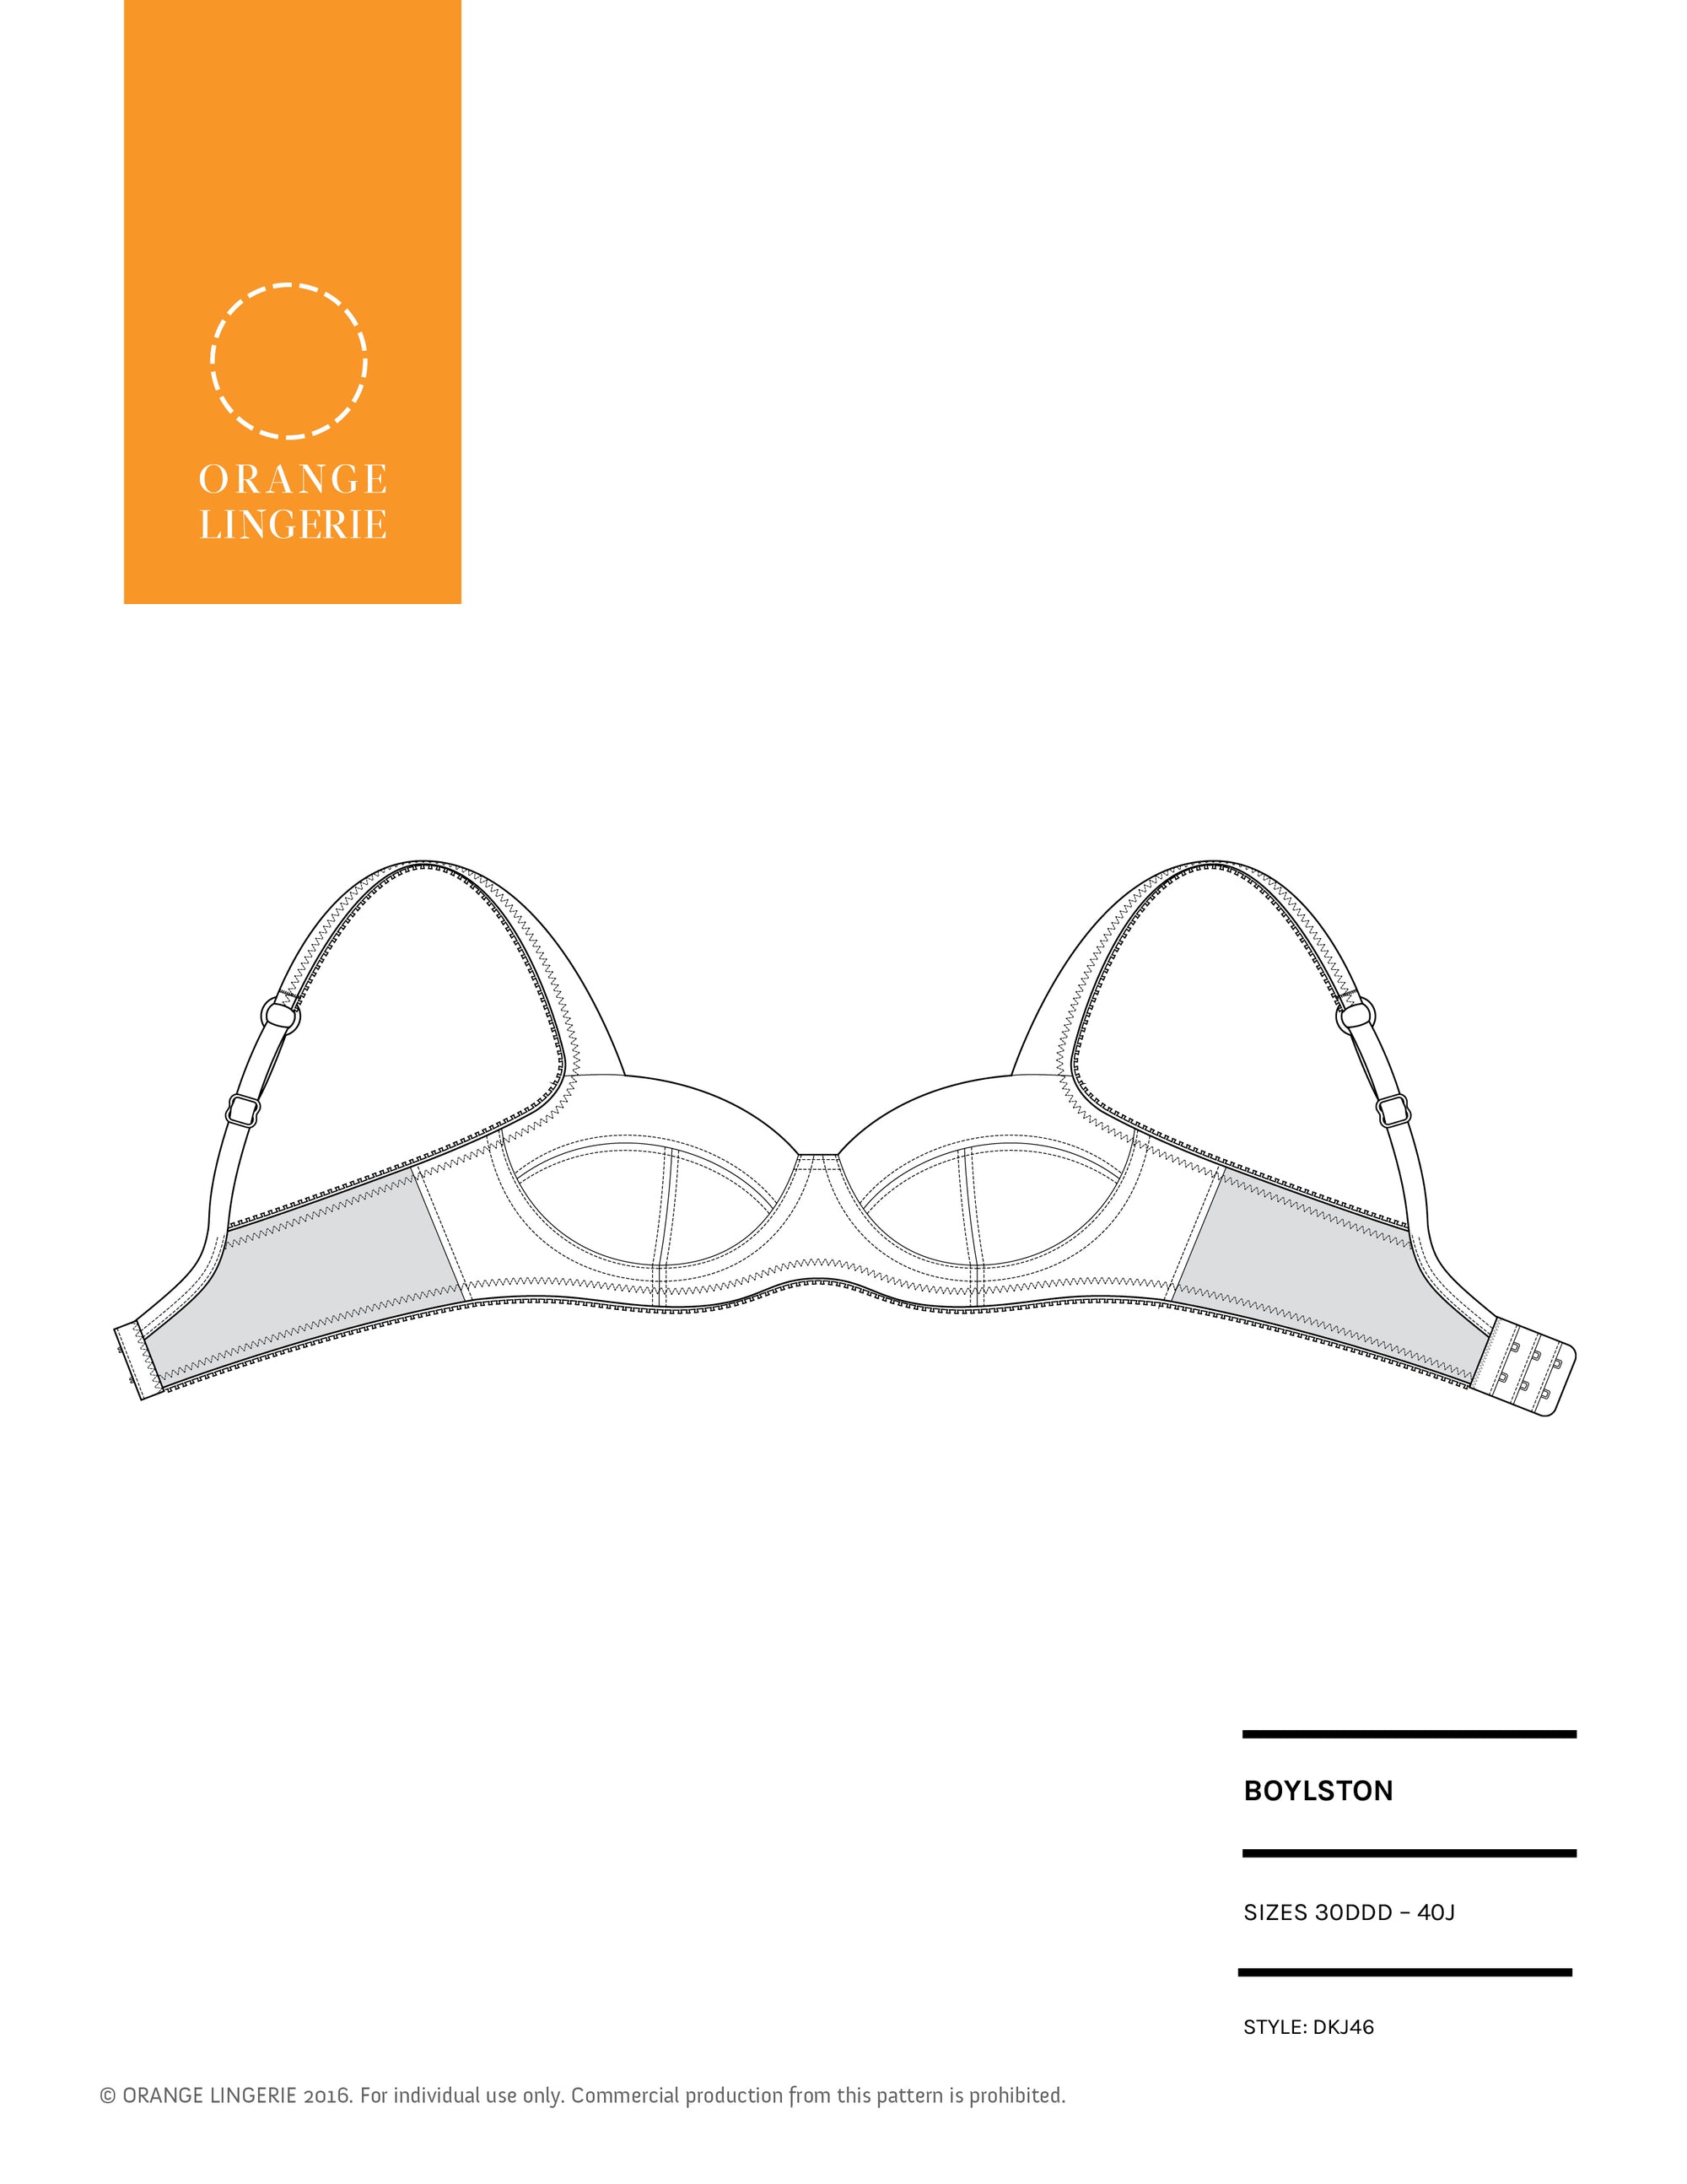
This tutorial will show you how to covert the upper cup of the Esplanade bra to show off a lace scallop edge. You can use this same approach for the Boylston bra and this tutorial will help you understand how to use foam underneath the lace upper cup of the Marlborough bra.
The first step is to alter the upper cup pattern for both the foam and fabric pattern pieces. All you need to do is straighten the top edge for both pieces which you do by drawing a straight line from seam line to seam line as shown below.

When you modify the fabric pattern for lace, you lose the portion of the cup that folds over the foam. This is intentional and allows the lace scallop edge to remain visible in the final bra.
You will cut out your upper cup as you normally cut out lace upper cups, aligning the seam lines with the edge of the lace. Depending on your lace, it can take some experimentation to get the best cutting layout. The primary goal is to preserve the length of the seam lines, something that is particularly important with working with the small seam allowances and close fit of a bra. When covering foam, we also need to be sure we covering the foam cup as much as possible so it does not show through to the right side of the bra.
For this particular lace, the below layout works best:

To contrast, while the following layout preserves the lengthy of the seam lines, you can see there are several gaps created where the foam would be very visible. Something we definitely do not want!

In terms of putting it all together, assemble the cups as instructed in the pattern. When you get to step six of the Esplanade instructions, instead of sewing the fabric cup to the foam cup and flipping the fabric over the foam, put the wrong side of the lace cup to the right side of the foam cup, aligning the base of the lace scallops with the upper edge of the foam cup. Then sew a zigzag stitch across the top of the foam cup to join the two layers.
If you want to finish the upper edge of the foam with more than just a zigzag over the edge you could optionally finish the foam edge with some tricot tape prior to attaching the lace cup. Just be sure not to add any bulk to this area since we want it to lie flat on the body. A zigzag stitch helps to flatten out that upper edge of the foam cup without creating any ridges. I actually prefer the flatness I can achieve without any additional finishing along that upper edge.
Now you have beautiful lace scallop edge cups for you Esplanade bra and you can finish sewing the cups and bra as usual!