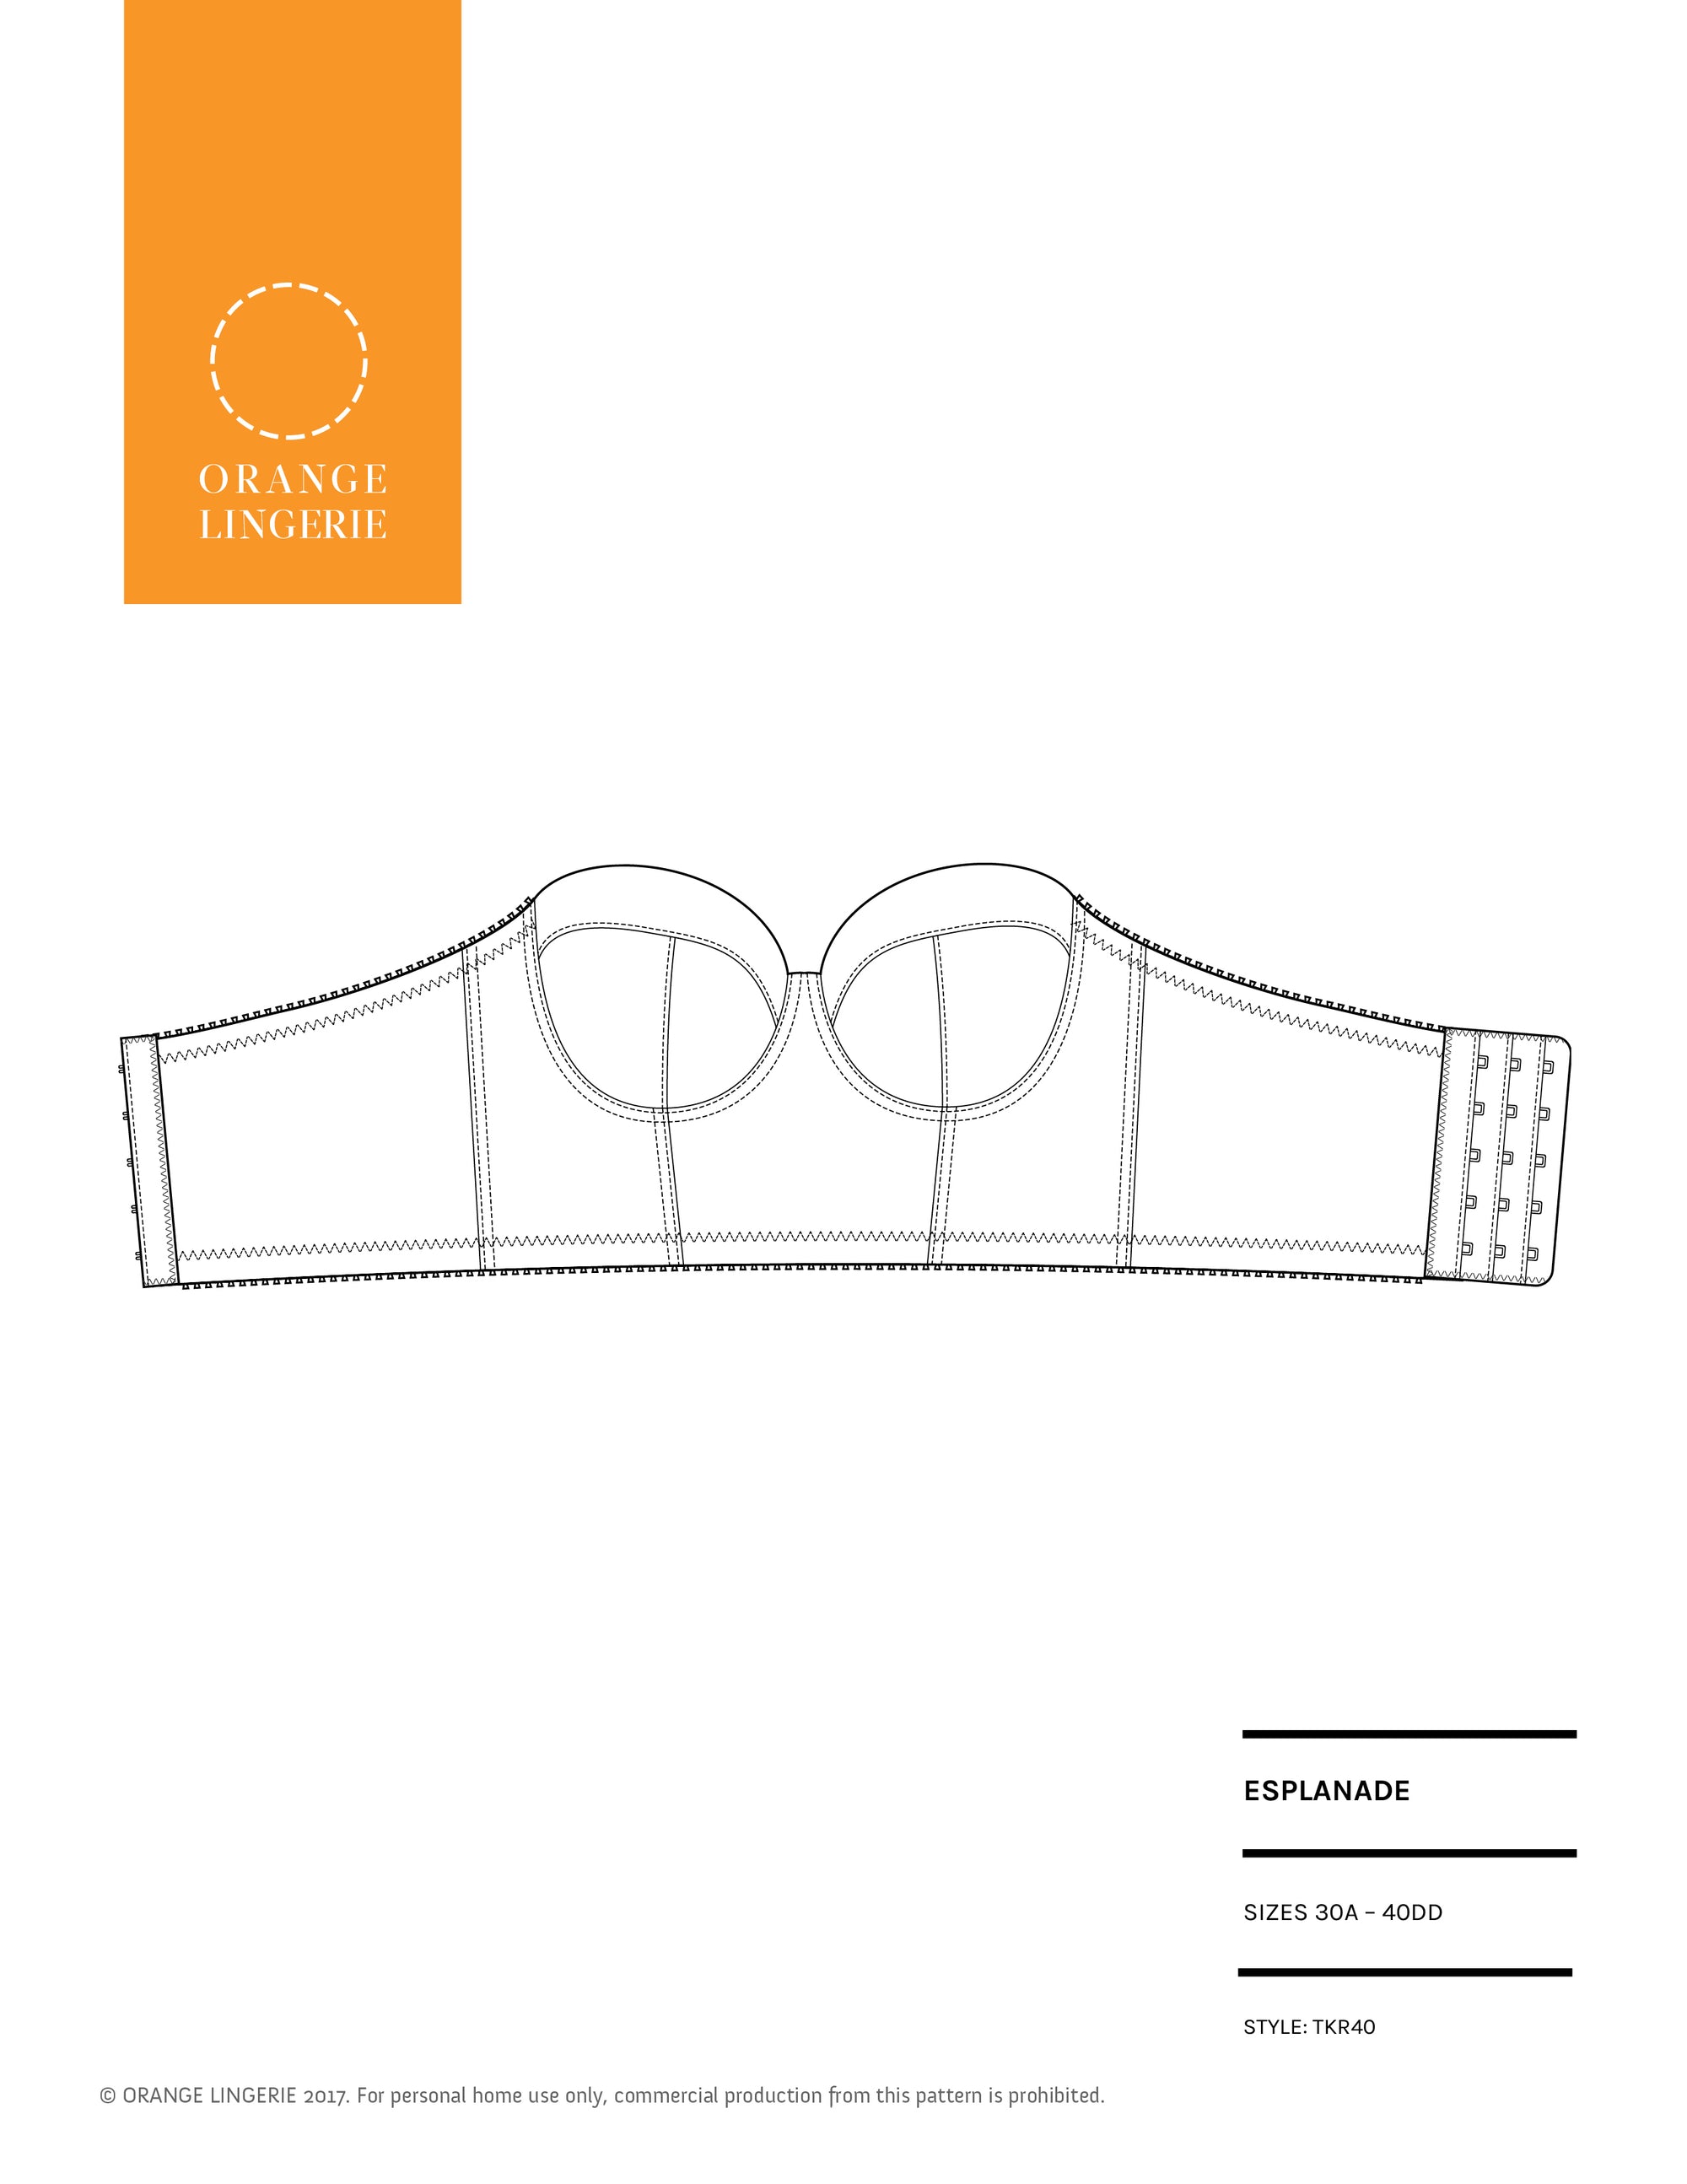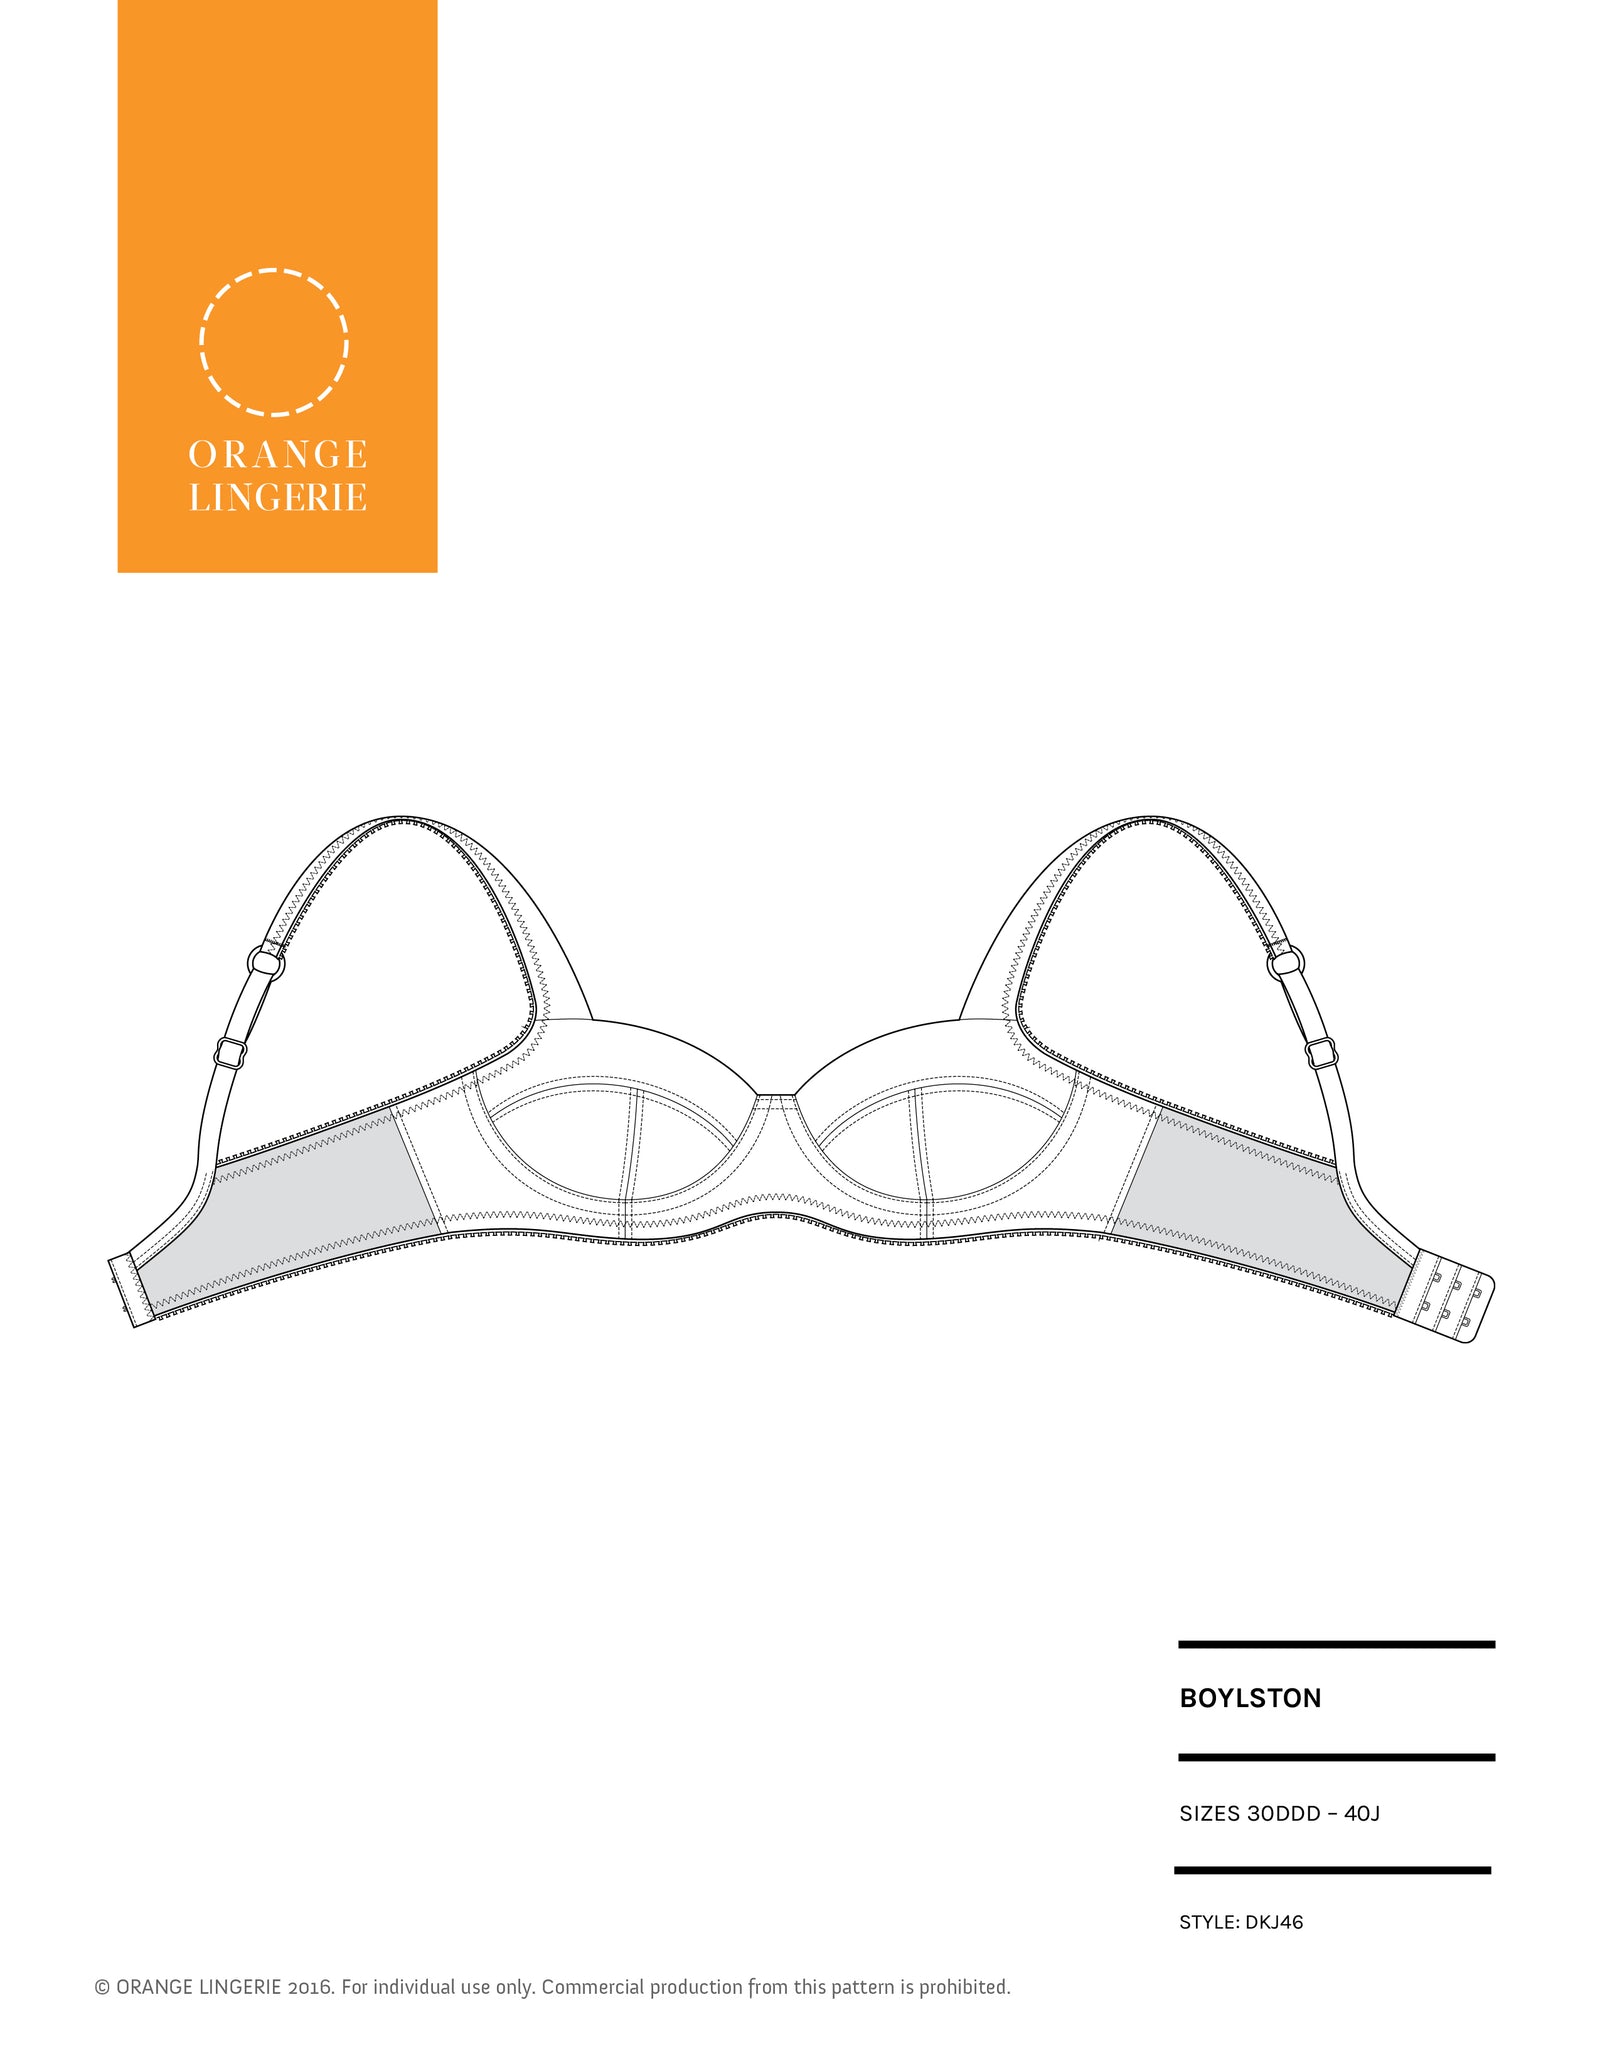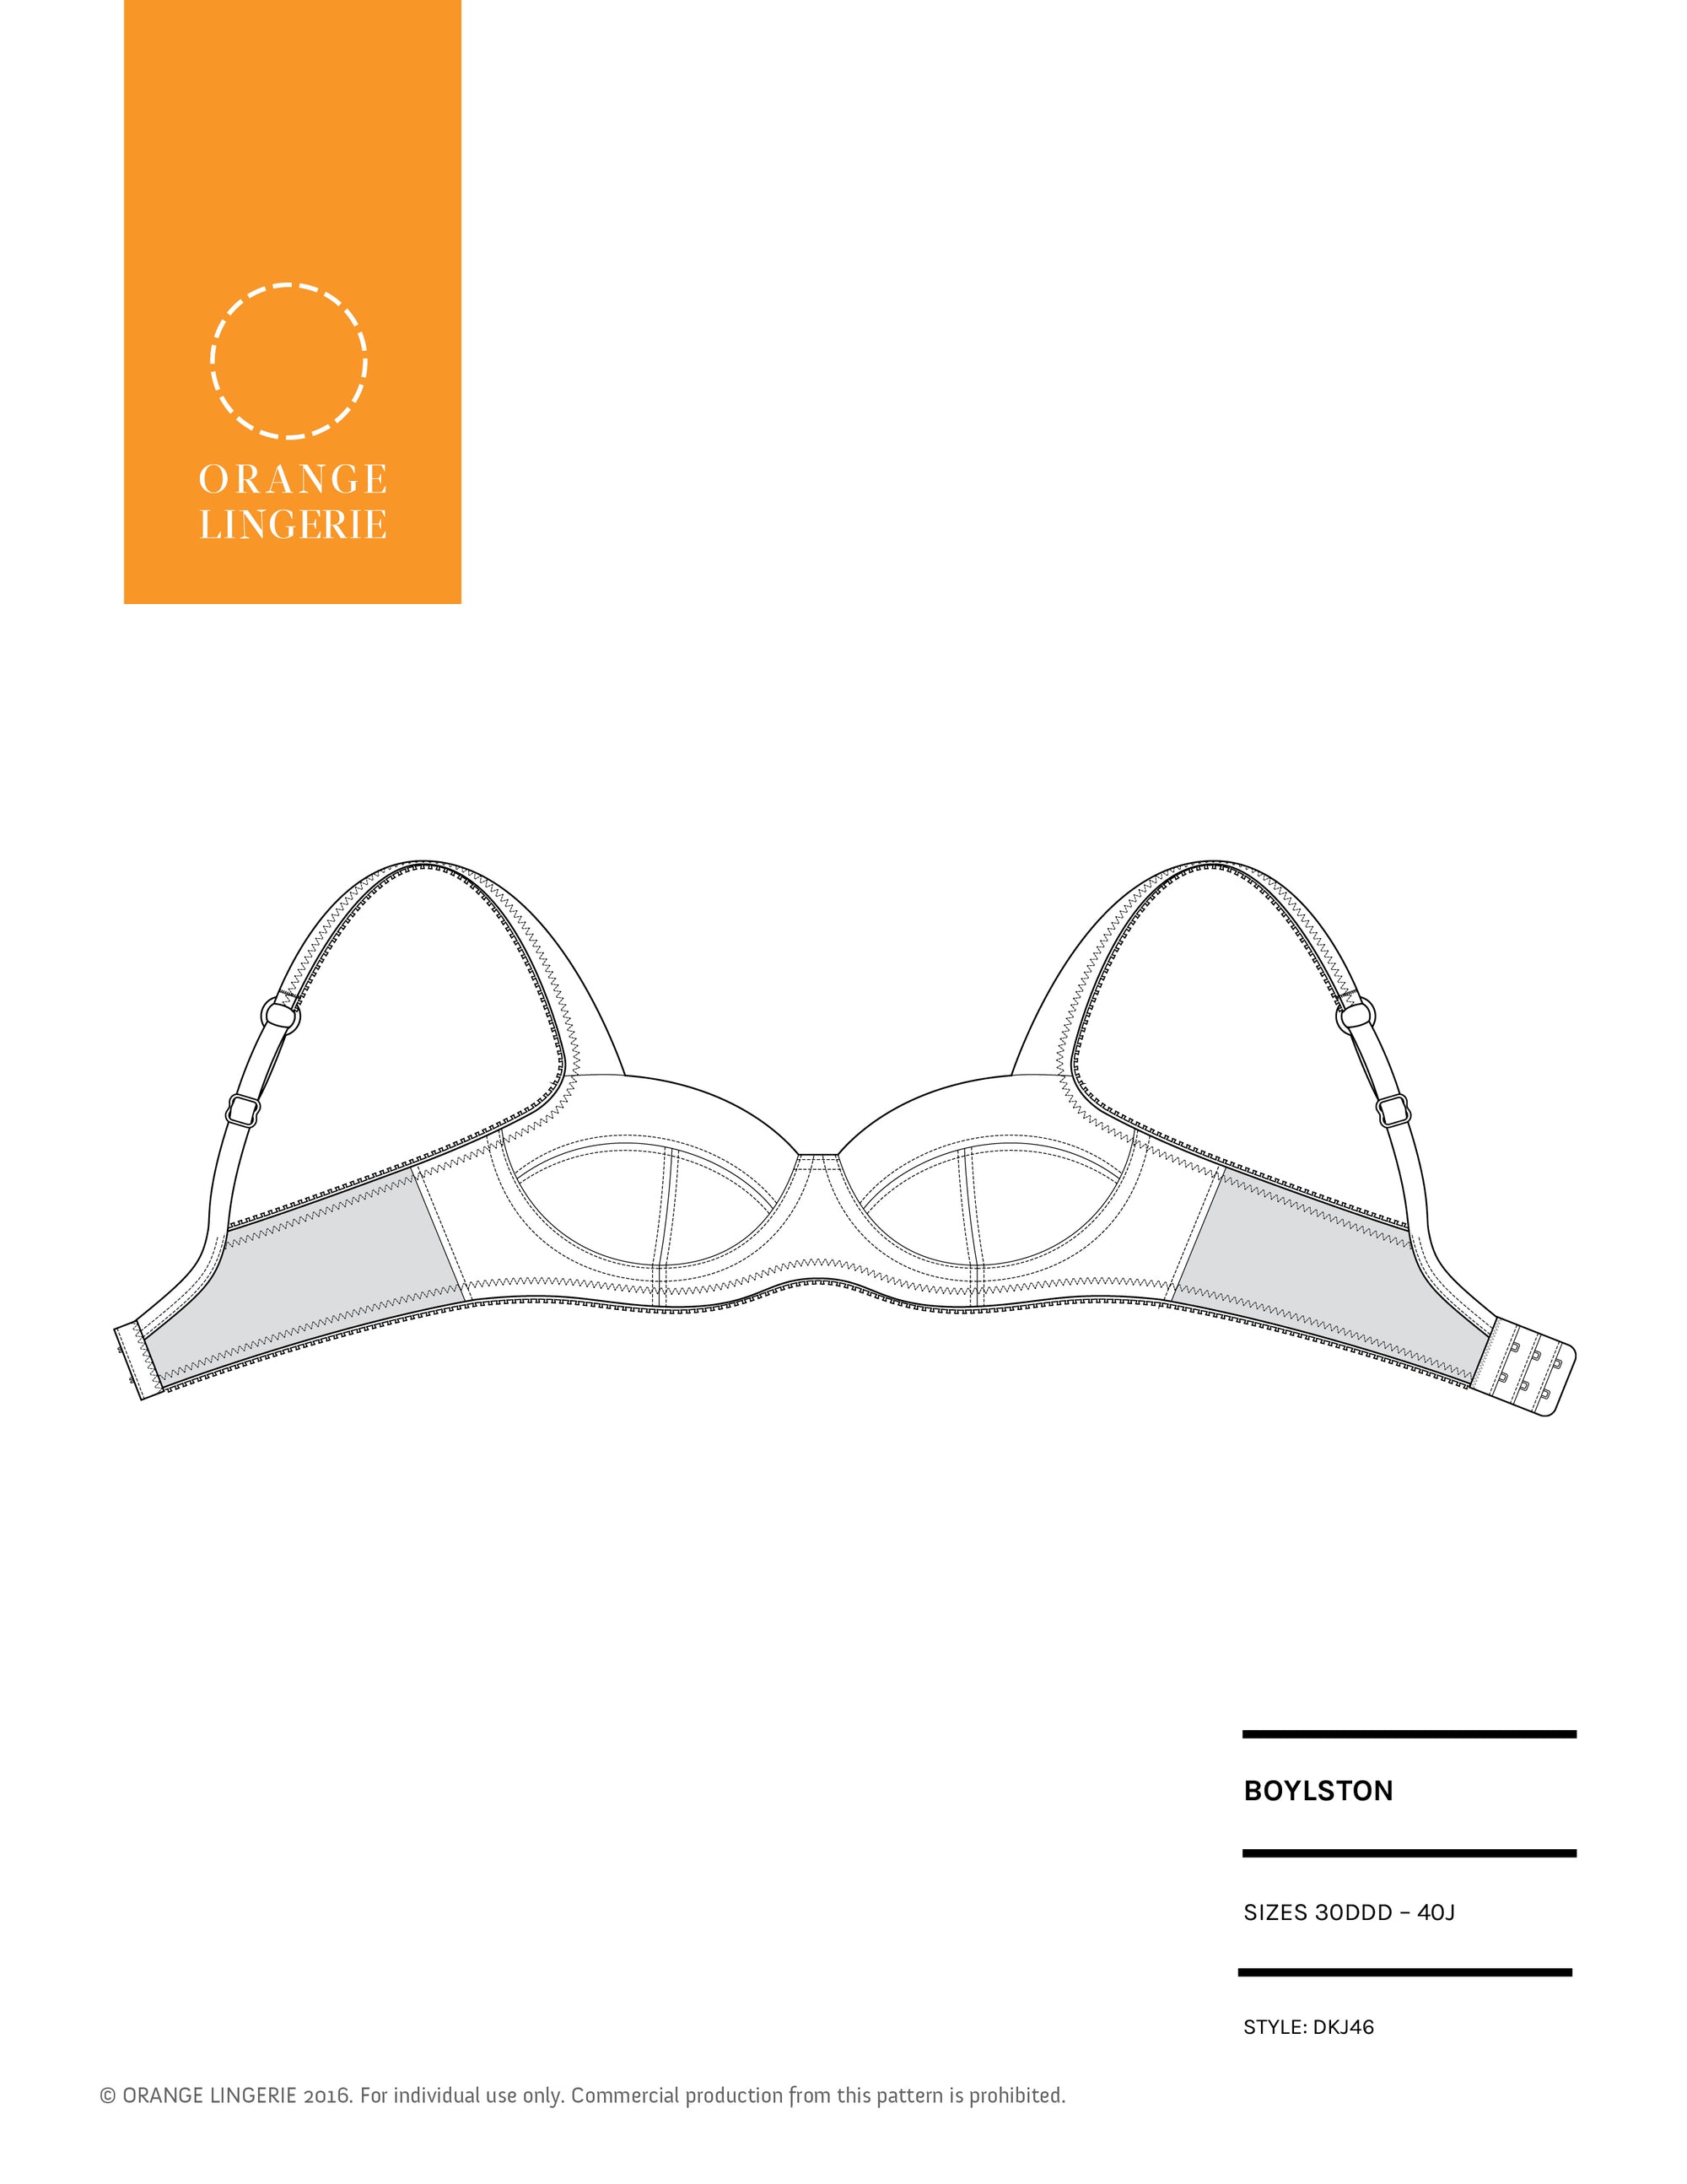

If you’ve experienced less than favorable results when searching for the perfect fitting bra, then you already know what makes creating your own bras so amazing. It’s the opportunity to not only have the style and fit that you desire but durability as well.
One of the secrets to a bra that lasts through washing and wear is the quality and type of stitching that holds it together. All garments, especially our undergarments are under a lot of stress when worn. In bra making, there are a number of sewing stitches that are used to help increase the functional performance of the garment.
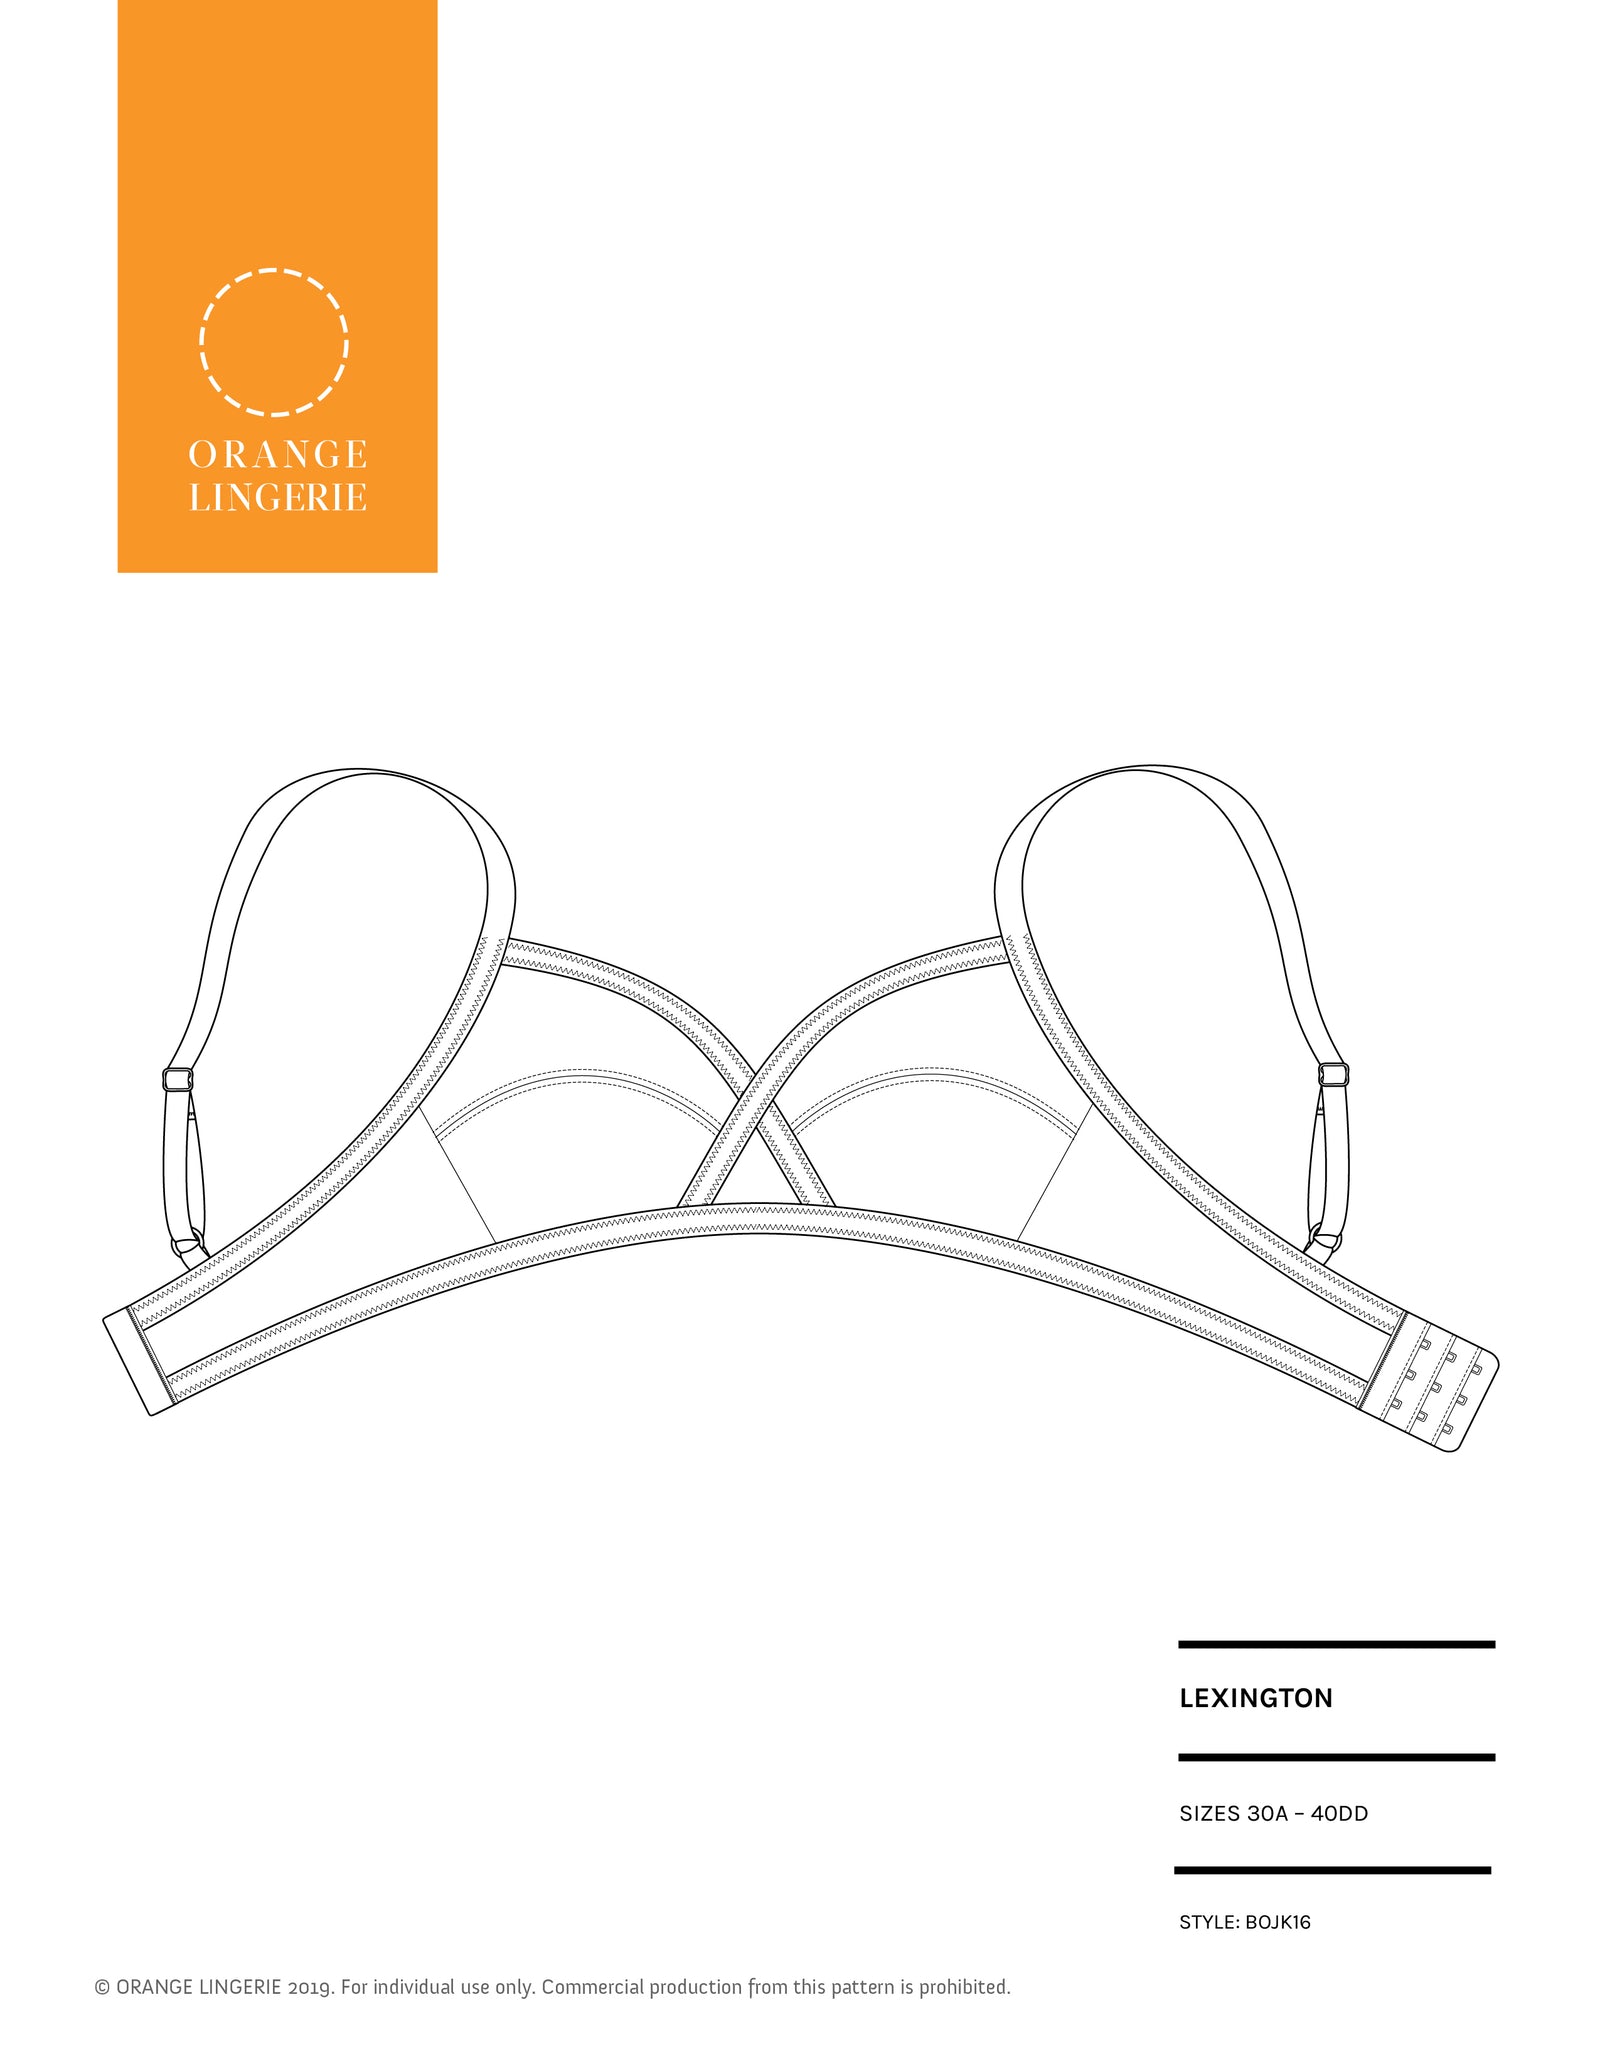
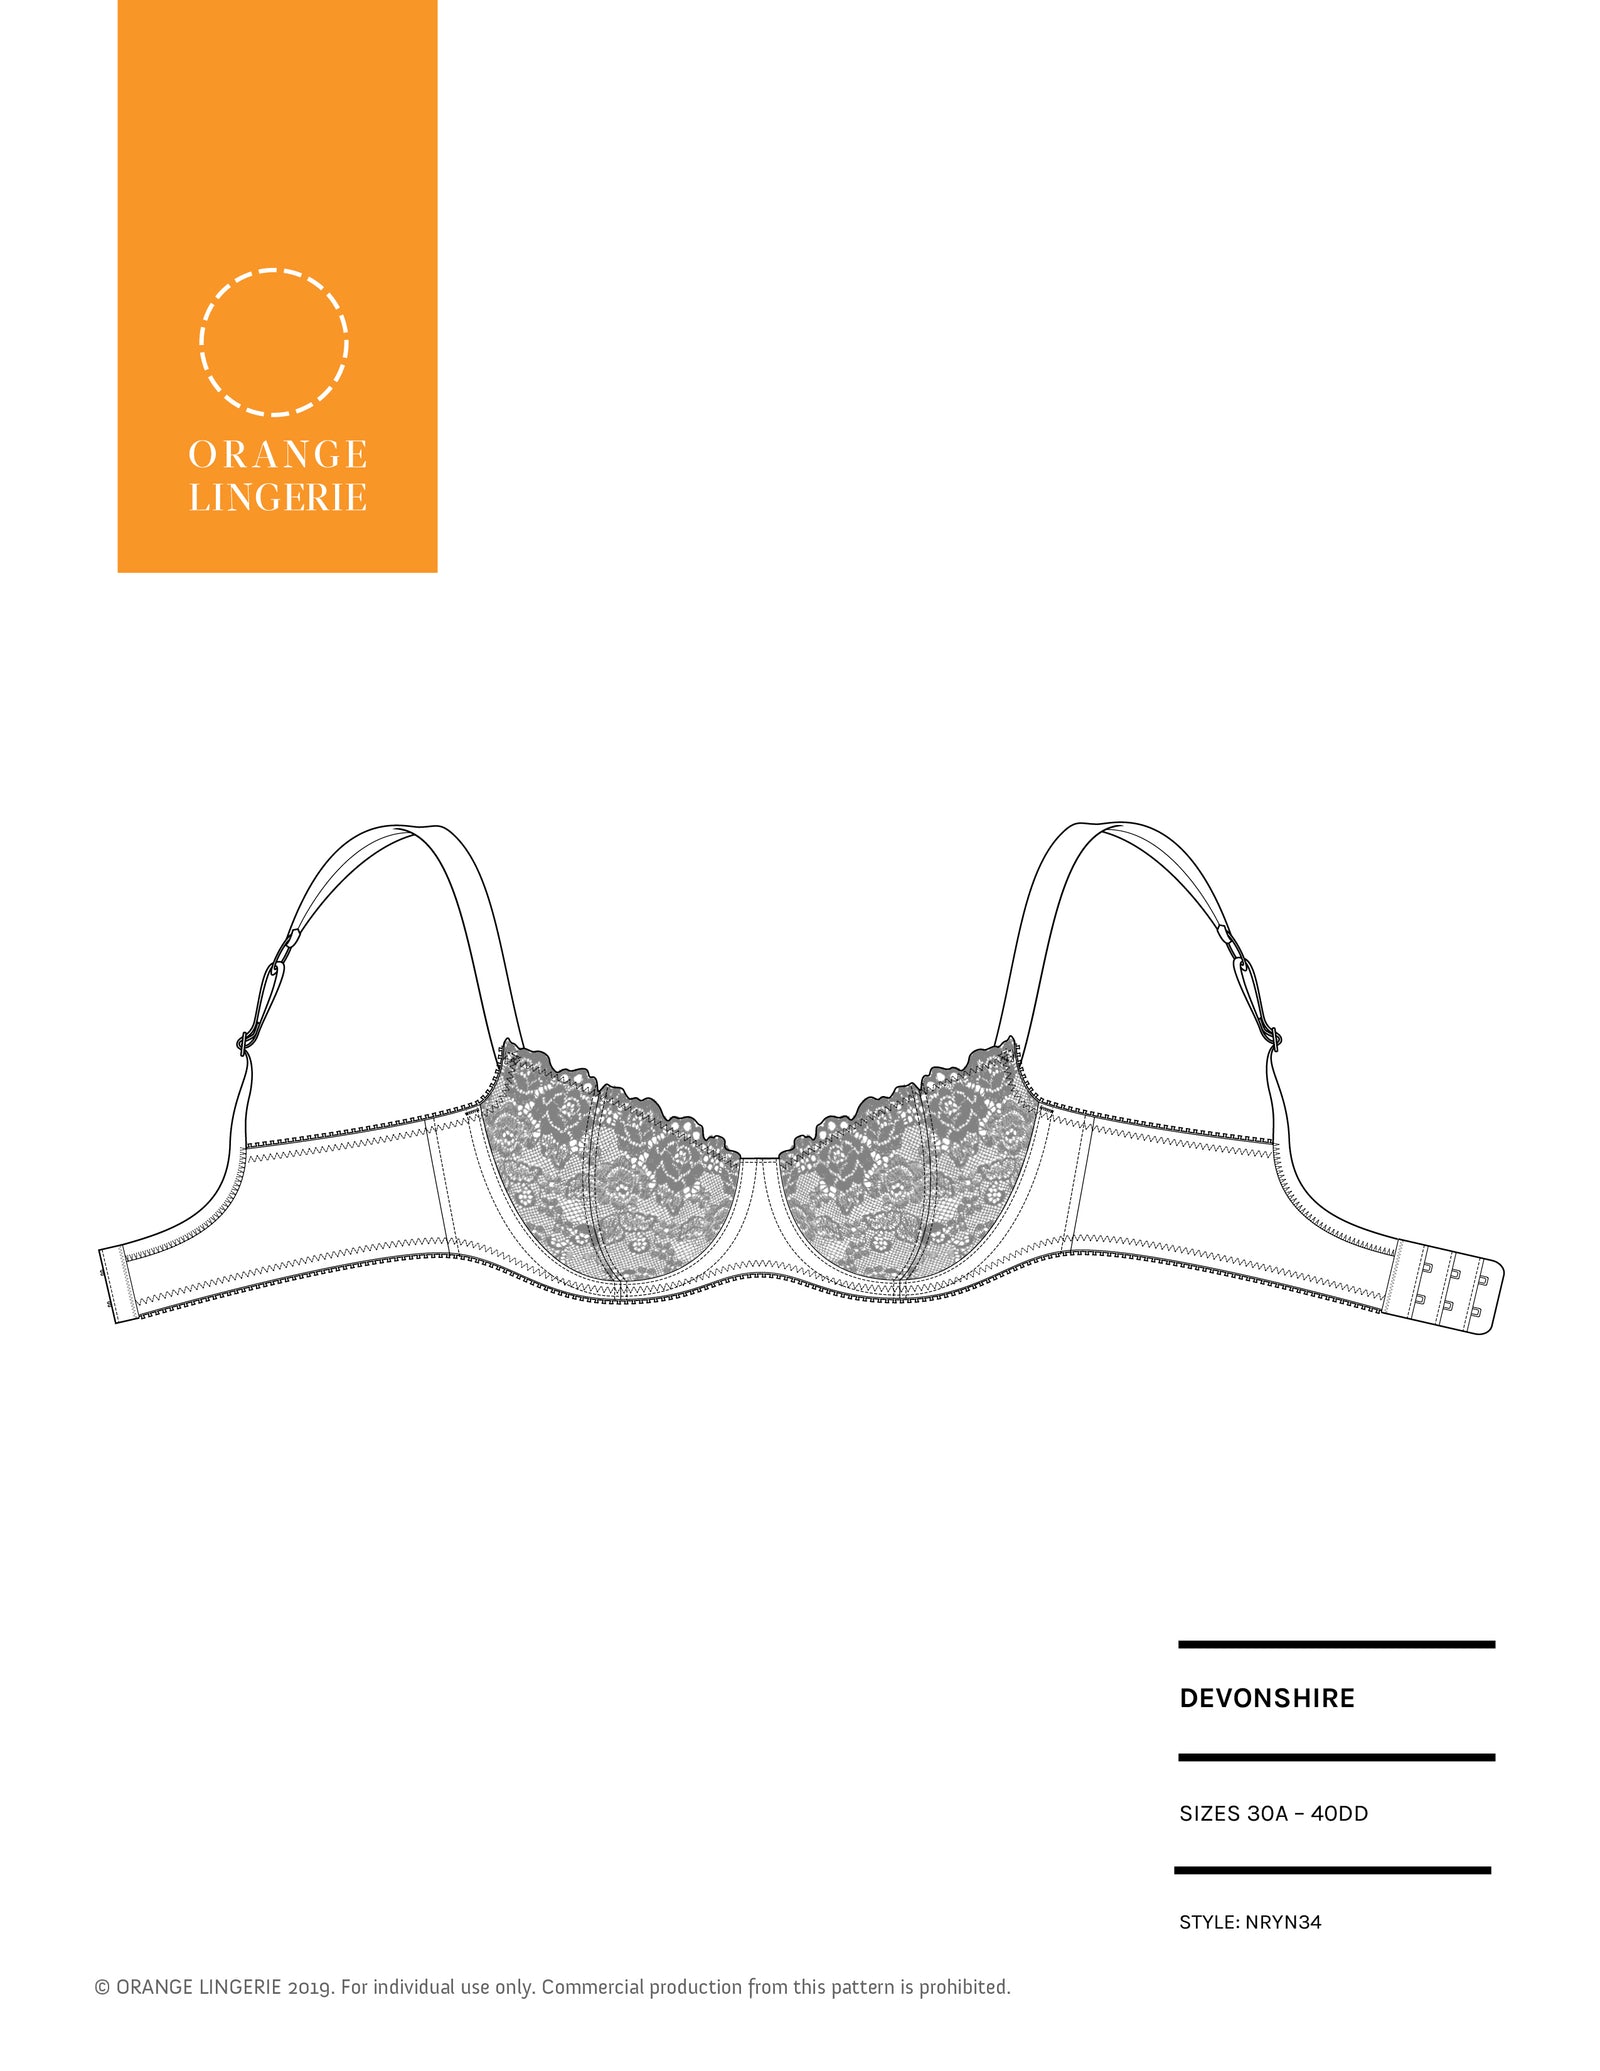
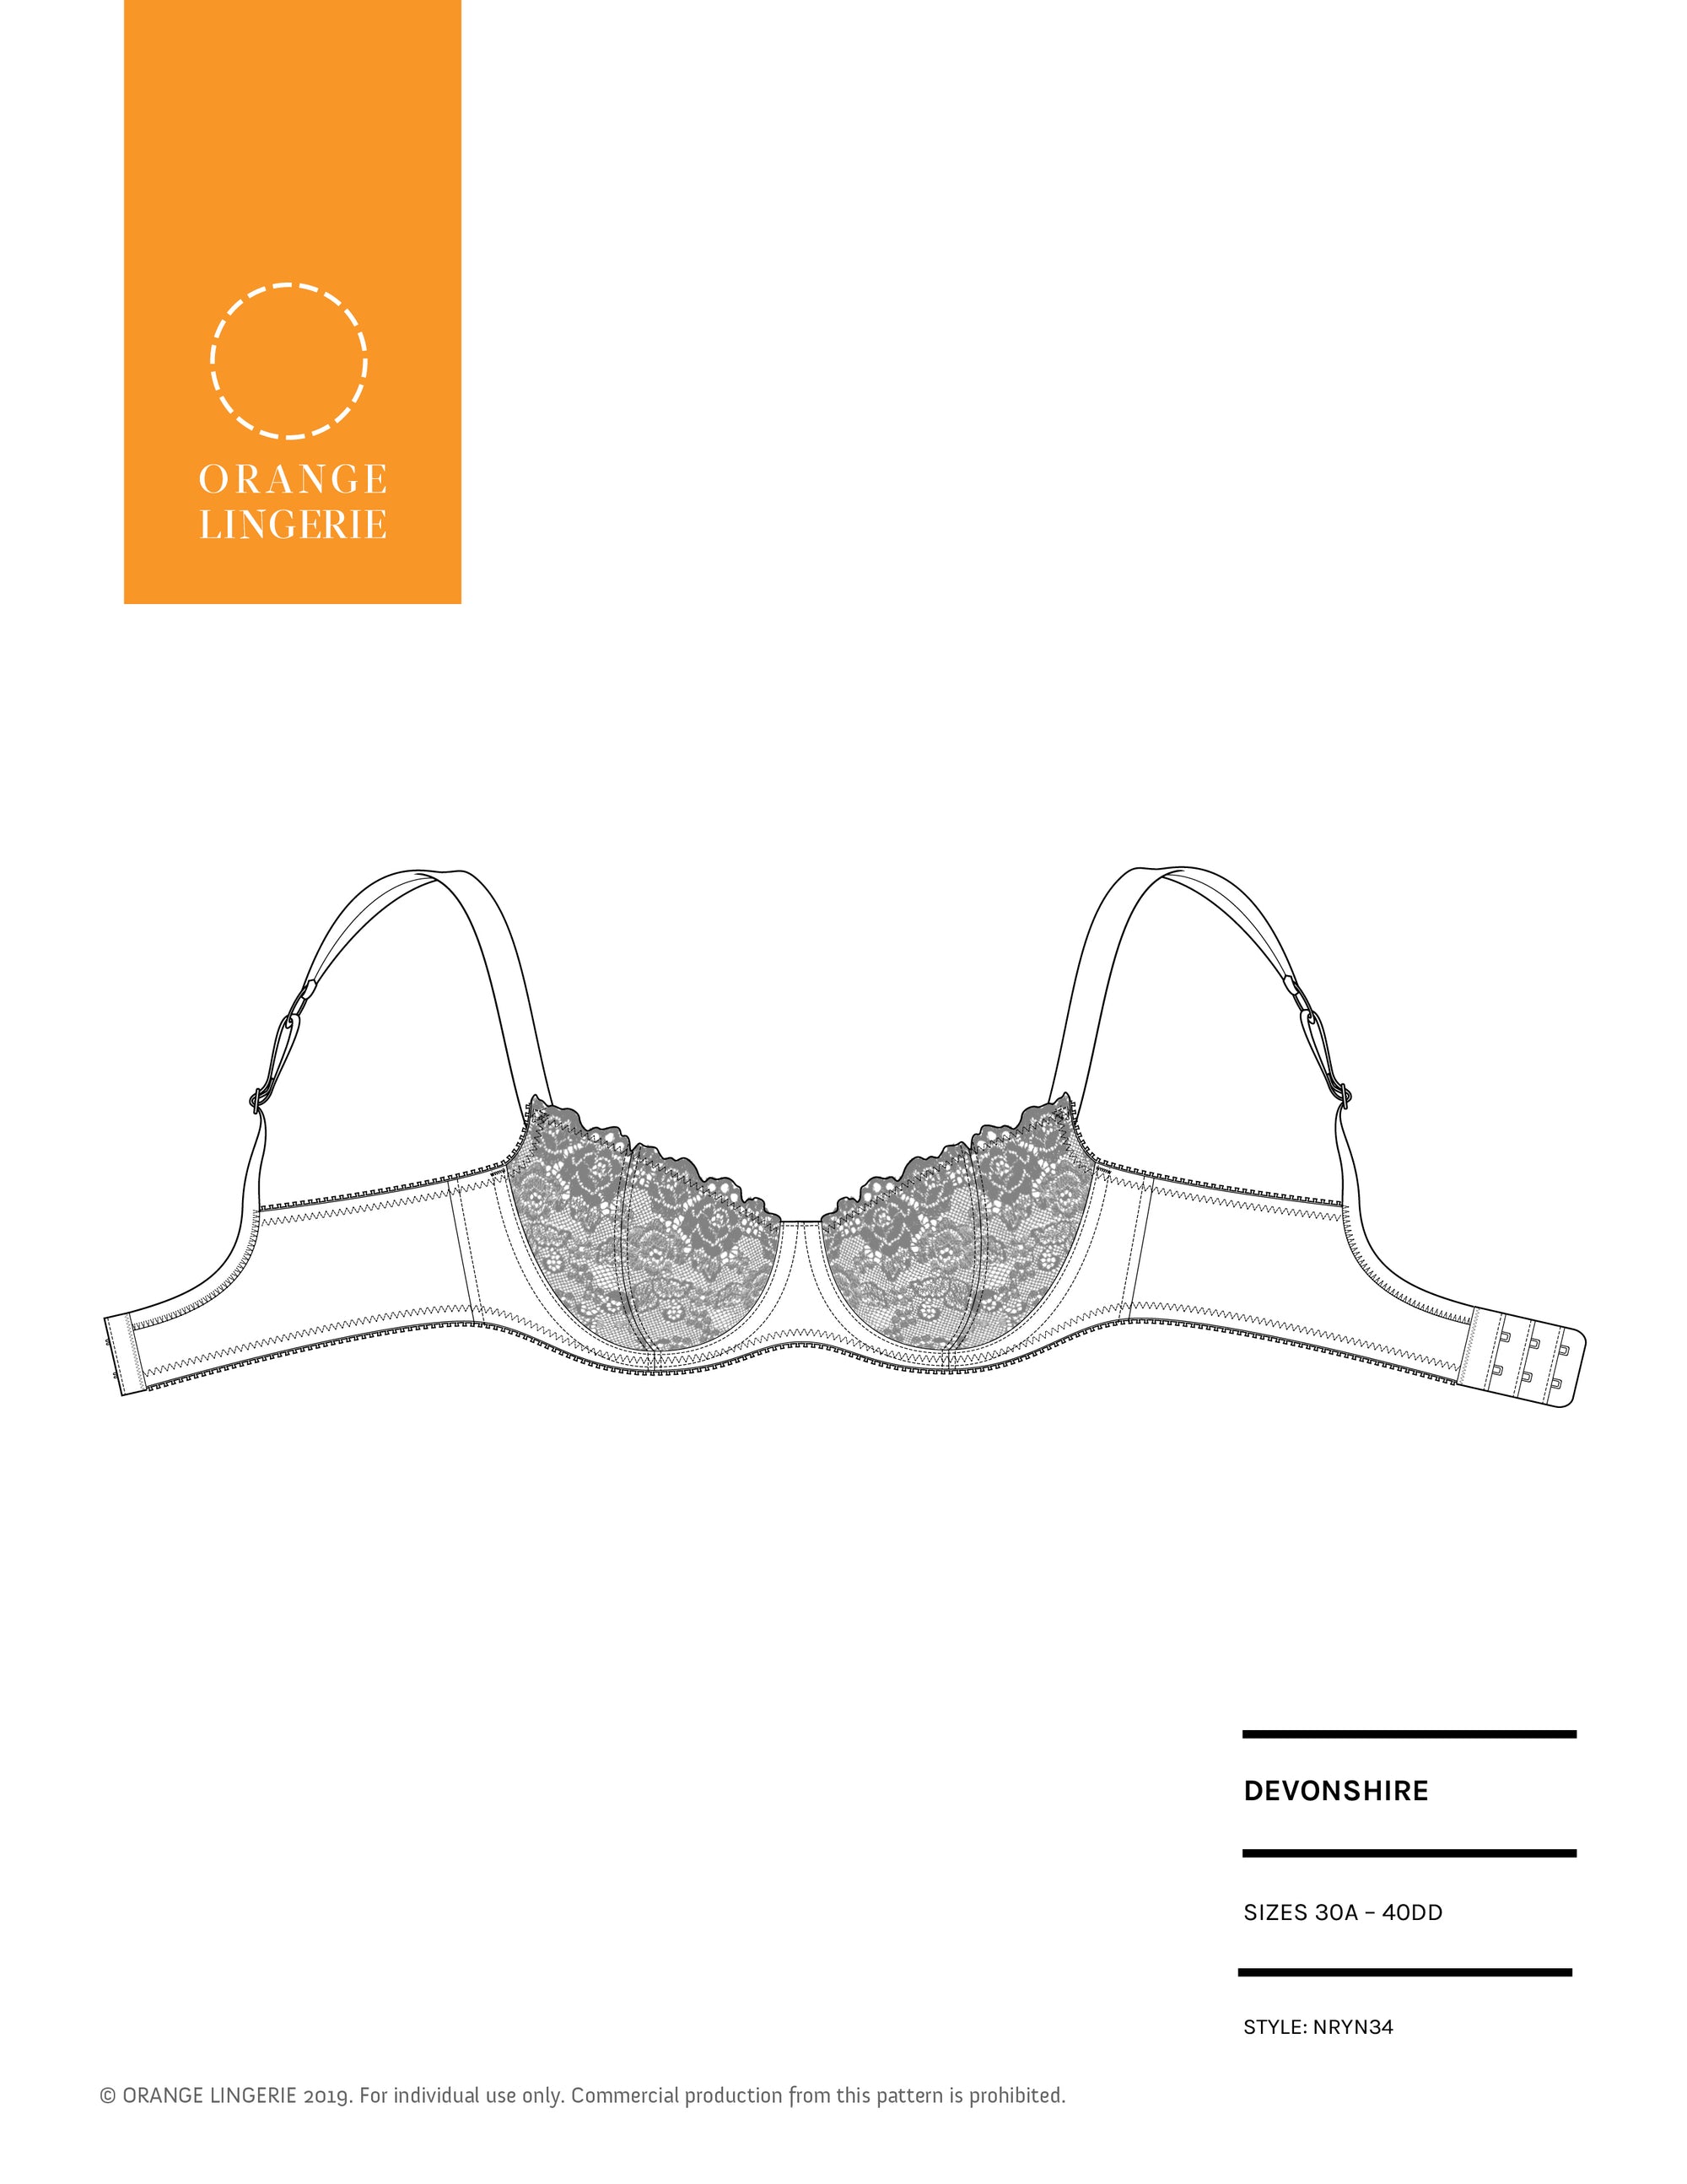
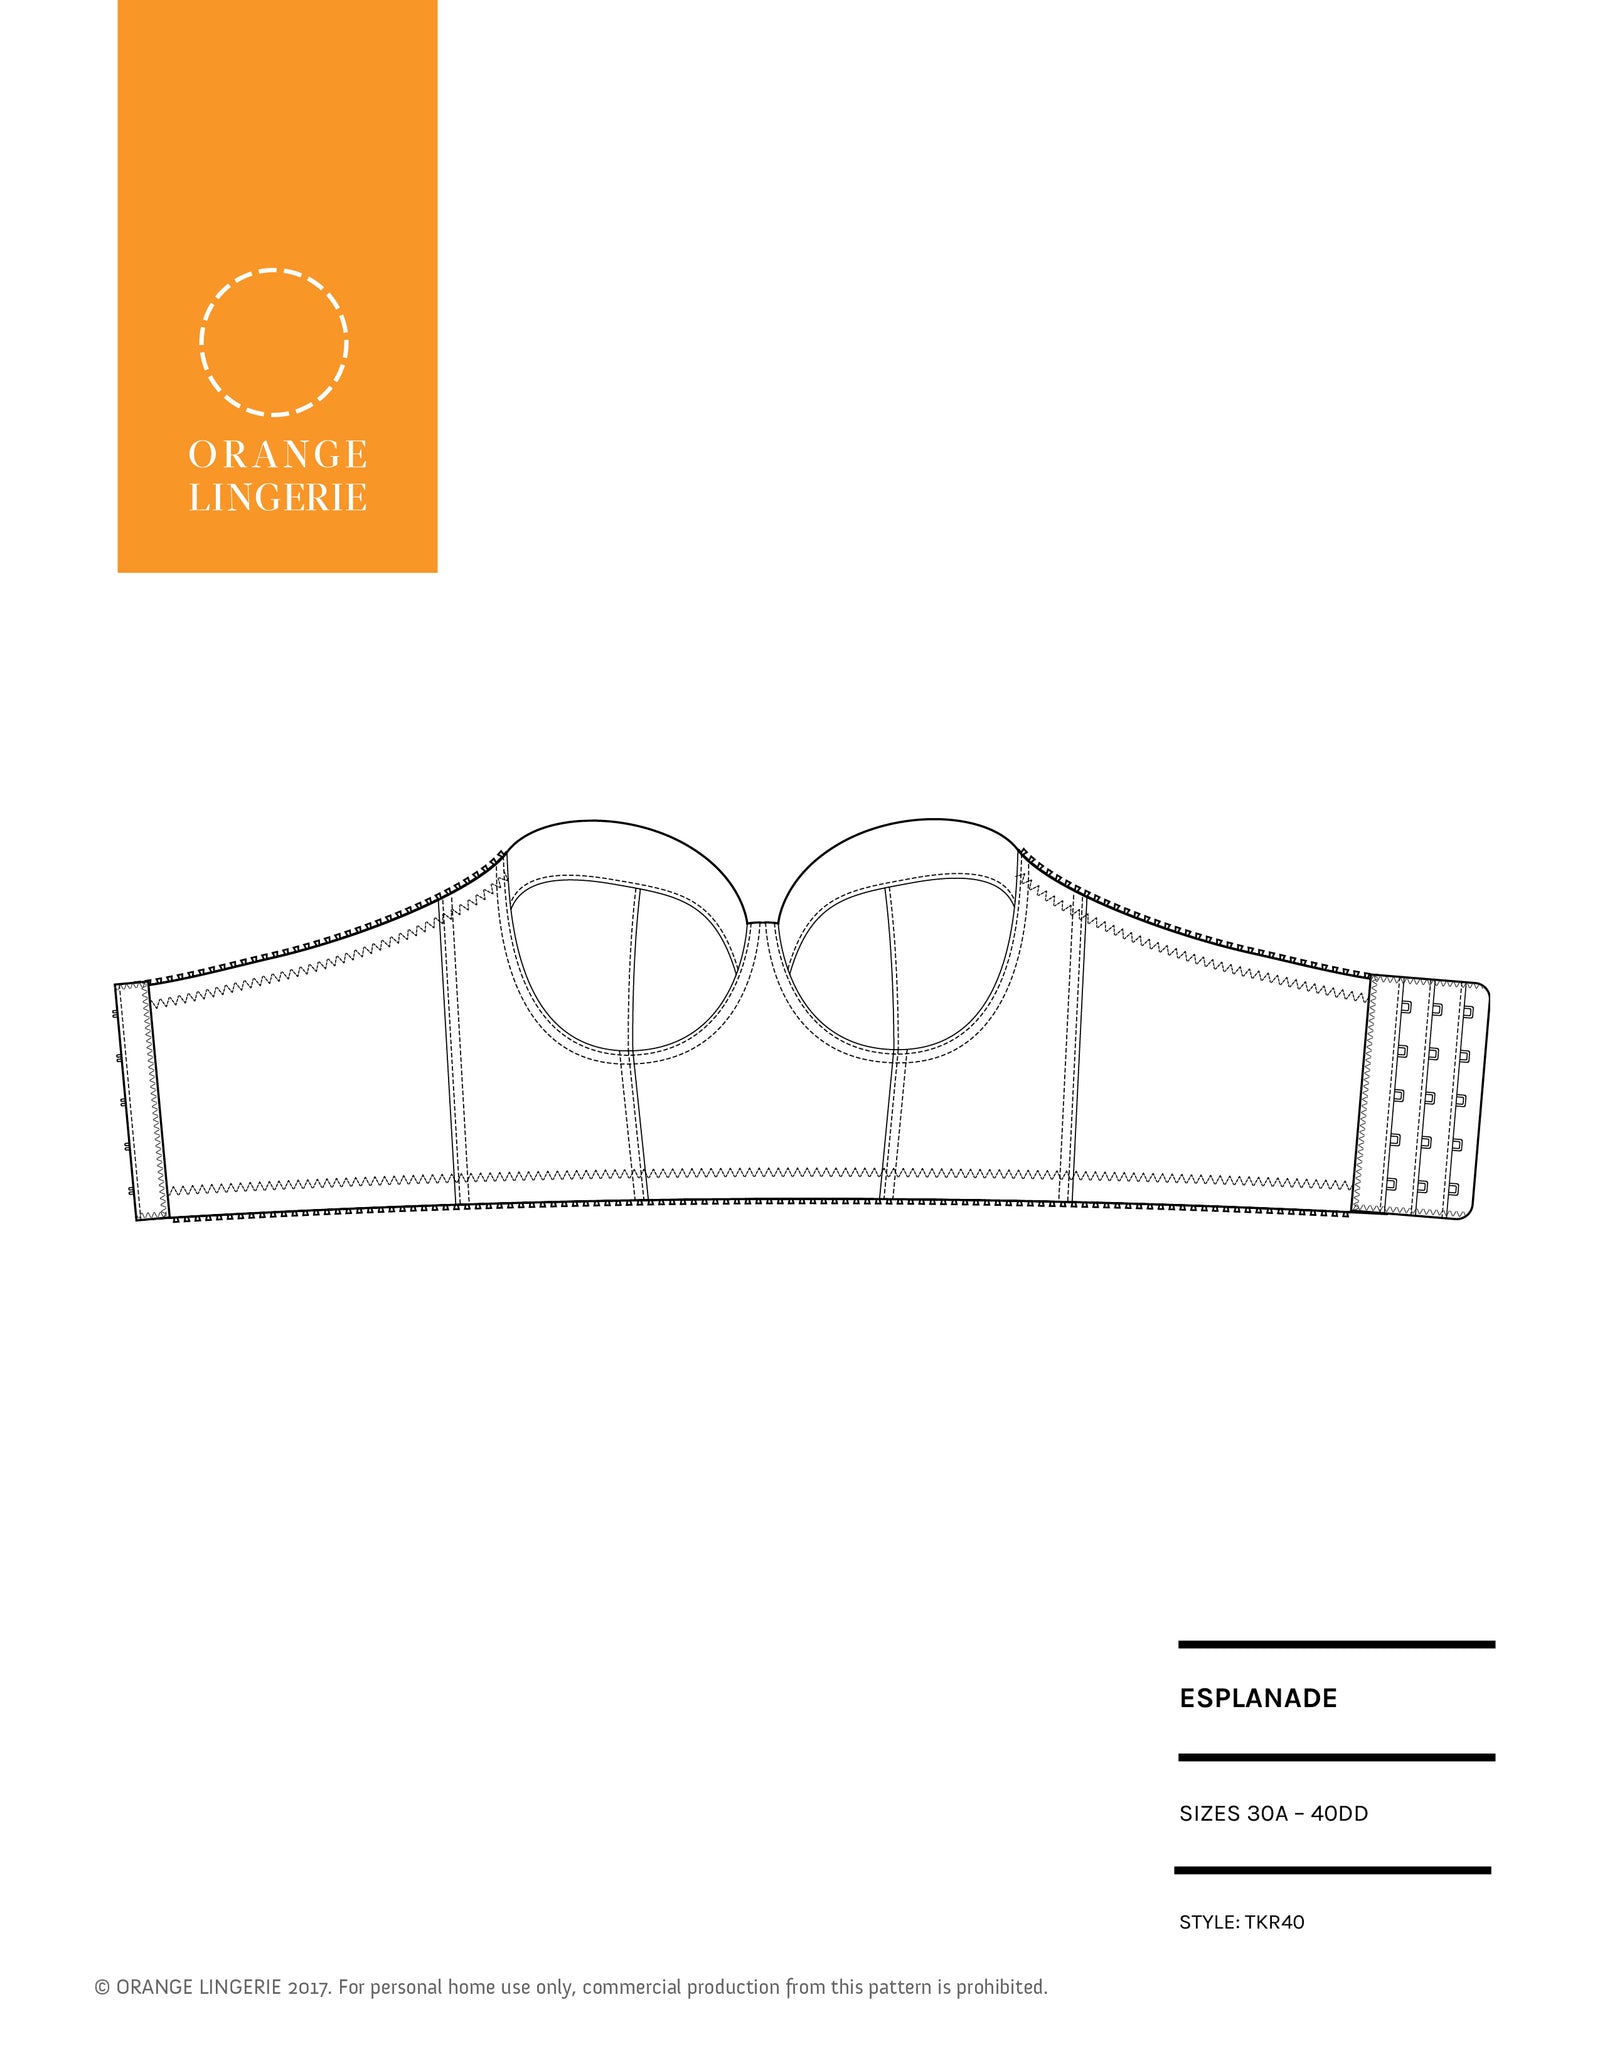
Below I share the most common sewing stitches used in bra making including straight, machine basting, bar tack, regular zigzag, 3-step zigzag, and lightning stitch. I have all the details about each one including when and where to use them, their specifications (length and width, when applicable), also which needle, thread and pressure foot to use!


Note: While there are additional uses for the stitches detailed below, I’ve limited the descriptions to their uses in bra making.

Straight Stitch
Length: 2.3mm
Uses: Seams, topstitching
The straight stitch is the most basic stitch used in sewing for both construction and topstitching. When machine stitching, the straight stitch consists of a straight upper thread interlocking regularly with a straight bobbin thread underneath.
Helpful Tips:
- When topstitching the underwire casing, shorten the stitch length to make it easier to go around the curves.
- Also, in topstitching, move the needle as necessary to capture the underlying seam allowance.
- With ¼” seam allowances, move the needle to the outside of the pressure foot as a guide when sewing. See this blog post for more info: https://www.orange-lingerie.com/how-to-get-perfect-%C2%BC-seams-for-lingerie-sewing

Machine Basting
Length: 4.5mm
Uses: Temporary construction
Machine basting consists of long, loose stitches that are not backstitched to secure their position. This makes the stitches easier to remove when replacing with permanent stitches. Machine basting is useful with garment fitting, or any time you need to hold pieces of fabric together temporarily.
Helpful Tip – When attaching the underwire casing to the cup to frame the seam allowance, it’s easier to use a basting stitch for this step. The casing is then secured to the bra when topstitching.

Bar Tack
Length: 0.3mm length and 4.0 mm in width.
Uses: Sealing casing, attaching straps to the front of the bra, reinforcement, securing ends of elastic together
The bar tack setting on your machine is used to reinforce areas of stress on a garment which makes it a great stitch for sealing casings or attaching straps to the front of the bra. The stitch consists of long, closely-spaced zigzag stitches followed by short perpendicular ones.
Helpful Tips:
- Mark the placement of your bar tack with two straight stitches making sure that the lines are straight before adding your bar tack.
- Shorten the length of your zigzag stitches if the bar tack doesn’t look dense enough.

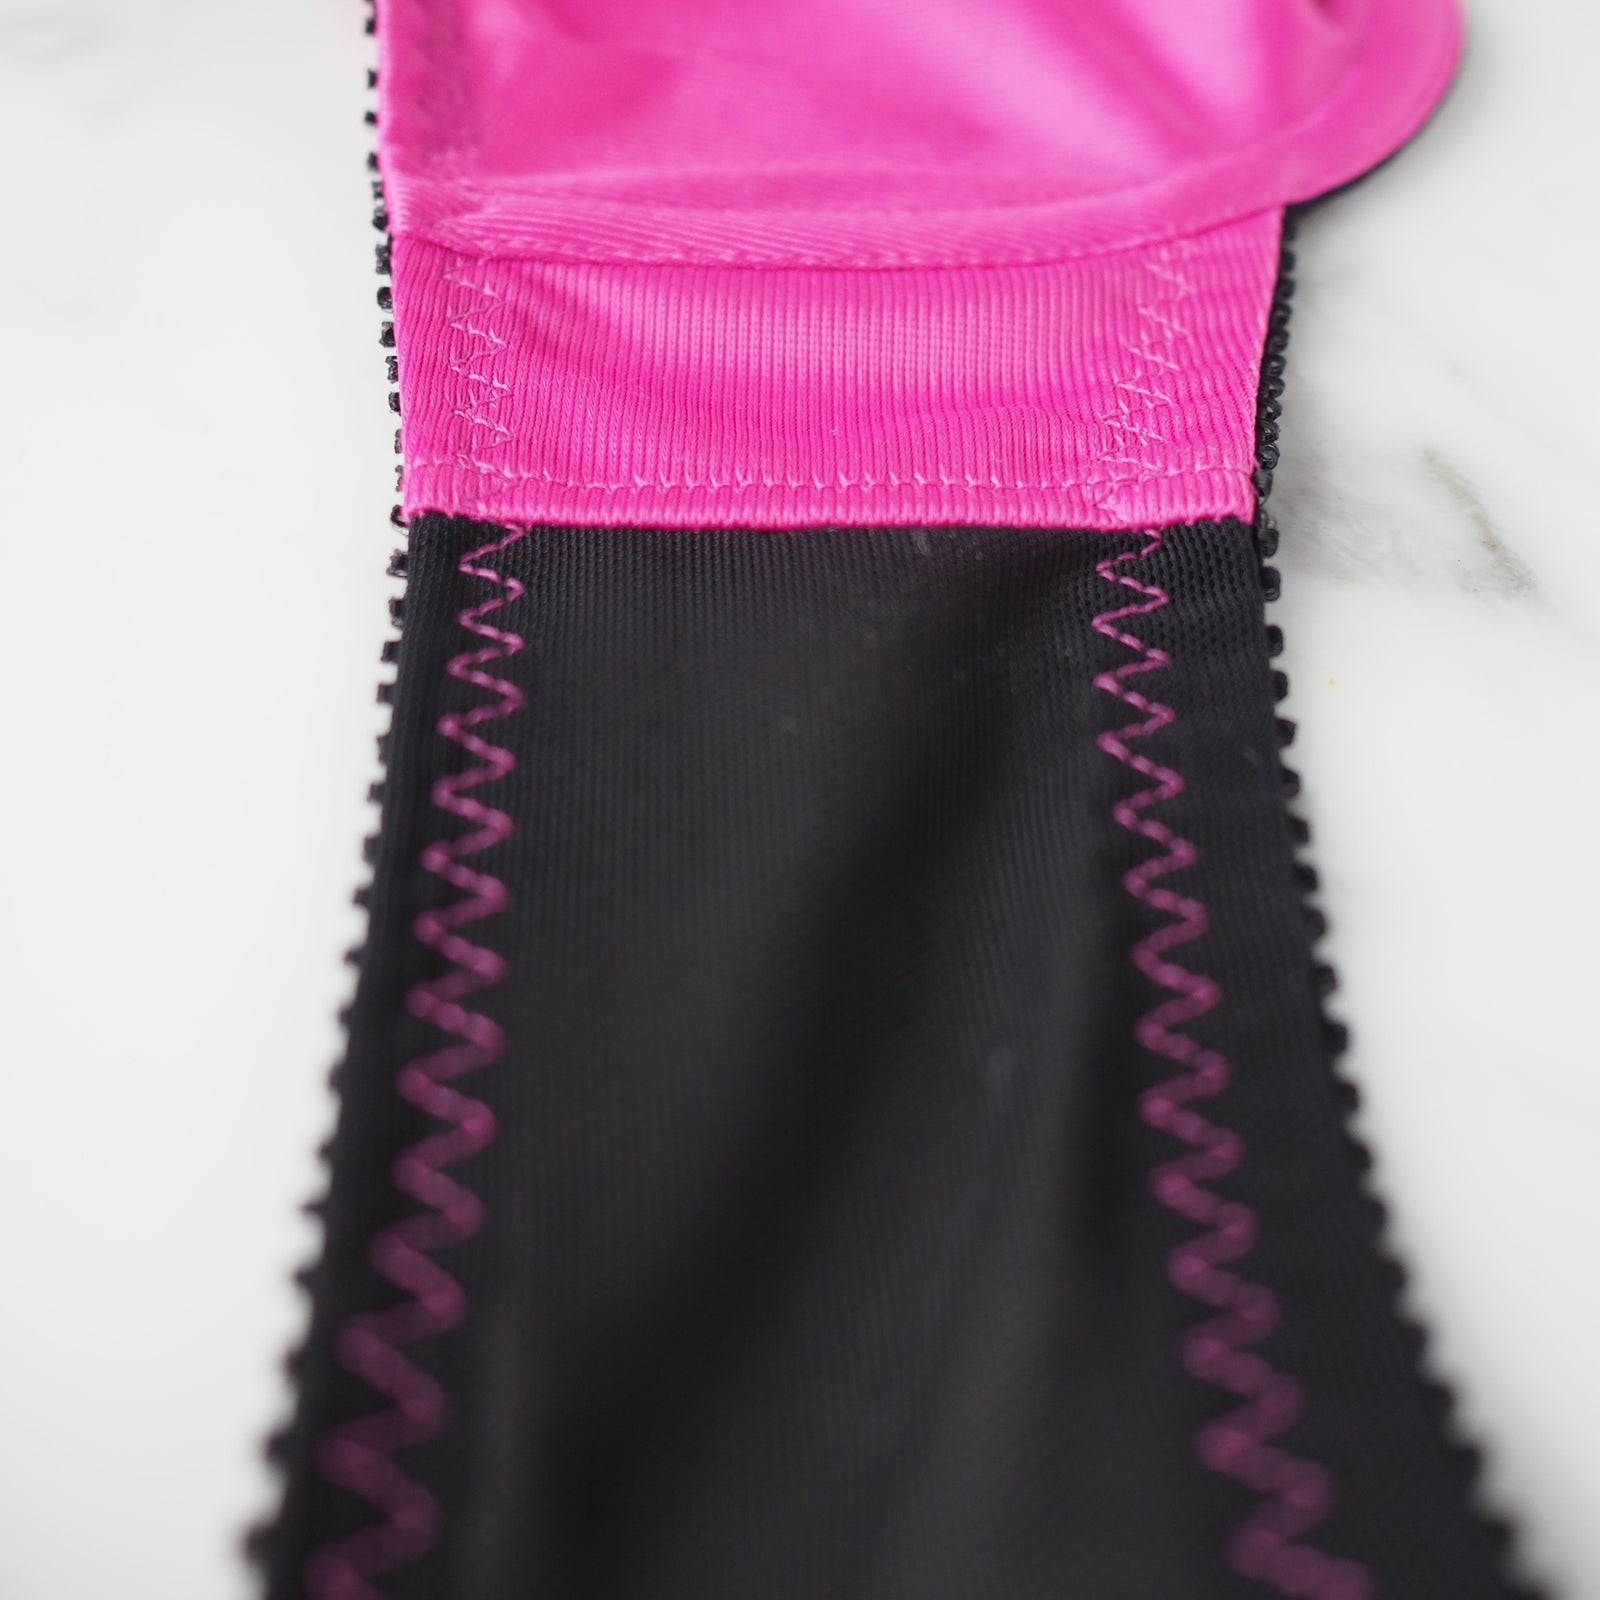
Regular Zigzag
Length: There are so many uses for the zigzag stitch and I like a different setting for each.
- Elastic application: 1.5mm stitch length by 3.0mm stitch width for attaching elastic
- 1/8” wide narrow color matched elastic stabilizer: 2.0mm stitch length, 2.5mm stitch width to cover the elastic end to end.
- Attaching hook and eye to bra: 1.5mm stitch length by 1.5 stitch width (if your machine can perform a zigzag that close to the hooks, otherwise try a lightning or straight stitch, as described in this post.)
Uses: Stretch seams, sewing elastic, edge finishes
After the straight stitch, the zigzag stitch is the most common. Like the straight stitch, it is multi-functional but also especially useful with stretch fabrics by helping to eliminate thread tears caused by garment stress.

3-step Zigzag
Length: 1.5mm stitch length by 5.0mm stitch width
Uses: installing elastic, finishing seam edges
Although the regular zigzag stitch is great as a stretch stitch, it can sometimes cause delicate fabrics to bunch up or elastic to lose some of its stretch which causes it to pucker or not lay flat. The 3-step zig zag is a flatter, stronger stitch that adds an additional layer of durability to your bra. It’s a great choice if you have the option available on your machine.
Helpful Tips – The 3-step zigzag stitch can be difficult to remove, test on your materials and double check your construction before sewing!

Lightning Stitch
Length: Machine setting or by combining a small stitch length (<1mm) with a small stitch width (<1mm) if the stitch is not an option on your machine
Uses: stretch seams
The lightning stitch (also called the stretch stitch) is a narrow zigzag stitch used for sewing stretchy fabrics. The up and down motion of the stitch (as opposed to the standard side to side of the regular zigzag stitch) helps to reduce puckering
Helpful Tips – The lightning stitch can be difficult to remove, test on your materials and baste your seams before using.
___
Here is a short list of tools and notions to make sewing all of the stitches above easier.
- A clear zigzag presser foot. I like to see where I am going!
- Gütermann Mara 120 thread – 100% polyester, industry quality thread works for lingerie, swimwear, and sportswear.
- A standard throat plate is recommended for bra making, not the single hole throat plate because zigzag stitching is necessary.
As always happy bra making!!