When you find a great print fabric you want to make the most of it! Following are the methods I use in my studio to be sure I use prints to their best advantage.
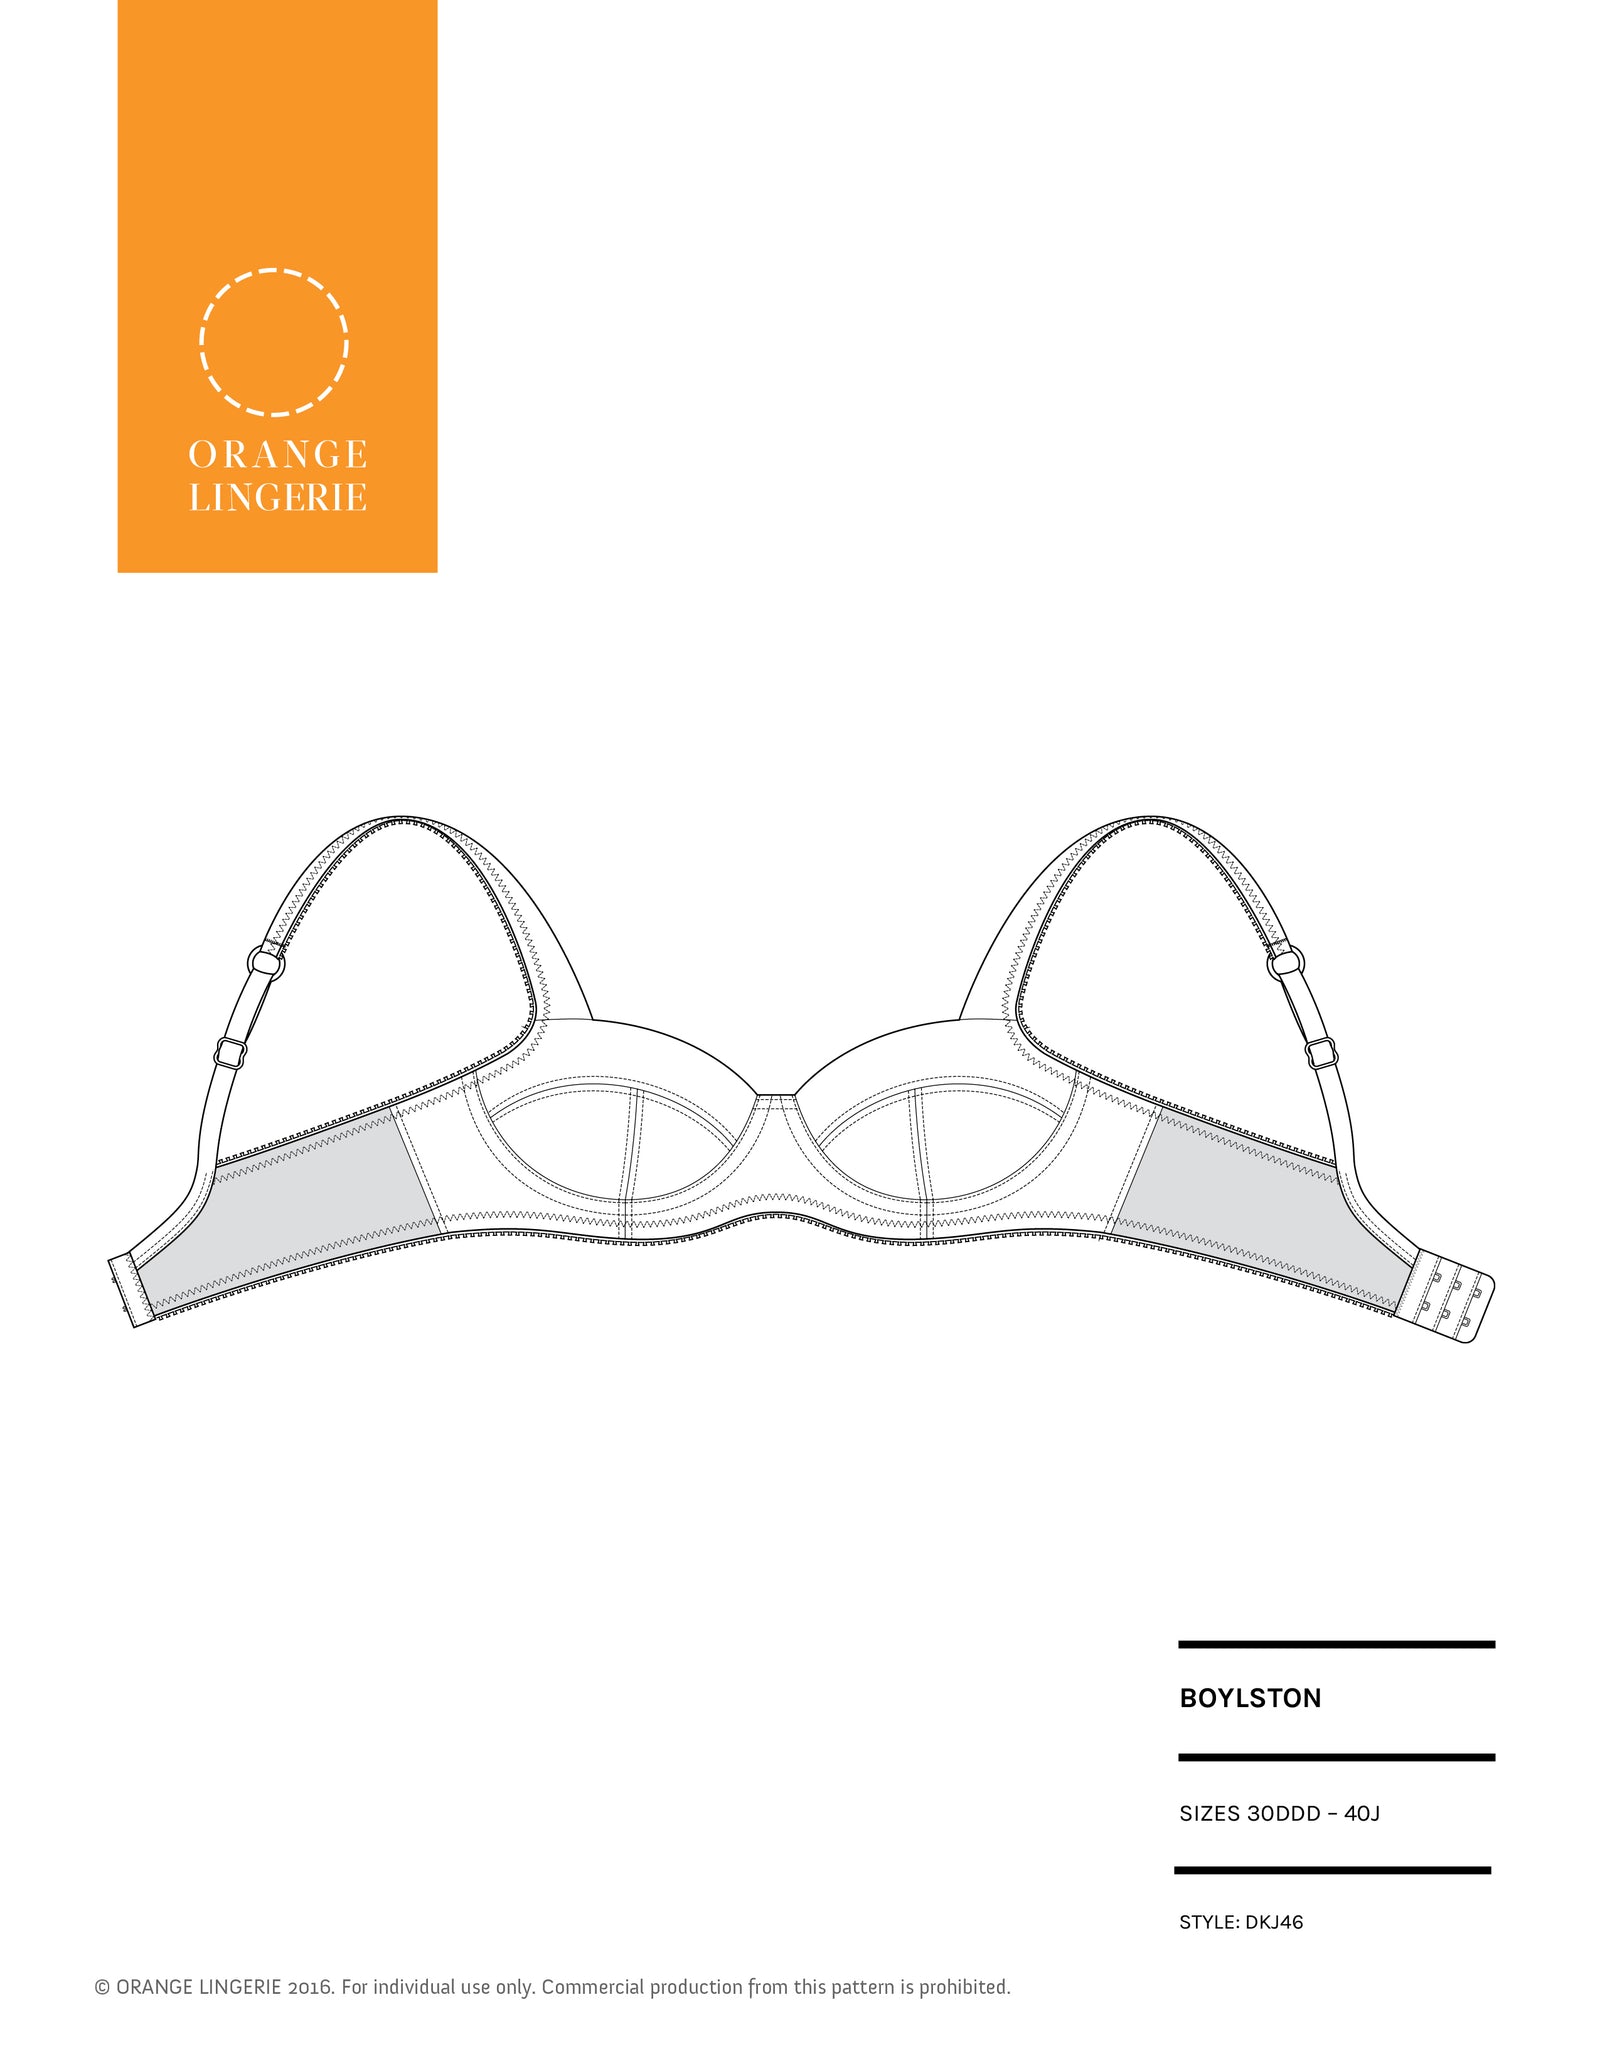
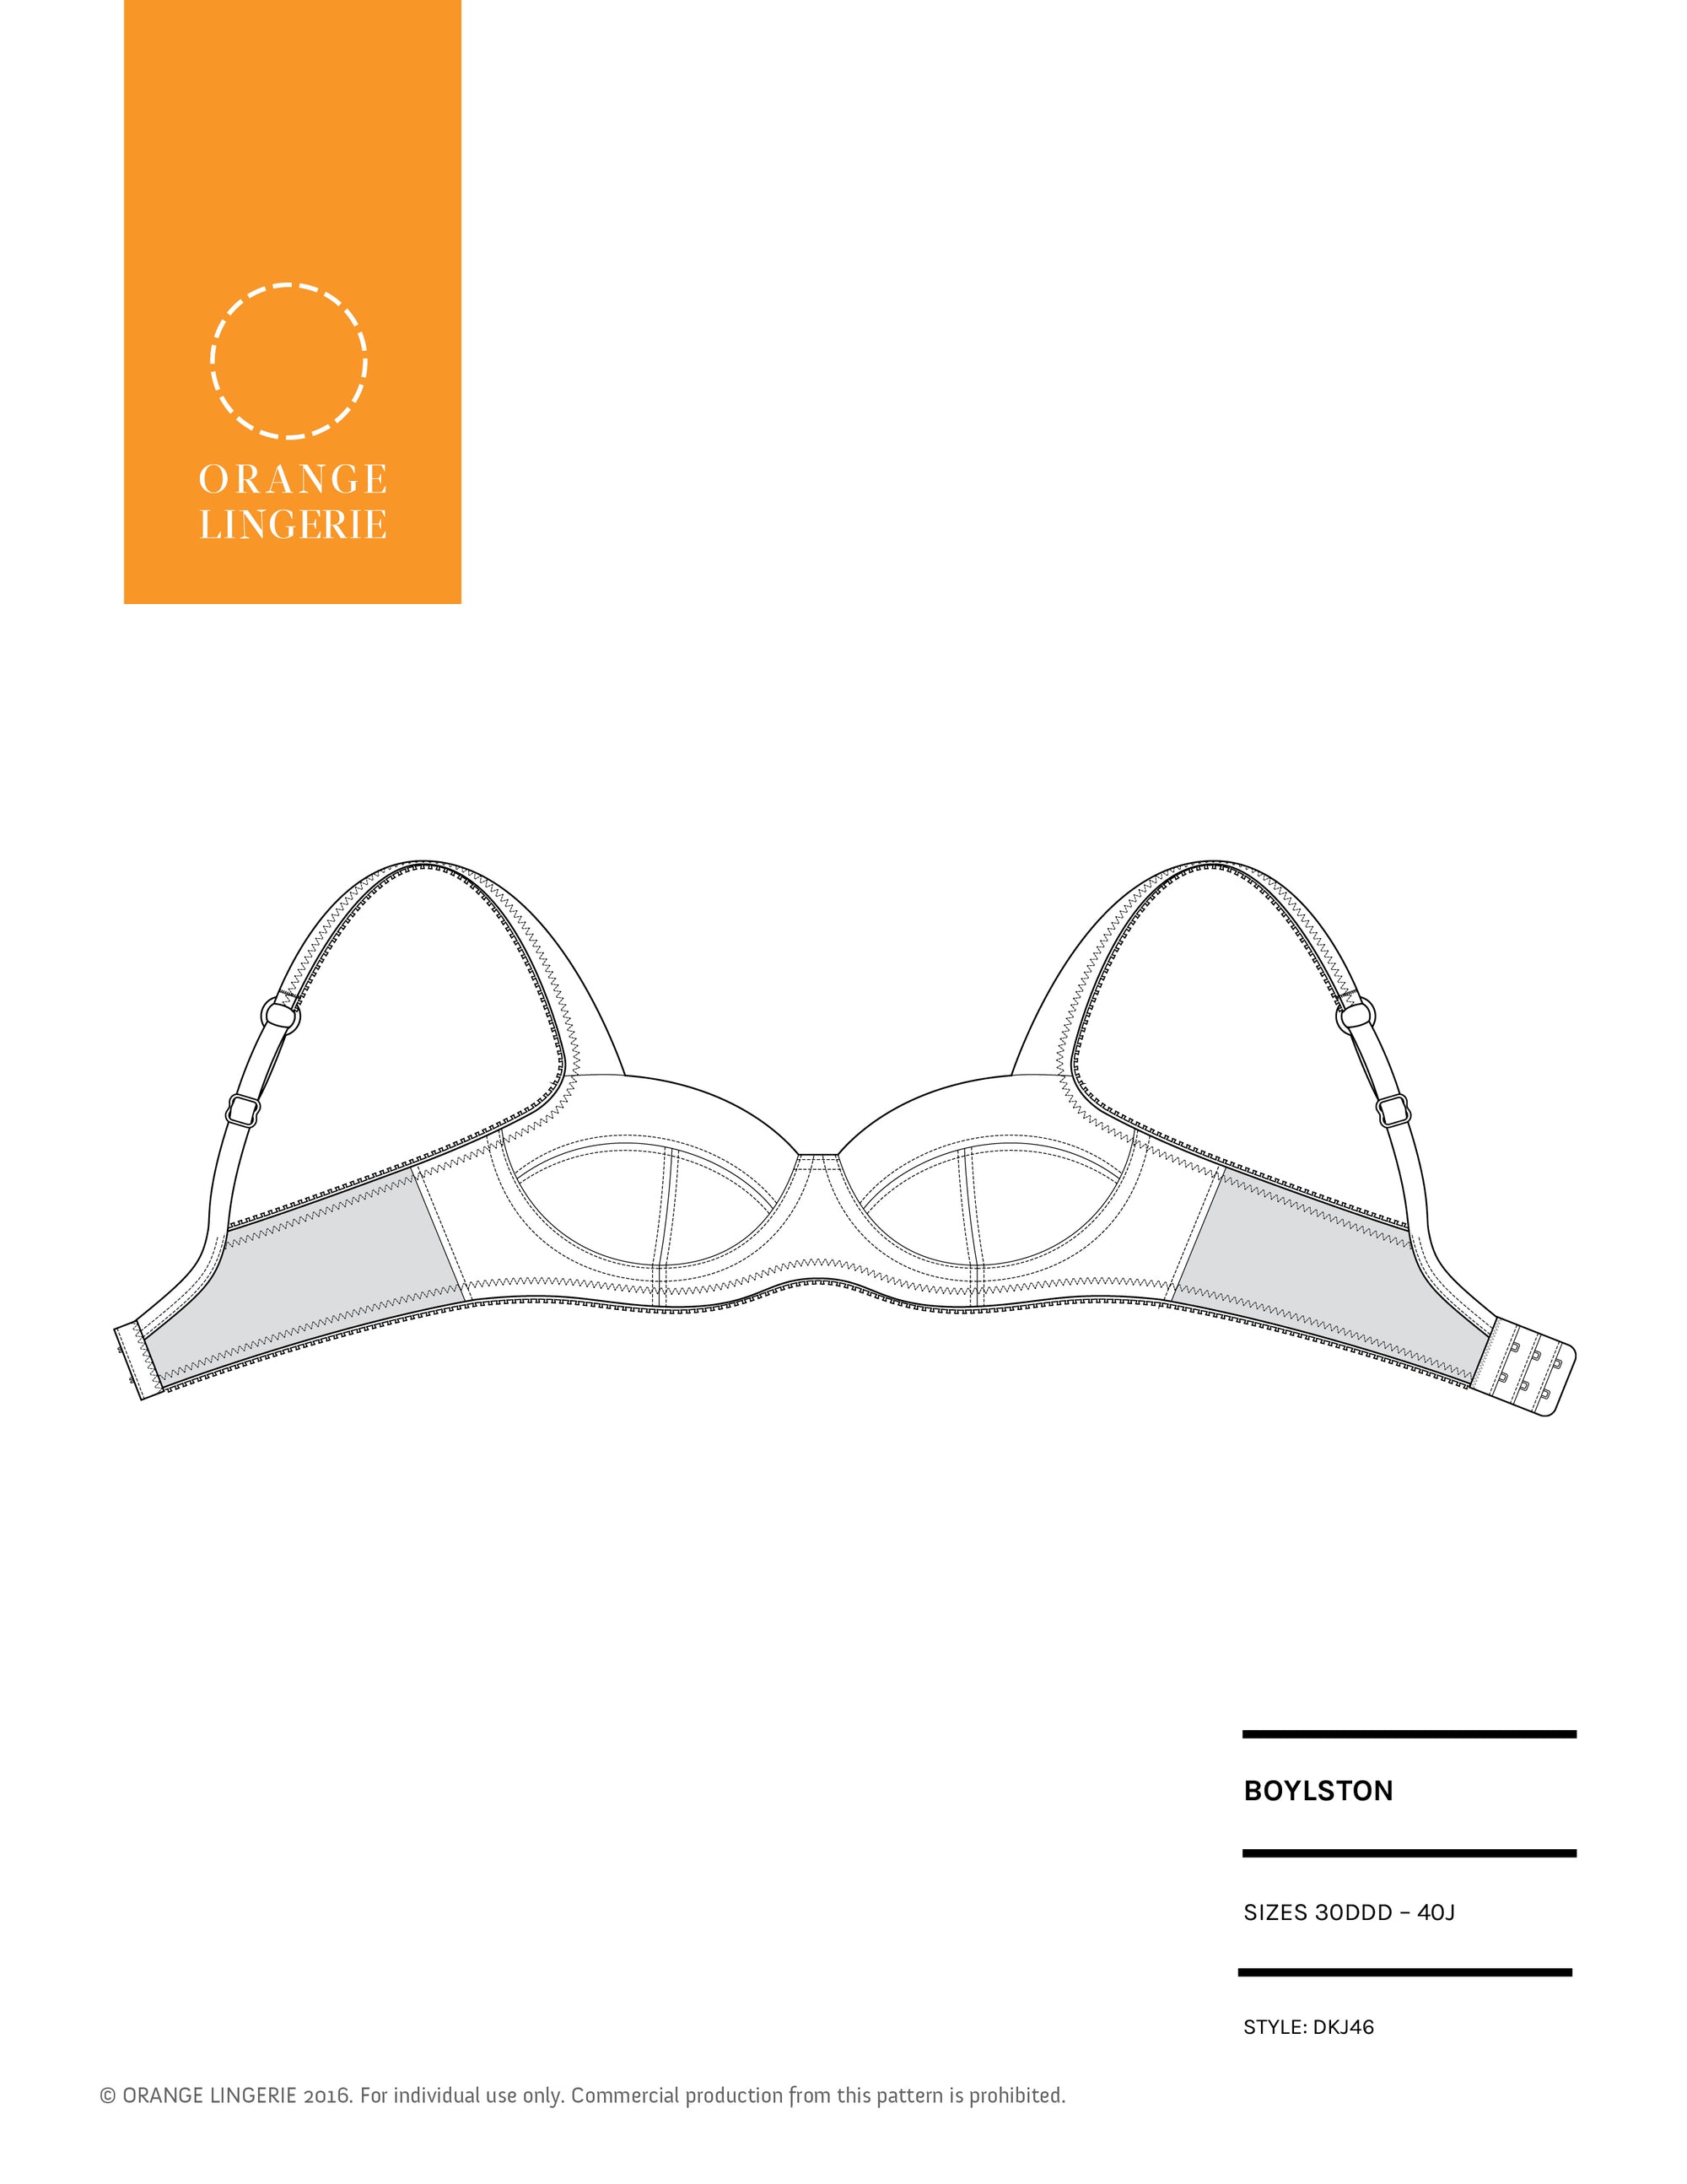
First, you want to be sure to have a complete set of pattern pieces that will be cut from the main fabric. All seam and trim allowances need to be marked on each piece as they are on my bra sewing patterns. A complete set of pattern pieces means that you have separate pattern pieces for the left and right sides of the body. For example, for the Boylston bra you will need to have two upper cup pieces, one that will be cut with the print side up for the left side and one piece that will be cut print side up for the right side.
Second, you want to be sure you can see the fabric through the pattern pieces. There are two easy ways to do this. The first is to trace the pattern pieces and all markings onto light weight tracing paper as shown in here. I like this approach since I can then use these pieces to cut the pattern out once I like the placement on the fabric. I just weigh down each piece and cut.

Another method is to cut a “window” for each pattern piece to experiment with placement on the fabric. For this method, cut the pattern out of paper along the seam and trim lines. This will give you a window that you can place on the fabric to see what the finished piece will look like on the final garment.

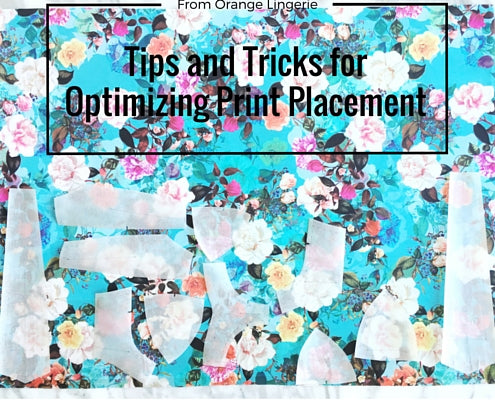
This approach is great for determining the print placement (as shown below) and you only need one window per pattern piece since you can just flip the paper over to get the other side, but you will still need a full set of pattern pieces to cut the fabric. If you don’t have all the pattern pieces laid out on the fabric before you cut it is possible to forget you allocated a certain flower to the lower cup or bridge and once you have cut, you can not go back! To get the pattern piece in the spot you selected with the window, just pin or weight it down in the window opening, matching up the seam and trim lines to the outer edge of the window, then remove the window.

With either approach, take care with pattern pieces that are folded where only one side shows in the final garment, like with the Boylston strap. You can see here that I labelled the side that would show in the final garment (the R for right and the L for left) so I could see what the print would look like on the final strap.
For print selection, I take each part of the garment in turn starting with the pieces that are most visually dominant in the finished garment. For the Boylston I started by figuring out what I wanted the upper cups to look like then moved on to the inner lower cup and so on.

When working with a print fabric, you want to make sure you have more fabric than you need for your garment so you have options for where to place the print elements or for any pattern matching if you are going that route. You don’t want to be trying to squeeze pattern pieces onto the fabric since you could end up some less than optimal looking pieces. On this fabric, it would have been sad to end up with a solid blue lower cup when there are all these gorgeous flowers! You can see from my preliminary layout at the start of this post, it is not the most efficient use of fabric but about getting the look that you want.

P.S. Thanks to Tailor Made Shop for sending me this great fabric!